In today’s digital age, our smartphones have become more than just communication devices—they have transformed into powerful tools for capturing stunning photos. Among the various file formats available, JPEG (Joint Photographic Experts Group) is a popular choice for its balance of image quality and file size.
If you’re an iPhone user and want to harness the full potential of your device’s camera to capture high-quality JPEG photos, you’re in the right place.
In this article, we’ll guide you through the essential steps to help you take incredible JPEG photos with your iPhone.
Also watch: How To Archive & UnArchive WhatsApp Chats on iPhone
How To Take JPEG Photos With Your iPhone
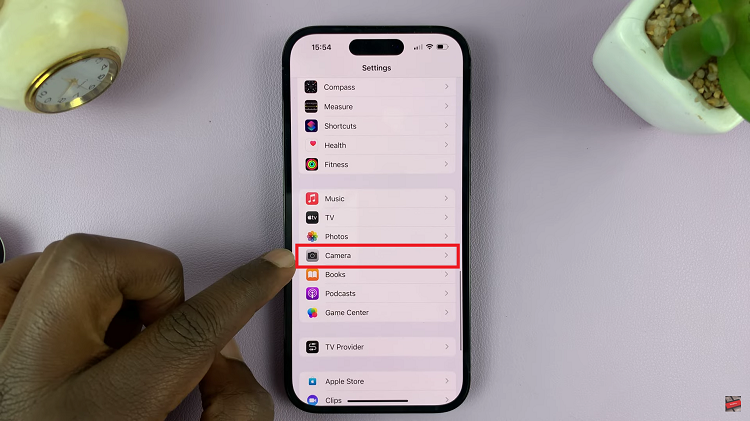
First, locate the “Settings” app on your home screen. It’s represented by a gray gear icon. Next, tap on the Settings app to open it. Scroll through the list until you find “Camera” and tap on it.
In the Camera menu, find and select “Format” or a similar option.
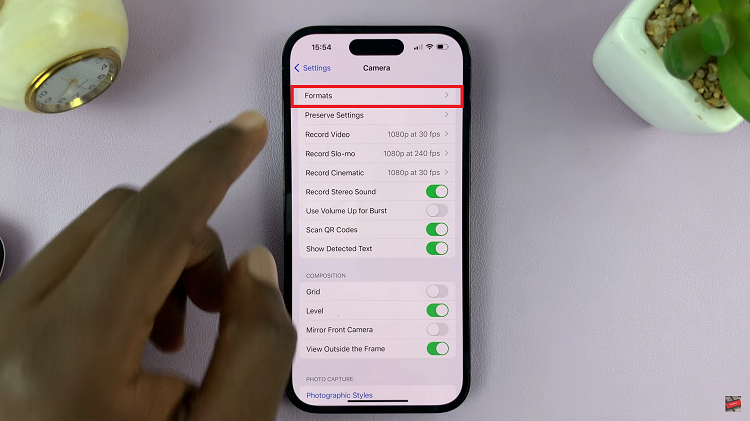
Now, within the Format menu, choose “Most Compatible” to ensure your photos are saved as JPEG files. This format strikes a balance between image quality and file size.

By following these detailed steps, you’ll be able to capture stunning JPEG pictures with your iPhone.
