Aaaand, action!
Any MacBook that’s a fairly recent version and not too old comes with a built-in screen recorder with all features you’re likely to want to record your screen. Almost like the default screenshot function.
This means that the MacBook Air and MacBook Pro are capable of this. And if we know Apple, the video quality is always going to be top-notch.
Whenever you record your MacBook screen, the resolution of the screen recording will always match your display resolution. So, if you’re later on planning to edit the screen recordings in your preferred video editor, you may want to be aware of this.
How To Screen Record On MacBook
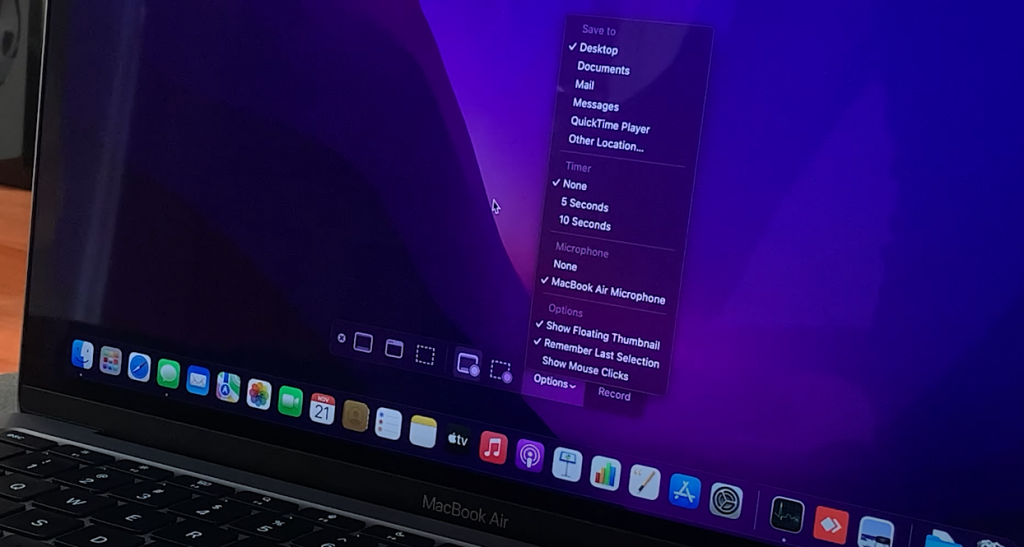
Use the keyboard shortcut, Command + Shift + 5 to open the screen recorder application. A screen recorder menu will also be made available to you at the bottom part of your MacBook screen.
From the menu, choose whether you want to record the whole screen or just a portion of it. Use the right-click of the mouse to select the portion accordingly.
Click on Options from the menu to make a choice regarding where you want your screen recording saved, whether to include a timer before recording starts and additional options you may want to look at.
Another important choice you NEED to make is whether to include external audio in your screen recording and that’s by selecting None if you don’t want audio or the MacBook Microphone or an external Microphone if you do.
Click on Record to start your screen recording, once all your settings are in order.
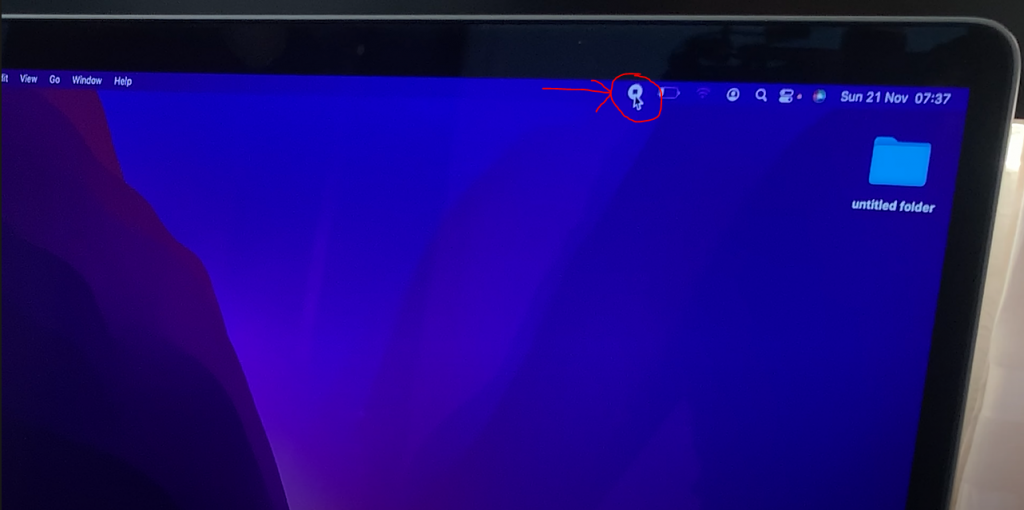
When you’re done, click on the Stop Button in the menu bar. A thumbnail will first appear on your screen to show a successful recording, followed by the file saved on the desktop (based on the Save to location choice you made in step 2).
Best of luck. Not that you’re going to need it!

