Cropping a photo basically means cutting out the parts of a photo you don’t need in a photo that’s already taken. This will change the size of the image depending on how you cropped.
Since cropping involves image manipulation, you can use any photo editing tool to do the job. But for Mac, the built in photo and image management tools will do the job just fine.
The preview app is the one that opens photos when you double click on them. The photos app is Apple’s more advanced image management and editing tool found on all Apple devices. Both of these utilities are already on your Mac and that can crop photos.
Watch: How To Crop Photos On iPhone
How To Crop Photos On Mac using Preview
Preview is Mac’s default image viewer. You can be able to crop your picture using this and it’s quite a simple process
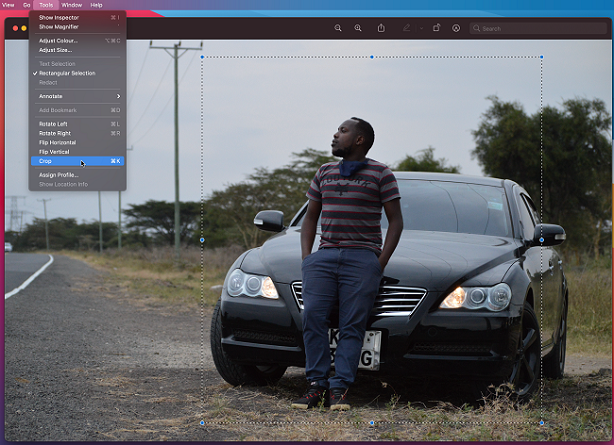
Firstly, choose a photo you want to crop and double click on it. This will open using Preview. Next, using the crosshairs, draw on the area you want to crop.
Once you have the area, click on Tools in the upper menu bar and select Crop from the drop-down menu.
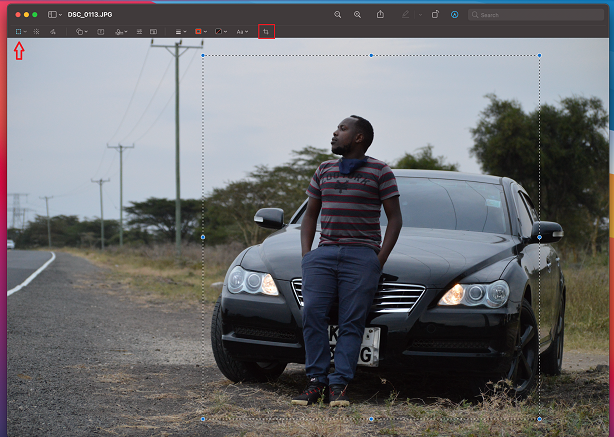
Alternatively, you can click the Markup icon to reveal the Markup Toolbar. Click on the Select icon (First icon) on the toolbar and select the area you want to crop. Click on the Crop icon to crop your photo, and Save your cropped image.
How To Crop Photos On Mac using Photos App
Using Photos is the ideal way to crop a photo within your photos library.
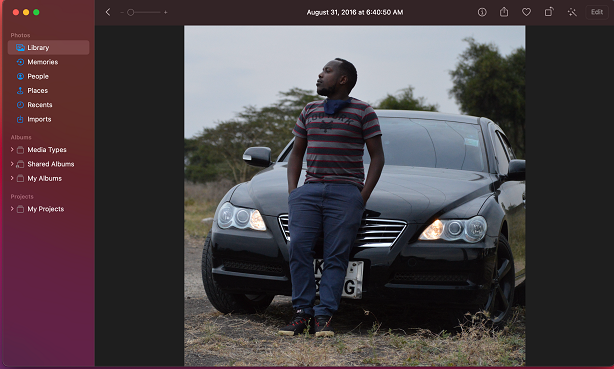
Open the Photos app and choose the photo you want to crop.
Next, click on Edit at the top left corner of the photo.
Once the Editor is opened, click on the Crop tab that’s just above the photo. Next, select the area you want to crop by dragging your mouse pointer on the picture.
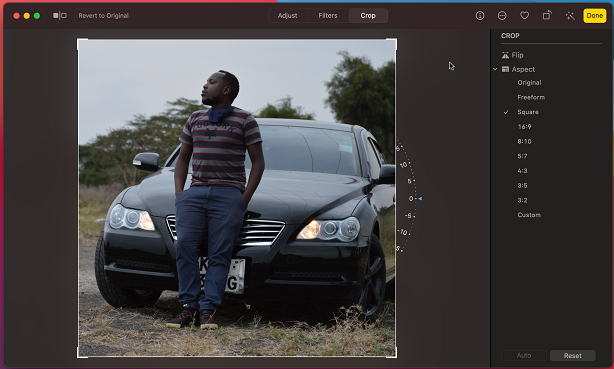
You can also choose the aspect ratio that you want instead of manually cropping the photo. When you have a perfect size, click on Done to save the changes.
If you’re not happy with the cropped photo, you can always revert it back to the original photo. Simply open the photo and click on Edit, then click on Revert to Original.
That’s how to go about it. Hope it helps. Let me know in the comment section below if you have any questions.

