Screen recording on the iPhone 18 Pro is a simple way to capture what is happening on your screen. Whether you want to save a tutorial, record an app demonstration, or share something with others, the built-in Screen Recording feature makes it easy. Here’s how to start and stop a screen recording.
In this guide, we’ll walk you through the step-by-step process on how to go about recording the screen of your iPhone 18 Pro.
Also Read: How To Change Screen Timeout Period On iPhone 18 Pro
How To Screen Record On iPhone 18 Pro
The first step is to open Control Center. To do this, swipe down from the top-right corner of the screen. Next, look for the Screen Recording icon. The icon is represented by a circle inside another circle. Once you find the Screen Recording icon, tap on it.
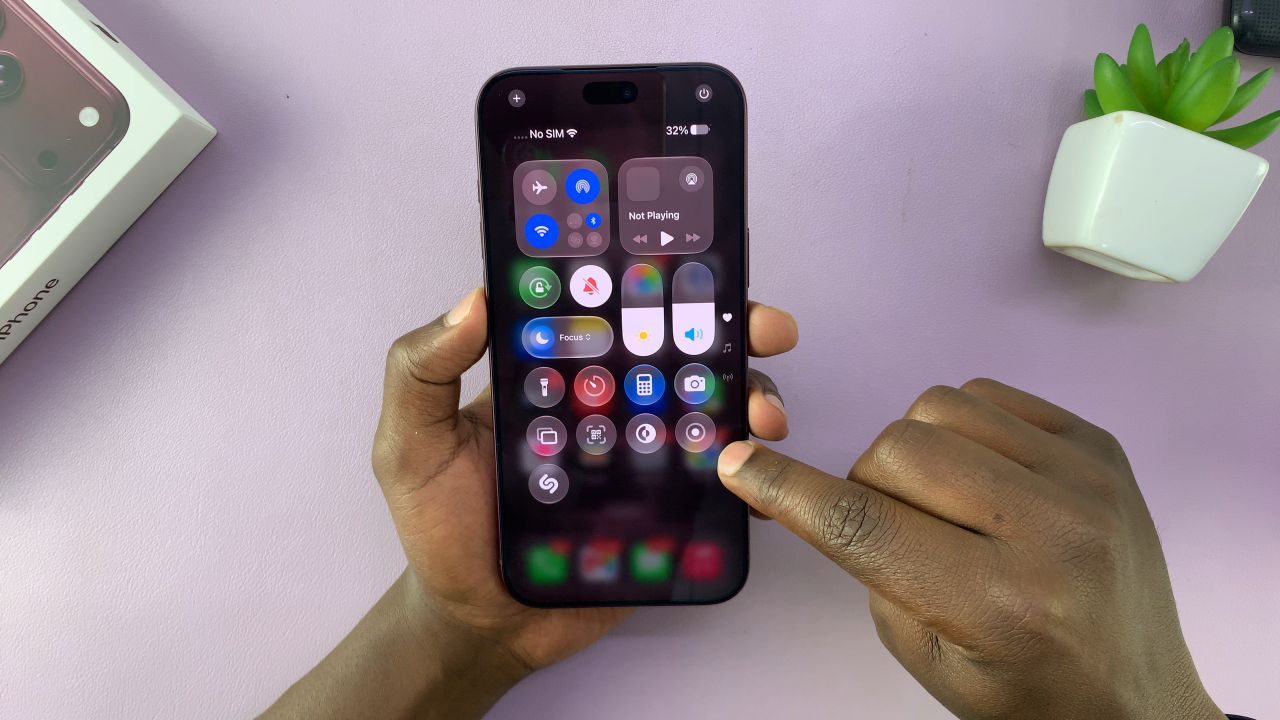
The iPhone 18 Pro will begin a short countdown before the screen recording starts. After the countdown, everything that appears on your display will be recorded.
You can now use your iPhone normally while the recording is active. Open apps, browse websites, play games, or demonstrate whatever you want to capture. The screen recording will continue until you manually stop it. When you have finished recording, stopping the process is just as straightforward.
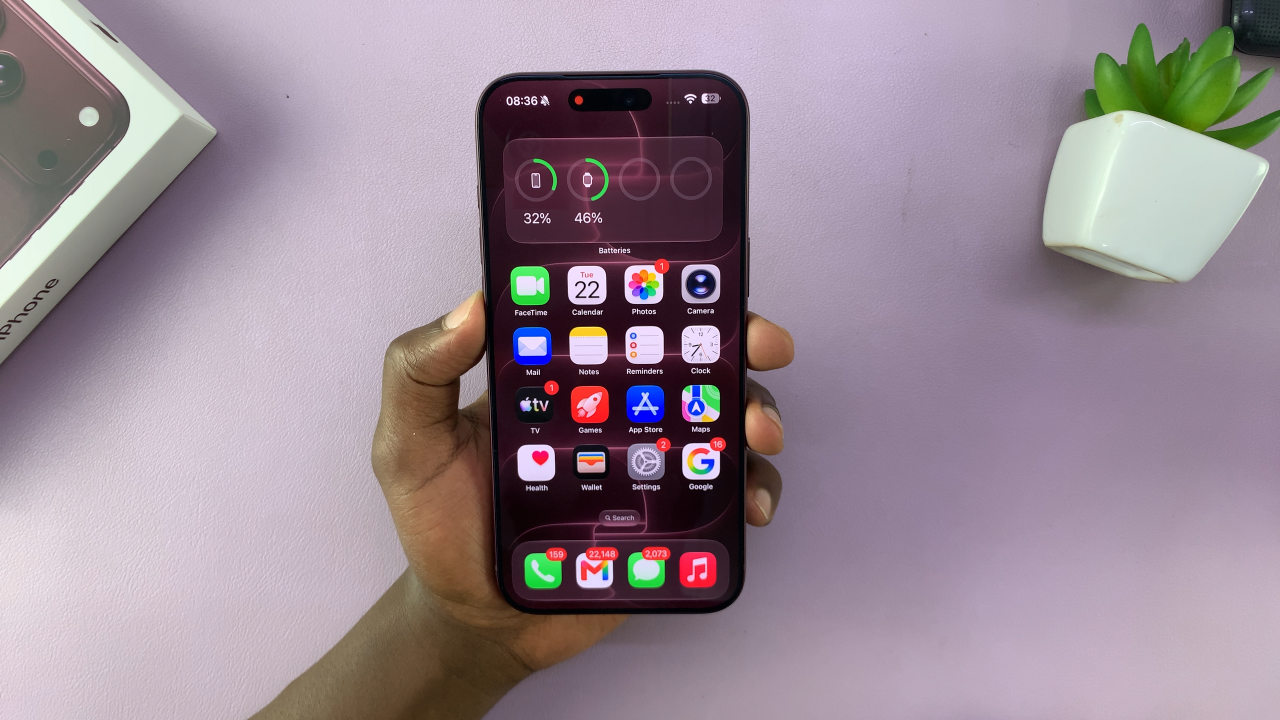
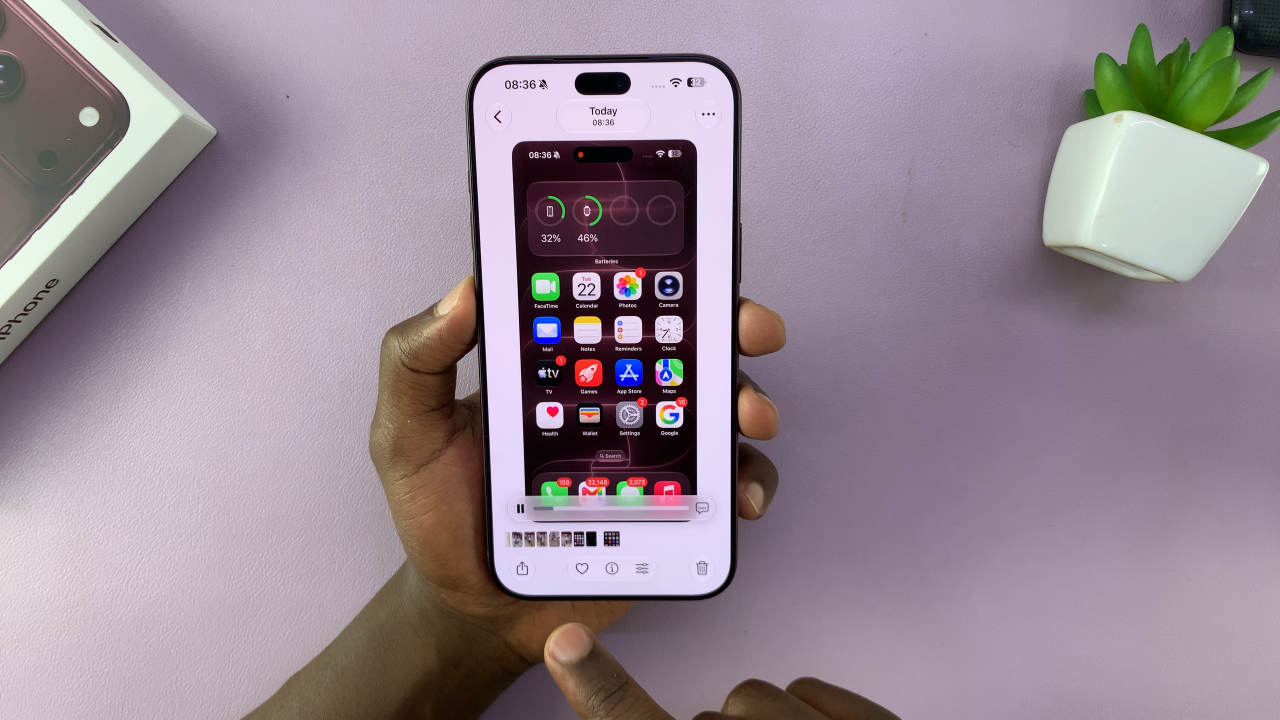
While the screen is being recorded, a recording indicator will appear in the Dynamic Island at the top of the display. Tap on the Dynamic Island to access the recording controls.
A Stop button will then appear. Tap the Stop button to end the screen recording. Once the recording has stopped, the captured video will be saved to your iPhone, allowing you to view, edit, share, or keep it for later.
The built-in screen recording feature on the iPhone 18 Pro is a convenient way to capture anything happening on your display without relying on third-party applications. The entire process can be completed through Control Center, making it quick and easy to start or stop a recording whenever you need one.