Whether you are capturing breathtaking landscapes or unforgettable moments with friends and family, your iPhone serves as an excellent tool to preserve these precious memories. However, it’s not uncommon to find yourself with a photo that’s not oriented the way you want it.
Thankfully, Apple’s iOS makes it incredibly easy to rotate a photo directly on your iPhone. There’s no need to install a third-party application on your device.
In this step-by-step guide, we’ll walk you through the process of rotating pictures on your iPhone.
Also watch: How To Access iPhone Backup Folder On Windows PC
How To Rotate a Photo On iPhone
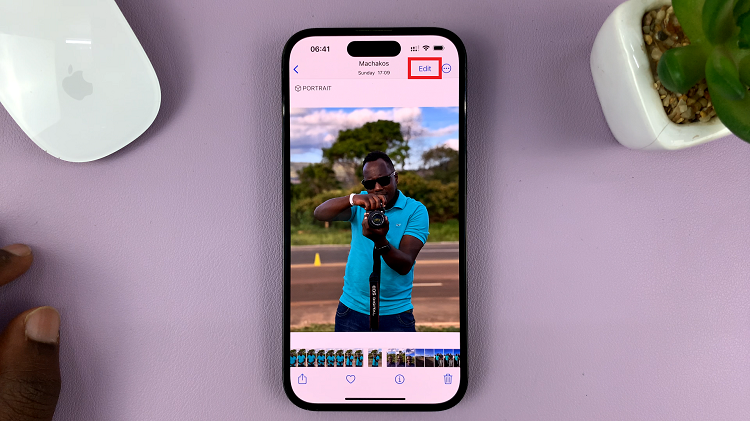
First, find and tap on the “Photos” app to open it and access your photo library. Once inside the Photos app, locate the photo you’d like to rotate and tap on it.
After opening the photo, tap on the “Edit” button at the top right corner of the screen. At this point, you’ll access the Photos editing tool.
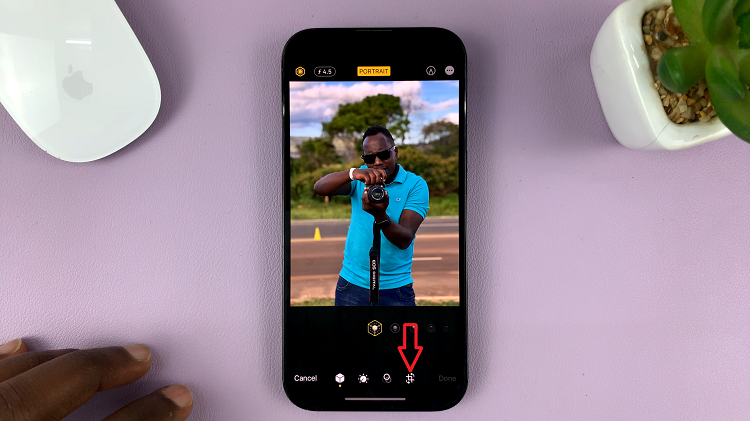
Now, tap on the “Crop” tool located at the bottom right corner of the screen.
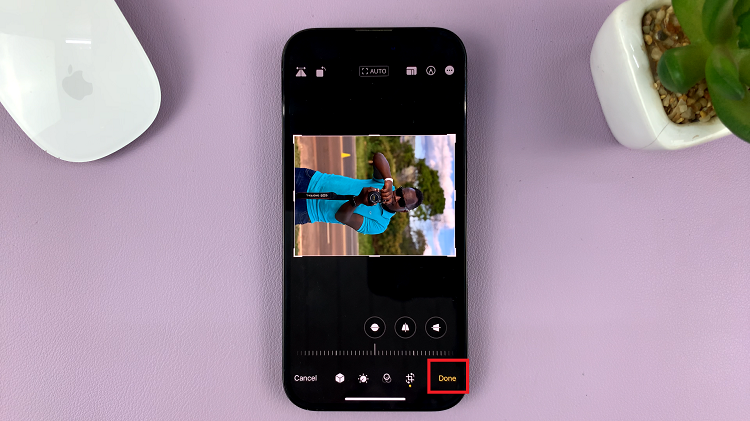
From here, tap on the “Rotate” tool (second icon) at the upper left corner of the screen. Keep tapping the icon to rotate the image until you get the desired angle. After you’re satisfied with the changes, tap on “Done” at the bottom right of the screen to save the changes.
In conclusion, you’ve successfully rotated a photo on your iPhone without any hassle or need for external apps. Your photo is now perfectly aligned and ready to be shared with friends and family, or on your favorite social media platforms.

