With the introduction of features like multi-image posts, users can now share a series of moments in a single cohesive post. However, what if you want to tweak that collection of images after the fact?
Perhaps you want to remove one photo that doesn’t quite fit the narrative or isn’t as polished as the rest. Fret not, for Instagram offers a straightforward solution that allows you to remove individual photos from a multi-image post without dismantling the entire sequence.
In this article, we’ll walk you through a step-by-step guide on how to remove one photo from an Instagram post.
Also Watch: How To Remove Location From Instagram Post
How To Remove One Photo From an Instagram Post
Start by opening the Instagram app, tap on the profile icon in the bottom left corner of the screen. Scroll through your profile to find the post from which you want to remove a photo. If the post contains multiple images, you’ll see a series of thumbnails beneath the main image. Tap on the post to open it.

At the top-right corner of the post, you’ll see three dots arranged vertically. This is the options menu for the post. Tap on these three dots to reveal a dropdown menu of various options. From the dropdown menu, select the “Edit” option.
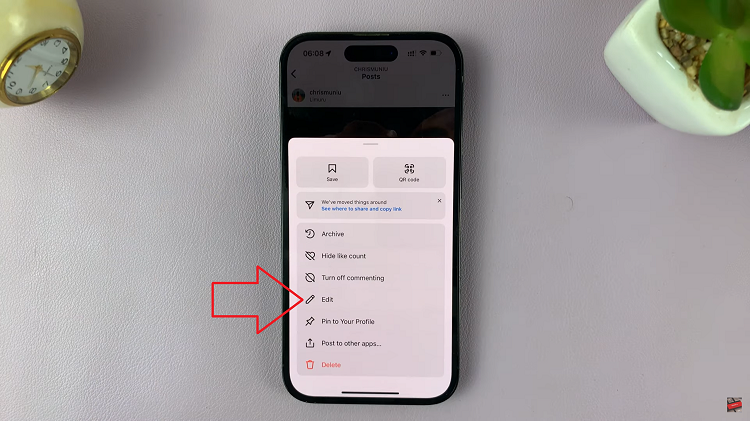
After entering the edit mode, you’ll be presented with the option to scroll through the images within the post. Take your time to browse through the images and identify the one you want to remove. On the image, you should see a delete icon, typically represented by a trash can or a similar symbol. Tap it.

A confirmation prompt will appear, asking you to confirm the deletion of the selected photo. Verify that you’ve selected the correct photo, proceed by tapping the “Delete” or “Confirm” button. Finally, tap on “Done” in the top right corner to save the changes you’ve made.

