Steam is a digital video game client, platform for gamers, and a game manager to install games on your PC or Mac. The online store provides players with a catalog of games, free, paid, and even demos.
Before playing any Steam games, you need to install the Steam client onto your computer. Steam is available on Windows operating system for Windows 7, Windows 10 and Windows 11.
You’ll need to download and Install Steam onto your Windows PC or laptop. Then you can use Steam to install games onto your Windows machine.
Watch: How To Uninstall Steam Games
How To Install Steam On a Windows Computer
First, open the official Steam website on your browser and click on the green Install Steam button on the upper right of the webpage.

Next, click on Install Steam and choose a location you want to save the installer. Click on Save and the executable file(steam.exe) will begin downloading.

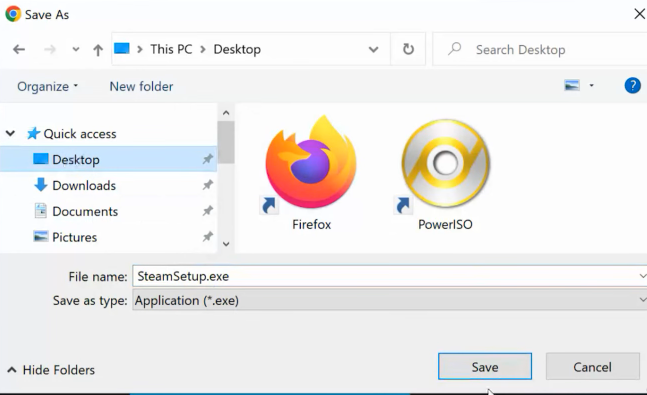
Once the download is complete, find the executable file on the folder you chose and double click on it.
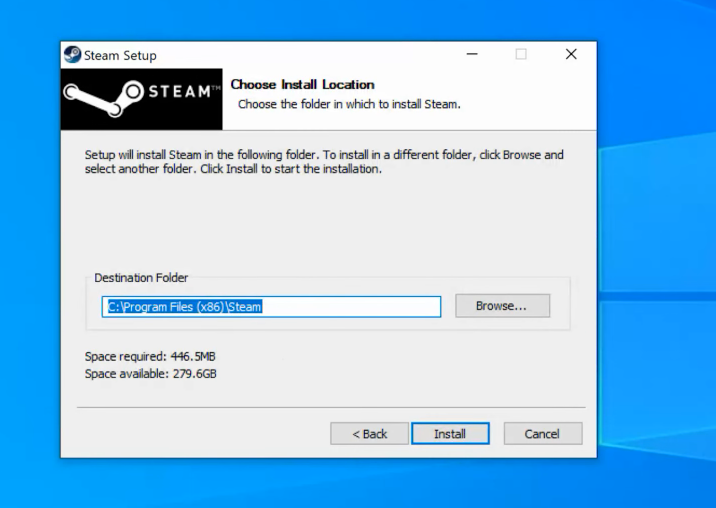
Next, choose the location you want to save Steam in and follow the instructions that are provided.
Once the installation is complete, click on Finish and exit the installer.
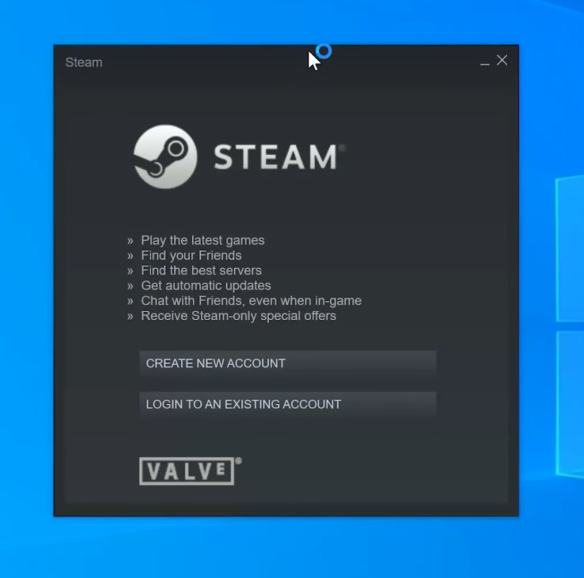
Finally, launch Steam and sign in to your account if you have an existing account. For new users, you need to create a new account to access the Steam platform.
Hope this helps. If you have any questions, let me know in the comment section below and I will get back to you as soon as possible.
Also read: How To Change Your Steam Account Name
")
