If you’re an iPhone user who loves capturing videos, you may want to customize the default video resolution and frame rate (FPS) to suit your specific needs. Fortunately, Apple provides options to adjust these settings on your iPhone camera, allowing you to shoot videos in different resolutions and frame rates.
By making these adjustments, you can enhance the quality of your videos or optimize them for specific purposes, such as uploading to social media or saving storage space.
In this article, we’ll guide you through the process of changing the default video resolution and frame rate on your iPhone camera.
Also watch: How To Install Microsoft Teams On iPhone
How To Change Video Resolution & Frame Rate On iPhone
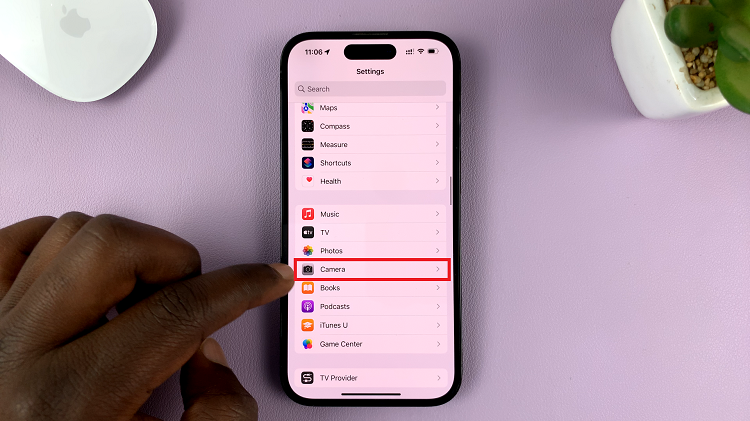
Firstly, tap on the “Settings” app on your iPhone then scroll down and select “Camera.”
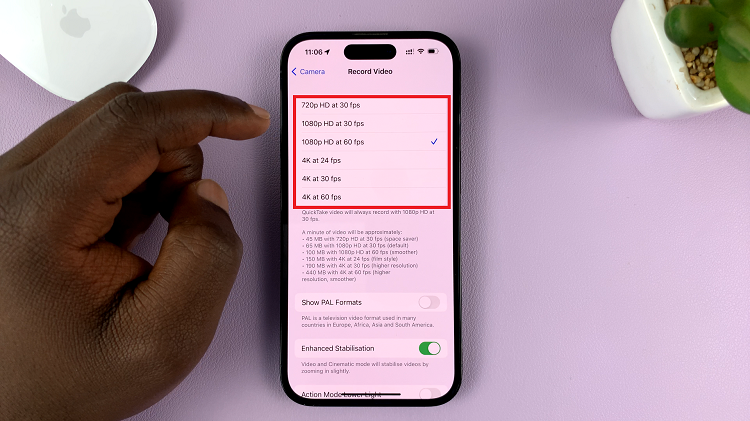
Under the camera settings, tap on “Record Video.” From here, you’ll find a list of available video resolution options depending on your iPhone model. Consider your requirements and preferences to select the most suitable resolution.
Once you choose your suitable resolution, you can exit the settings. You can now test the settings by launching the Camera app on your device.
By following these steps and considering your shooting needs, you’ll be able to optimize your iPhone camera settings for impressive video results. And that’s how to change video resolution and frame rate on iPhone. Lets us know in the comment section below if you have any questions or suggestions.

