You can edit animated GIFs without installing any software. If you have Adobe Photoshop however, you can be able to do things like change the speed of your animated GIF.
Change The Speed with an Online Tool
A quick search for EZGIF will take you to the webpage of this tool with which you can do almost any form of editing for GIFs from making the GIF, optimize, resize, crop, amongst various other things.
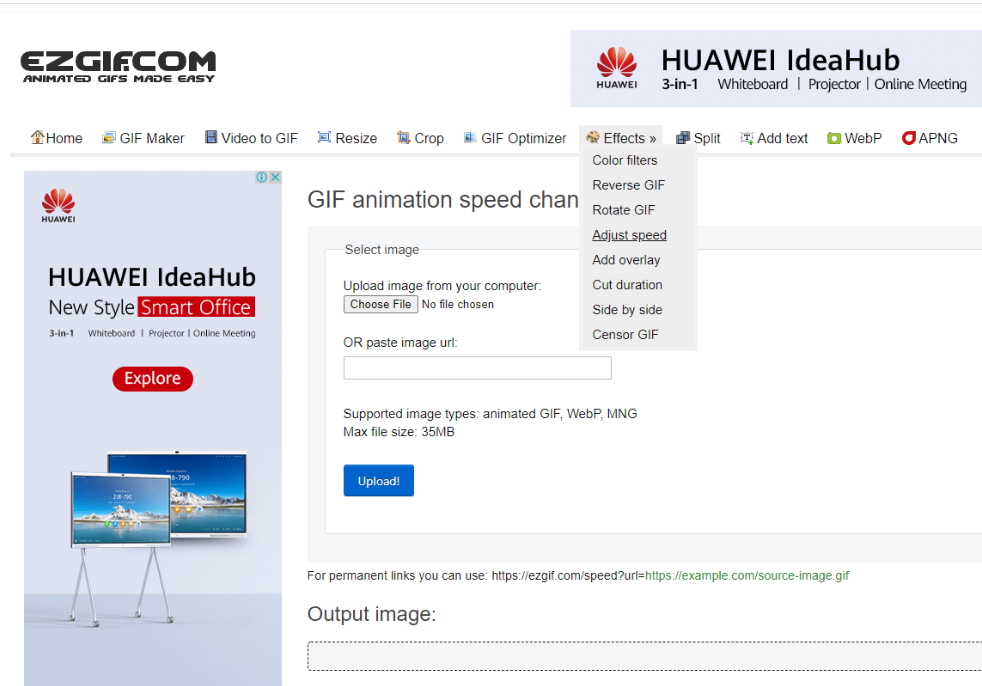
On the webpage, navigate to the Effects panel and select Adjust Speed. Then upload your image in any format allowed (animated GIF, WebP, MNG) that is within the maximum of 35MB permitted. Change the speed by increasing or reducing as per your preference and click on Change Speed!
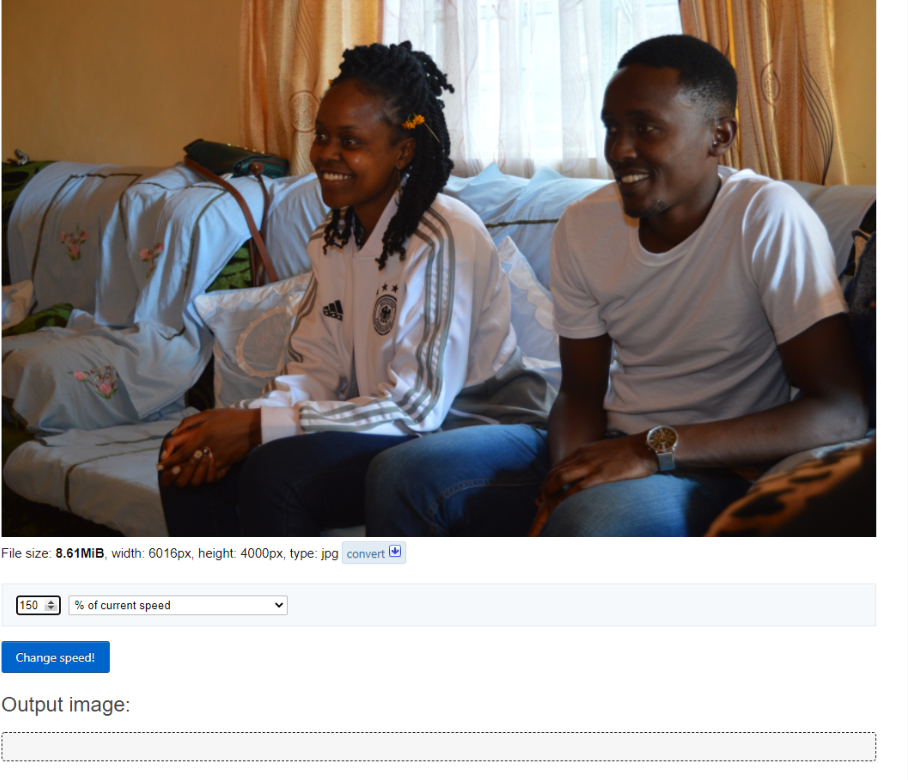
The resulting image will be displayed with the new speed and if you’re happy with it, you have the option to download and save the GIF with the changes. You can always make even more changes if you’re not satisfied with the current ones, until you are.
And that’s as simple as that.
Change The Speed with Photoshop
Using Photoshop, a number of steps will have to be followed to achieve this goal.
1. Import GIF into Photoshop
With Photoshop open, import the GIF by clicking on File > Open and this should open the GIF with each frame as a separate layer. This is what you should expect to happen.
2. Convert GIF into Video
Under Timeline just below the first frame, you should see the icon for Convert to Video button that looks something like this.

Once you click on it, the screen will have the timeline for each frame presented. At the bottom of the screen, click on the Render Video icon (seen below) to bring up the Render Video menu.
Click on Select Folder to choose where to save the rendered video, then click on Render to convert your GIF into a video.
3. Change Speed of Your GIF
In Photoshop, go to File > Open to open your newly rendered video. It should open in a single timeline.
Open the Retime Menu by right-clicking inside the timeline. You should see two options: Duration and Speed. Next to Speed, click the drop-down menu and adjust the slider accordingly, depending on whether you want the GIF to be faster or slower.
Once you’re done, the video should have the change implemented.
4. Re-convert Adjusted Video to GIF
This is the last step.
While you have the adjusted video on the Photoshop timeline, go to File > Export> Save for Web (Legacy) to export your video as a GIF. On the resulting exporter, click on Preview in the bottom corner to open your GIF in a browser, and check if you are satisfied with the render result.
If yes, click Save to choose your location for the file save. And there you go!
Also check out: How To Convert Gif to Video Format

