As an iPhone user, safeguarding your precious data is of utmost importance. Whether it’s cherished memories captured in photos and videos, essential contacts, crucial messages, or app data, having a backup ensures that even if the unexpected happens, your information remains safe and accessible.
If you own a Windows 11 PC and want to know how to back up your iPhone seamlessly, you’ve come to the right place!
In this comprehensive guide, we’ll walk you through the step-by-step process of how to backup your iPhone to your Windows 11 PC.
Also watch: How To Remove(Delete) Language From iPhone Keyboard
How To Backup iPhone To Windows 11
Firstly, make sure you have the latest version of iTunes installed on your Windows 11 PC. If you don’t have it, you can download it from the Microsoft Store. At this point, launch the iTunes desktop app on your Windows 11 PC.
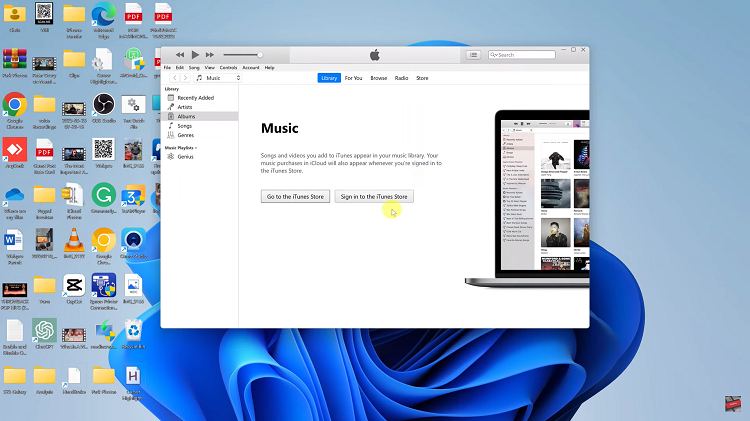
Next, connect your iPhone to the computer using the Lightning cable. You may be prompted on your iPhone to “Trust This Computer.” Tap “Trust” and enter your passcode if required. When connected, iTunes should automatically detect your iPhone. Follow the on-screen instructions to successfully set it up.
Once the setup is complete, you’ll see a summary of your iPhone. From here, you’ll see a section titled “Backups.” Click on “Back Up Now” to start the backup process. iTunes will now begin creating a backup of your iPhone’s data.
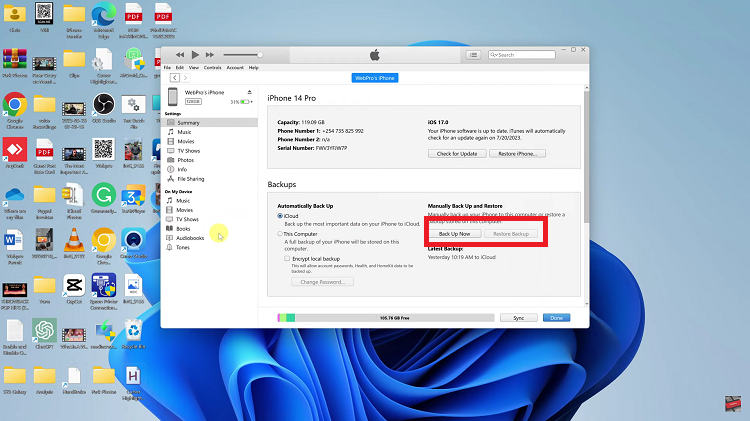
The time it takes to complete the backup process will vary depending on the amount of data on your iPhone. Once done, you can safely disconnect your iPhone from the PC. Your iPhone data is now safely backed up on your Windows 11 PC, and you can restore it anytime you need to, or when setting up a new iPhone.

