There are several different ways of taking a screenshot in Windows 7 that don’t include third party applications. The way you take your screenshot on a Windows 7 computer depends on what you want the screenshot to look like and what you want to do with it.
Method 1: Using the Keyboard Shortcut + Paint Application:
Capture The Entire Screen:
To take a screenshot of your whole Windows screen, you can use a hidden feature activated by a keyboard combination shortcut.
When your desktop is ready for a screenshot, Press Prt Scr on your keyboard. A screenshot will be taken in the background and saved to the clipboard. Open Paint application and Paste. You can paste by clicking the ‘Paste’ icon or by pressing Ctrl + v on the keyboard.
You’ll now see the screenshot in the paint application. You can edit it if you wish before saving it to your computer in a format you want. The paint application is built into all editions of the Windows 7 version operating system.
Capture a Program Window:
You can capture the screenshot of a program window by pressing Alt + Prt Scr on your keyboard. Like the full screen capture, the screenshot will be copied to the clipboard until you paste it in the Paint application.
Capture a Part of The Screen:
The keyboard shortcut for windows 7 unfortunately does not have the option of capturing a specific part of your desktop. But once you paste the screenshot of the entire screen in the Paint application, you can use the cropping tool to select the part you are interested in.
Method 2: Using The Snipping Tool:
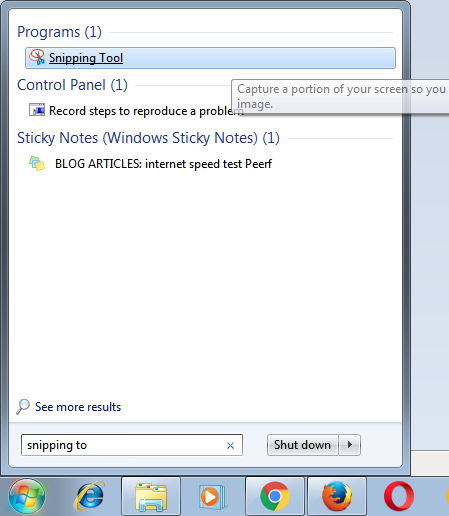
Snipping tool is a Windows utility baked into the operating system. It’s available in Windows 7. To launch the snipping tool, click on Start button, then start typing ‘snipping tool’. Click on it yo launch it.
It’s a small window with a few options. With the snipping tool you can capture different kinds of screenshots. Click on the drop down arrow next to the ‘New’ button to see the options.
Free form snip – This will allow you to draw an area covering the place you want to screenshot. The area will be in whatever shape you draw.
Rectangular snip – This is the default. You can draw a rectangular area around what you want to capture. This rectangle can be resized as you wish but with a fixed aspect ratio.
Windows snip – Capture the active window.
Full screen snip – This will capture your entire desktop.
Once the screenshot is captured, the snipping tool will open it. You have a few editing options before you can save the screenshot by clicking on File>Save as.

