With the increasing reliance on our tablets and smartphones for various personal and professional tasks, the need to protect our data has become more critical than ever. Samsung has recognized this and offers a feature called “Secure Folder” on its Galaxy Tab S9 and S9 Ultra.
A secure folder is essentially a secure, private area on your device where you can store apps, photos, files, and more. The contents of this folder are protected by robust security measures like encryption and biometric authentication (fingerprint, face recognition, or a PIN).
In this article, we’ll walk you through the steps to create a secure folder on your Samsung Galaxy Tab S9 or S9 Ultra.
Watch: How To Adjust Font Size On Samsung Galaxy Tab S9
To Create Secure Folder On Samsung Galaxy Tab S9
First, unlock your tablet by entering your PIN, pattern, or password. Then, swipe down from the top of the screen to access the notification panel. At this time, locate and tap on the “Settings” gear icon, usually found in the top right corner. Alternatively, you can access it from the app drawer or home screen.
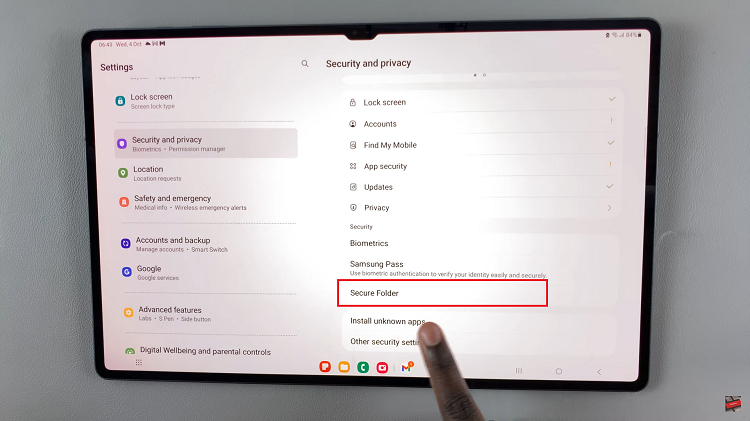
In the settings menu, scroll down and select the “Security & Privacy” option. This is where you can manage all things related to your tablet’s security. At this point, scroll down within the Privacy menu and select “Secure Folder.”
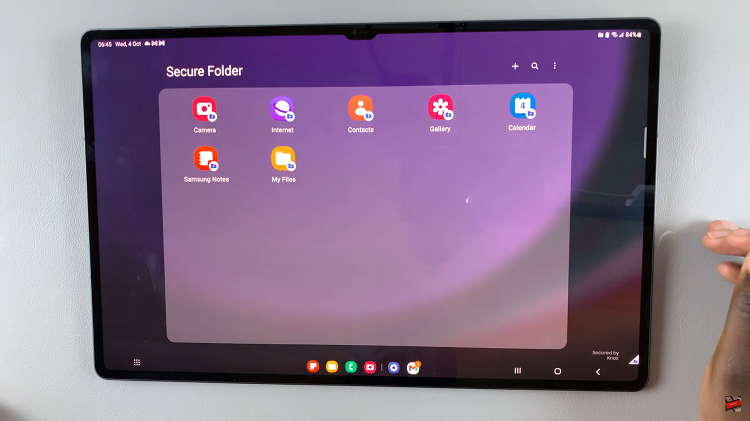
At this point, follow any on-screen instructions that might appear to create the Secure Folder. Now that you’ve created your Secure Folder, you can add your files, photos, images, and even apps to the secure folder.
By utilizing this feature, you can protect your sensitive information from prying eyes and ensure that your personal and professional data remains private. Let us know in the comment section below if you have any questions or suggestions.

