AirPods Pro, Apple’s popular wireless earbuds, have gained a massive following for their seamless integration with iOS devices and impressive sound quality. To ensure that your AirPods Pro delivers the best performance and experience, it’s essential to keep their firmware up-to-date.
Firmware is the software that runs on the hardware of your AirPods Pro, governing its functionality and performance. Firmware updates often bring bug fixes, performance enhancements, and new features, making it crucial to regularly check for and apply updates.
In this article, we’ll walk you through how to update your AirPods Pro firmware.
Also watch: How To Backup iPhone To Windows
How To Update AirPods Pro Firmware
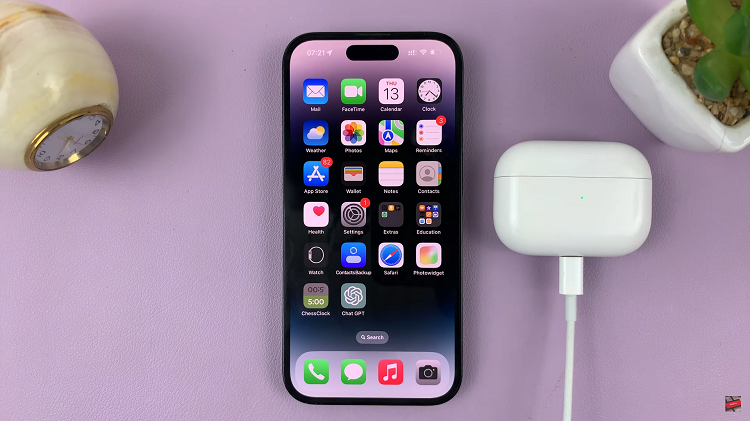
First, make sure your AirPods Pro is connected to your iOS device. Next, make sure your AirPods Pro is securely placed inside the charging case then connect your AirPods Pro to power.

At this point, connect your iPhone or iPad to a stable Wi-Fi network. Remember, firmware updates are not available via cellular data. Keep the AirPods Pro case near your iPhone or iPad and wait for a few minutes. Be patient, as the update may take a few minutes to complete.
During the update process, make sure the AirPods Pro is in close proximity to your device. Once the update is complete, double-check the AirPods Pro software version to ensure it matches the latest version released by Apple.
By following these simple steps and guidelines, you can effortlessly update the firmware of your AirPods Pro, ensuring you enjoy the best audio experience and performance from your beloved wireless AirPods.

