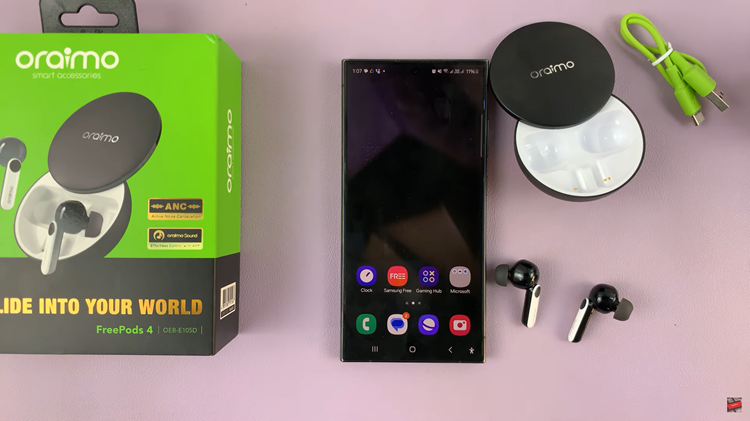
In today’s fast-paced world, wireless technology has become an integral part of our daily lives, offering convenience and freedom of movement. The Oraimo FreePods 4 are a testament to this advancement, providing users with a seamless audio experience without the hassle of tangled cords.
Whether you’re a music enthusiast, a podcast aficionado, or someone who values hands-free communication, understanding how to put your Oraimo FreePods 4 in Bluetooth pairing mode is useful.
In this guide, we’ll walk you through the comprehensive step-by-step process on how to put Oraimo FreePods 4 in Bluetooth pairing mode.
Also Read: How To Find Missing Oraimo FreePods 4
How To Put Oraimo FreePods 4 In Bluetooth Pairing Mode
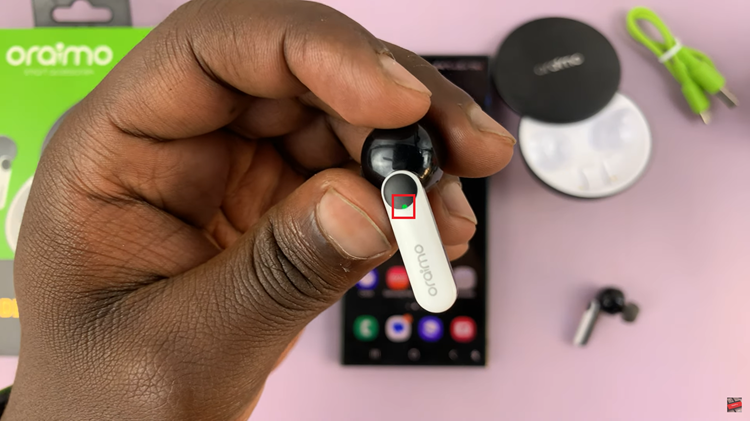
Begin by taking the FreePods 4 out of their charging case. As soon as you remove them, they will automatically enter into pairing mode. This automatic process simplifies the setup, allowing you to focus on enjoying your music without hassle.
Once the FreePods 4 are out of the case, pay attention to the LED indicator lights on each earbud. In pairing mode, these lights will flash alternately between green and red. This distinctive pattern indicates that the earbuds are ready to pair with your device.
With the FreePods 4 in pairing mode, grab the device you wish to pair them with, whether it’s a smartphone, tablet, or laptop. Access the Bluetooth settings on your device. Your device will scan for available Bluetooth devices. Look for “Oraimo FreePods 4” in the list of available devices and select them.
With the Oraimo FreePods 4 successfully paired with your device, you’re now ready to enjoy wireless audio freedom. Stream your favorite music, podcasts, or make hands-free calls without the constraints of wires. By following these simple steps, you can easily put your Oraimo FreePods 4 in pairing mode and connect them to your preferred device.

