Filmora is a popular and feature-rich video editing software that empowers creators, vloggers, and video enthusiasts to craft captivating videos with ease. If you’ve recently upgraded to Windows 11 and want to install Filmora on your PC, you’ve come to the right place.
Before installing Filmora, make sure your Windows 11 PC meets the minimum system requirements for Filmora. You’ll need a dual-core processor, 4GB of RAM (8GB recommended), and 10GB of free hard disk space. Additionally, ensure that your graphics drivers are up to date to avoid any compatibility issues.
In this step-by-step guide, we’ll walk you through the process of installing Filmora on your Windows 11 computer.
Also watch: How To Download Ubuntu 23.04 ISO Image File
How To Install Filmora On Windows 11
Firstly, open your preferred web browser and go to the official Filmora website. Once there, click on the “Free Download” button to start downloading the Filmora installer to your PC, then choose the destination to save your installer.

Next, locate the downloaded installer file, which is usually found in your PC’s default “Downloads” folder. Then, double-click on the installer file (usually named “Filmora_Setup.exe“) to initiate the installation process.
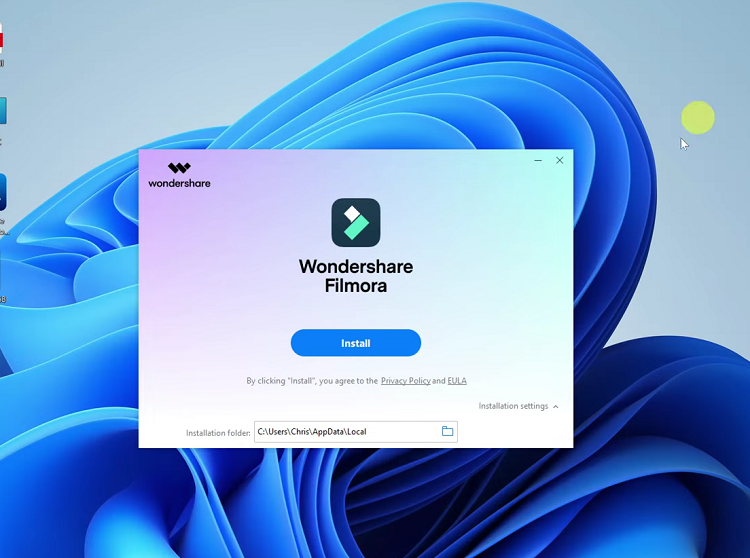
Next, you will be presented with an installation option to choose the installation path. Make your preferred selections and click on the “Install” button to proceed. The installer will now begin the installation process, which may take a few minutes.
Once the installation is complete, click on the “Start Now” button to exit the installer. You can now launch Filmora on your Windows 11 PC.
And that’s how to install Filmora on Windows 11. Now you can explore its vast array of features, effects, and tools to start creating impressive videos that will captivate your audience.

