Setting up an eSIM on your iPhone 18 Pro is a simple way to activate cellular service without using a physical SIM card.
Whether you are switching carriers, transferring your existing number, or activating a new mobile plan, this guide explains how to set up your eSIM quickly and easily.
Also Read: How To Turn ON iPhone 18 Pro
How To Set Up eSIM On iPhone 18 Pro
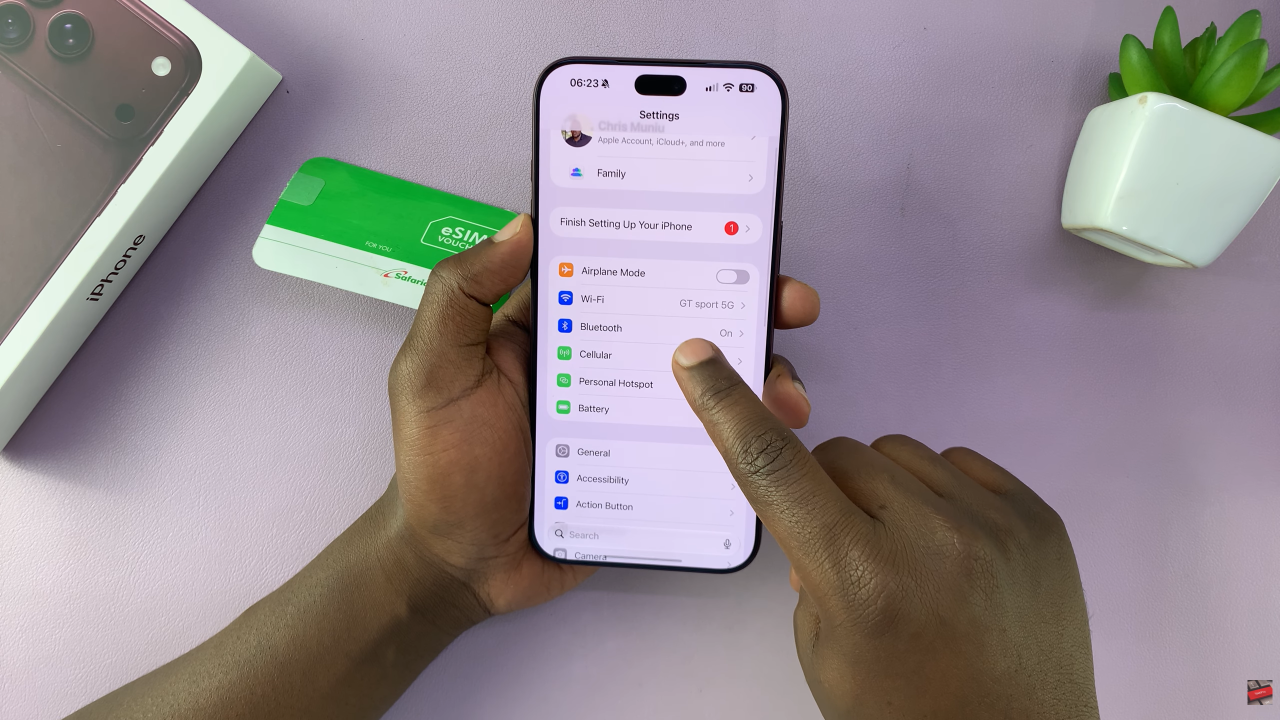
First, open the Settings app on your iPhone 18 Pro. From there, tap on Cellular, next, select Add eSIM. Your iPhone will display several options for adding a cellular plan. The options available may vary depending on your carrier and whether you are transferring an existing number.
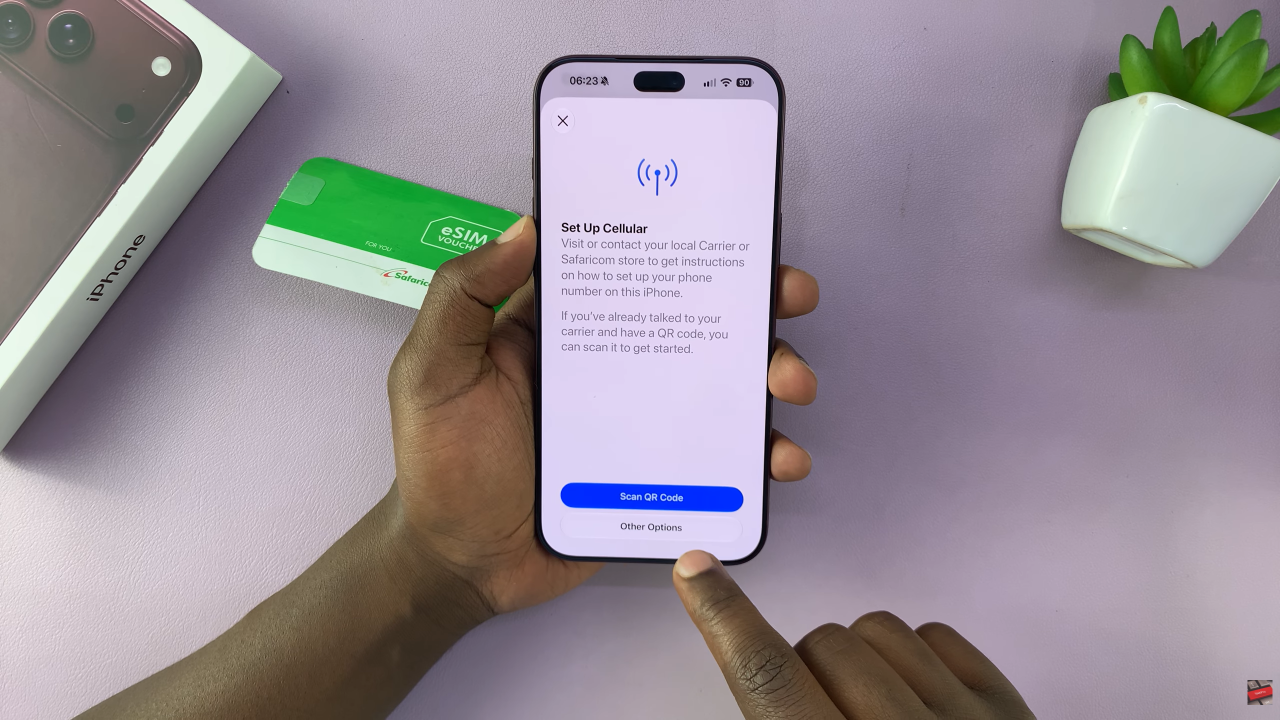
If your carrier has provided you with a QR code, select the option to Use QR Code. Point your iPhone’s camera at the QR code supplied by your carrier and wait for the phone to recognize it. Once the eSIM details appear, follow the instructions on the screen to continue.
After the eSIM has been added, your carrier may need a few moments to activate the mobile service. Once activation is complete, you should see the new cellular plan listed under the Cellular settings.
If everything is working correctly, your iPhone should be able to make calls, send messages, and use mobile data through the eSIM.
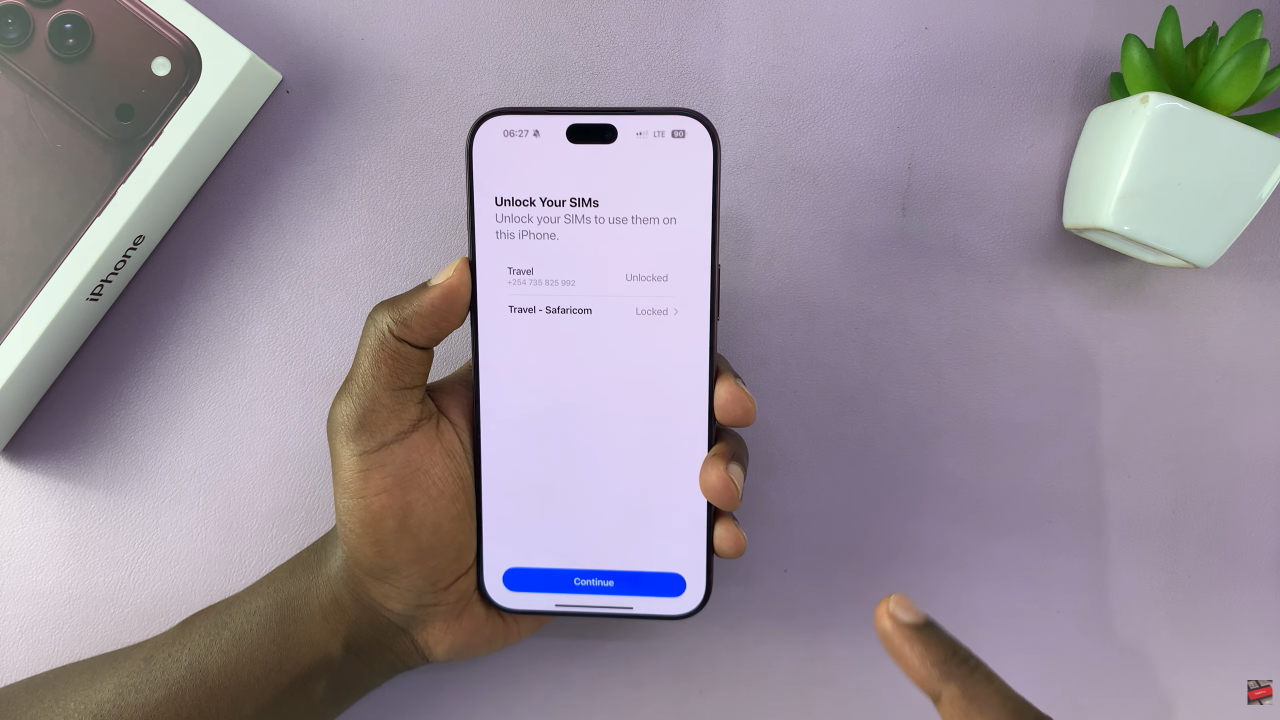
Setting up an eSIM on the iPhone 18 Pro is a straightforward process. Once your carrier provides the necessary activation information, you can add the cellular plan through the Settings app and complete the activation without inserting a physical SIM card. If the eSIM does not activate, check that your carrier supports eSIM and contact the carrier for assistance with activation.
Watch: How To AirDrop Files From iPhone 18 Pro / 18 Pro Max To Android