Video:Airpods Pro 3: How To Add To Find My App On iPhone
Adding AirPods 3 to the Find My app on your iPhone is an essential step in keeping them secure and easy to locate. With this feature, you can track their location, play a sound when they’re misplaced, and even view their last known position if they go offline. As Apple continues to enhance device safety and user convenience, linking your AirPods 3 to Find My ensures peace of mind and protection against loss.
Moreover, the integration between AirPods and the Find My network makes it easier than ever to stay connected to your devices. Once properly added, your AirPods 3 can be tracked alongside your iPhone, iPad, or Mac, offering a seamless experience within Apple’s ecosystem. This connection not only boosts security but also adds an extra layer of convenience for everyday use.
Watch:AirPods Pro 3: How To Enable / Disable Charging Case Sounds
Add Airpods 3 To Find My App On iPhone
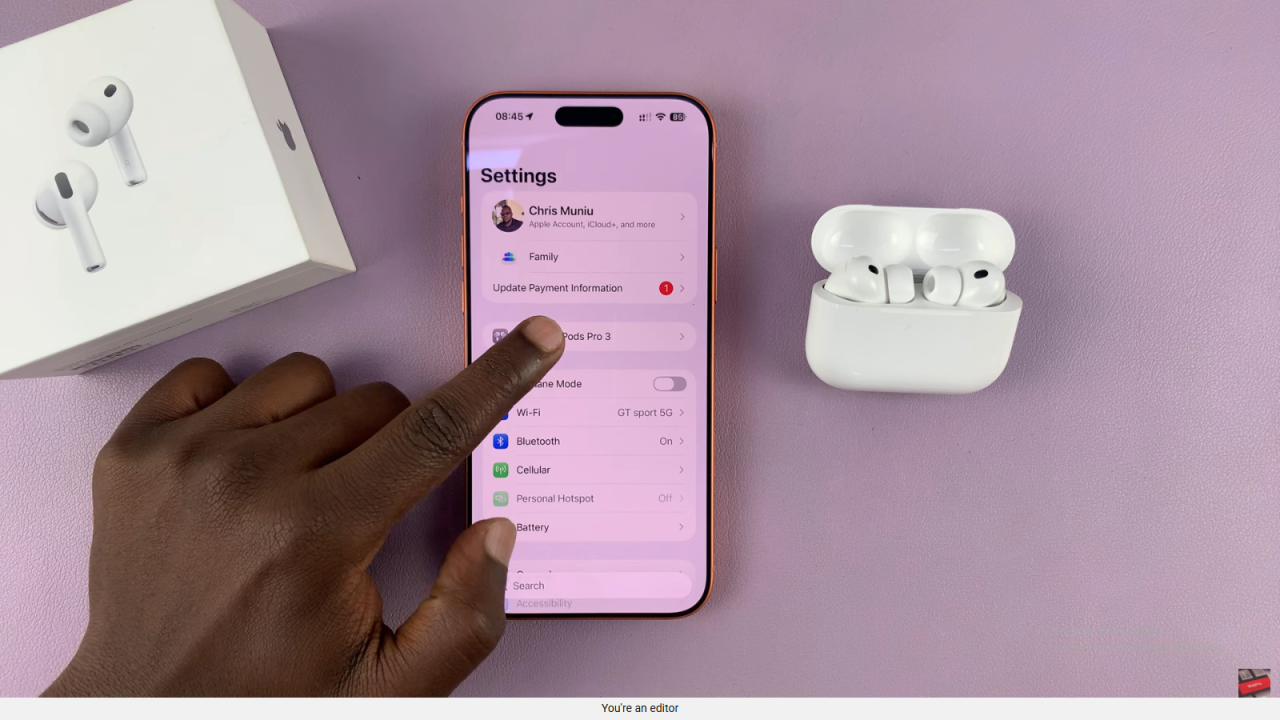
Open Settings
Start by opening the Settings app on your iPhone. Next, open the lid of your AirPods Pro 3 case to connect them automatically.
Access AirPods Settings
After connection, tap your AirPods Pro 3 at the top of the Settings page. This opens their dedicated settings menu.
Locate the Find My Network Option
Then, scroll down to find the Find My Network section. This feature keeps your AirPods visible in the Find My app, even when offline.
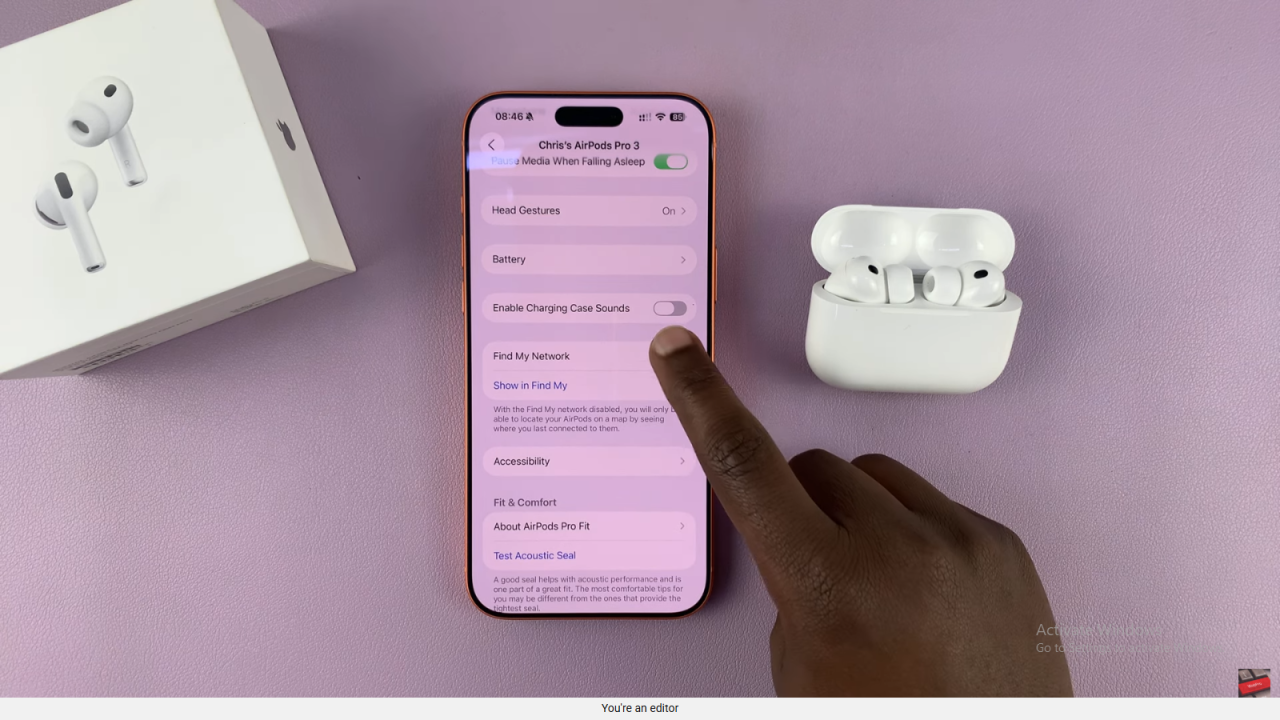
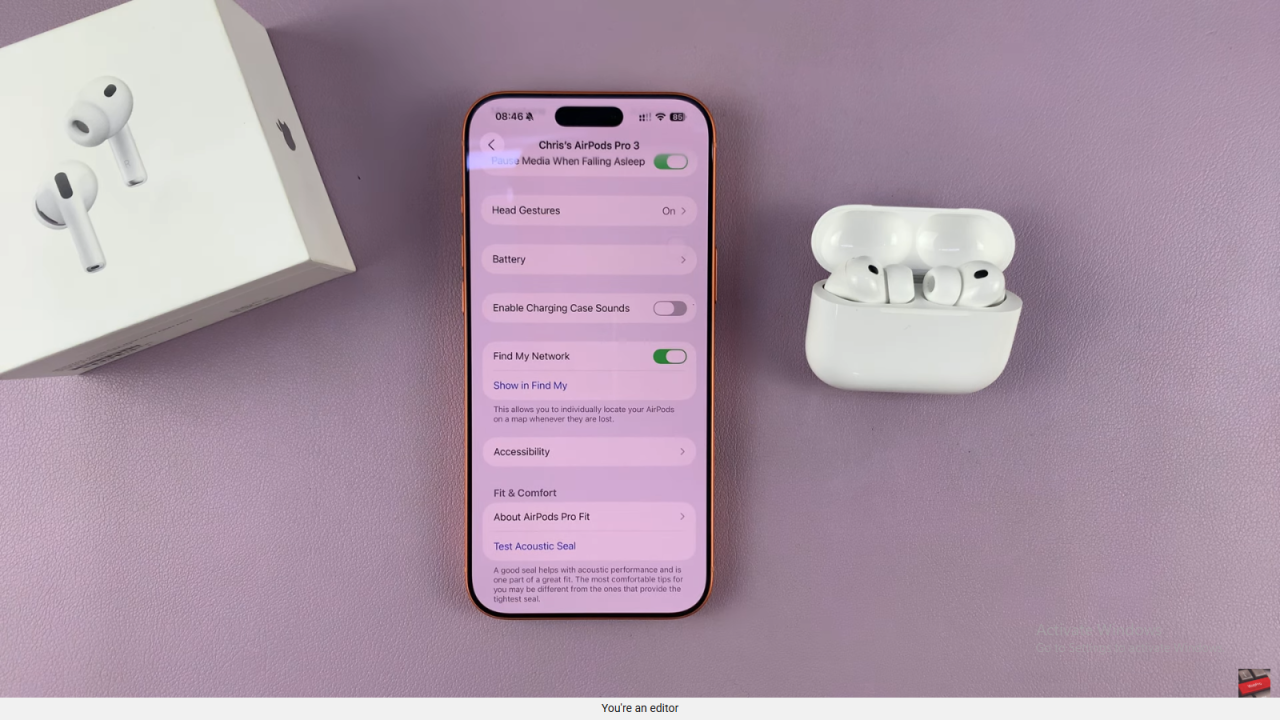
Enable Find My Network
Turn the Find My Network switch ON to activate tracking. This ensures you can always locate your AirPods through the Find My app.
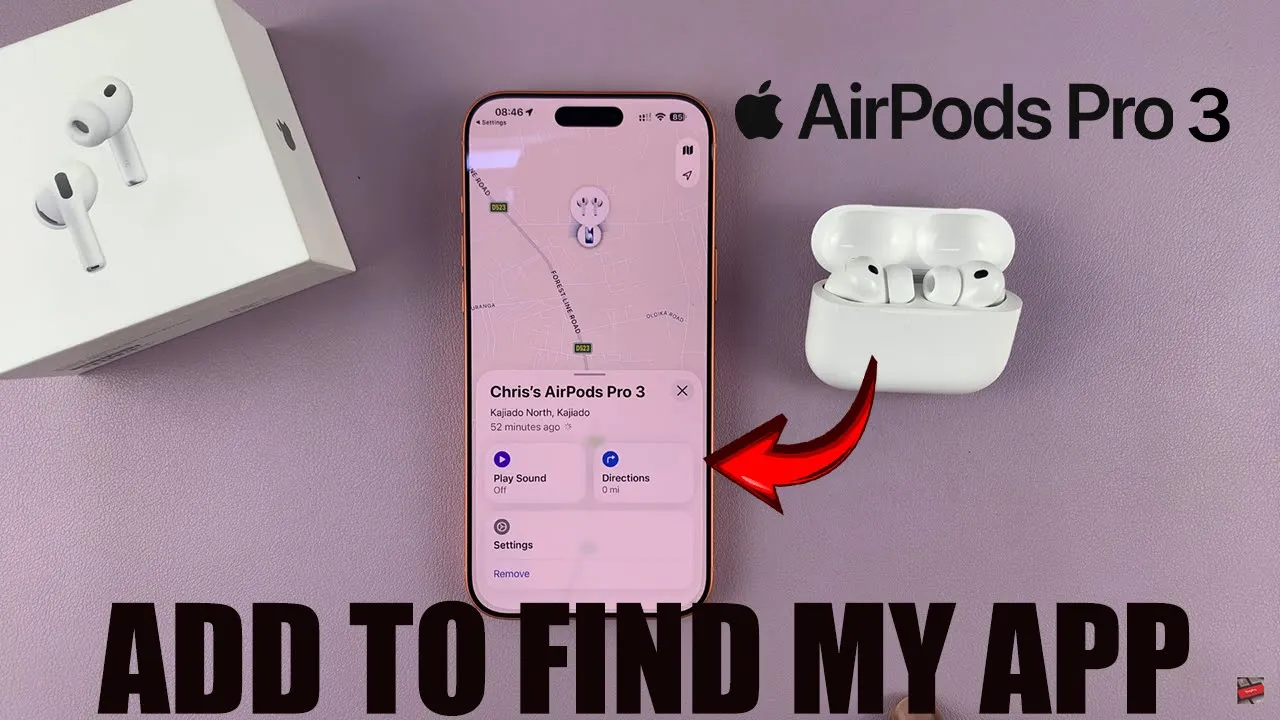
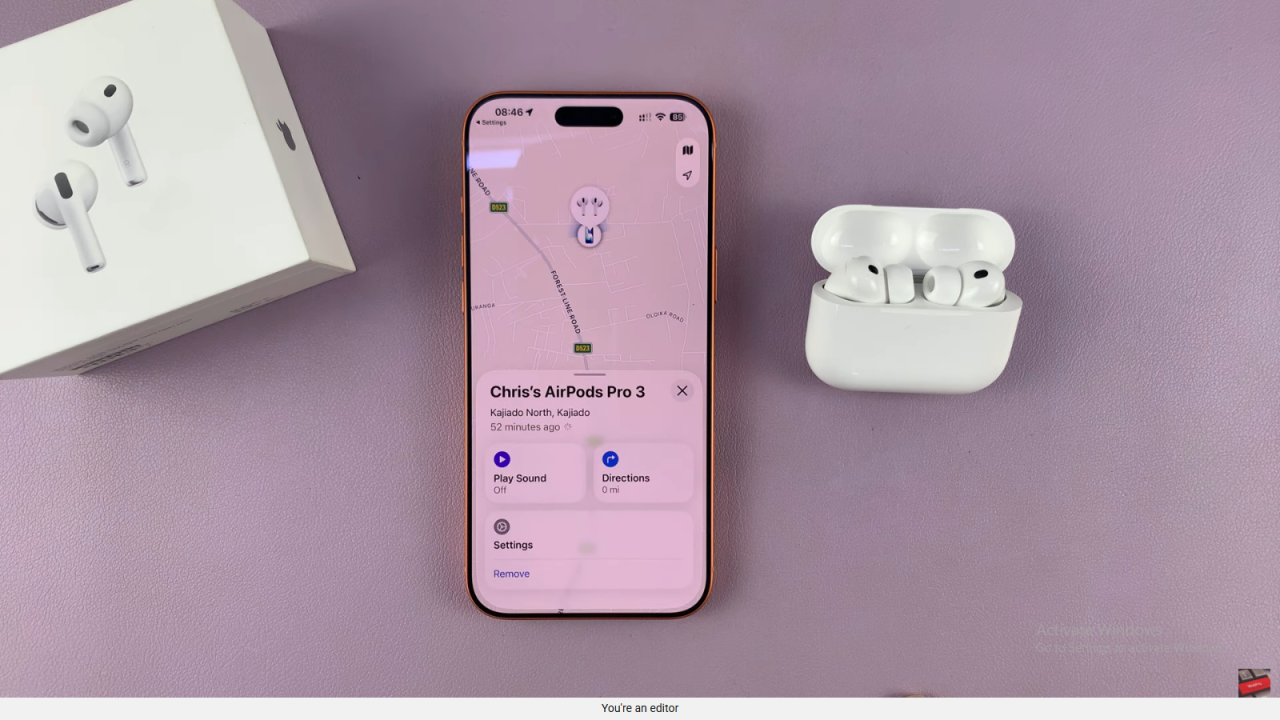
Confirm Connection in Find My App
Finally, open the Find My app and check that your AirPods Pro 3 appear on the list. You should now see their current or last known location.
Read:How To Enable / Disable Charging Case Sounds On AirPods Pro 3

