Screen capturing is one of the crucial abilities that every Mac user must master, be it for recording significant data, an error message, or anything else that needs to be shown from the computer display. If you use the MacBook Neo, there are many built-in functions provided by Apple that will help you capture screenshots instantly and conveniently without any additional software.
This article is a step-by-step tutorial that explains how you can use different methods to take screenshots on MacBook Neo. Regardless of whether you wish to capture a part of the display or the entire screen, you will find detailed information about all of the keyboard combinations and other helpful features.
By following the guidelines mentioned in this article, you will be able to create a screenshot with no effort whatsoever.
Watch: How To Set Up Touch ID On MacBook Neo
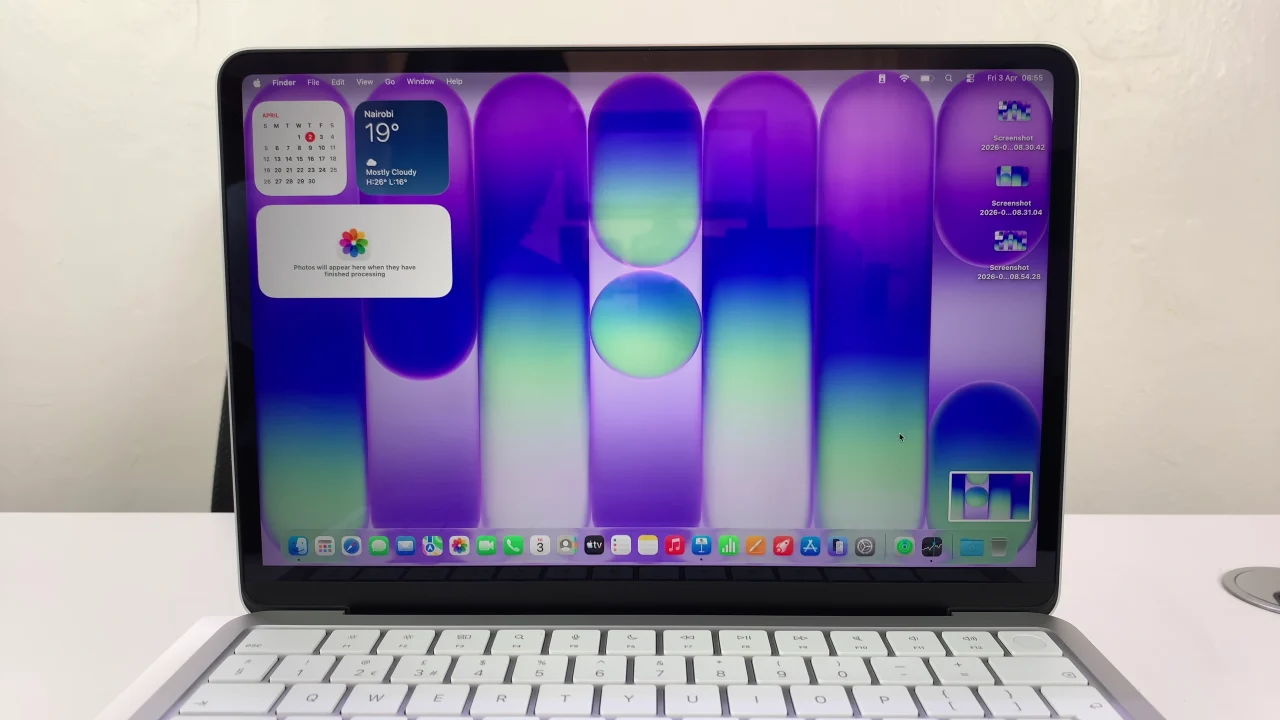
Take Screenshots On MacBook Neo
Taking screenshots on MacBook requires you to use keyboard combinations. If you’d like to capture full screenshot on your MacBook Neo, press the Command, Shift + 3 and you’ll see a screenshot preview in the bottom right corner.
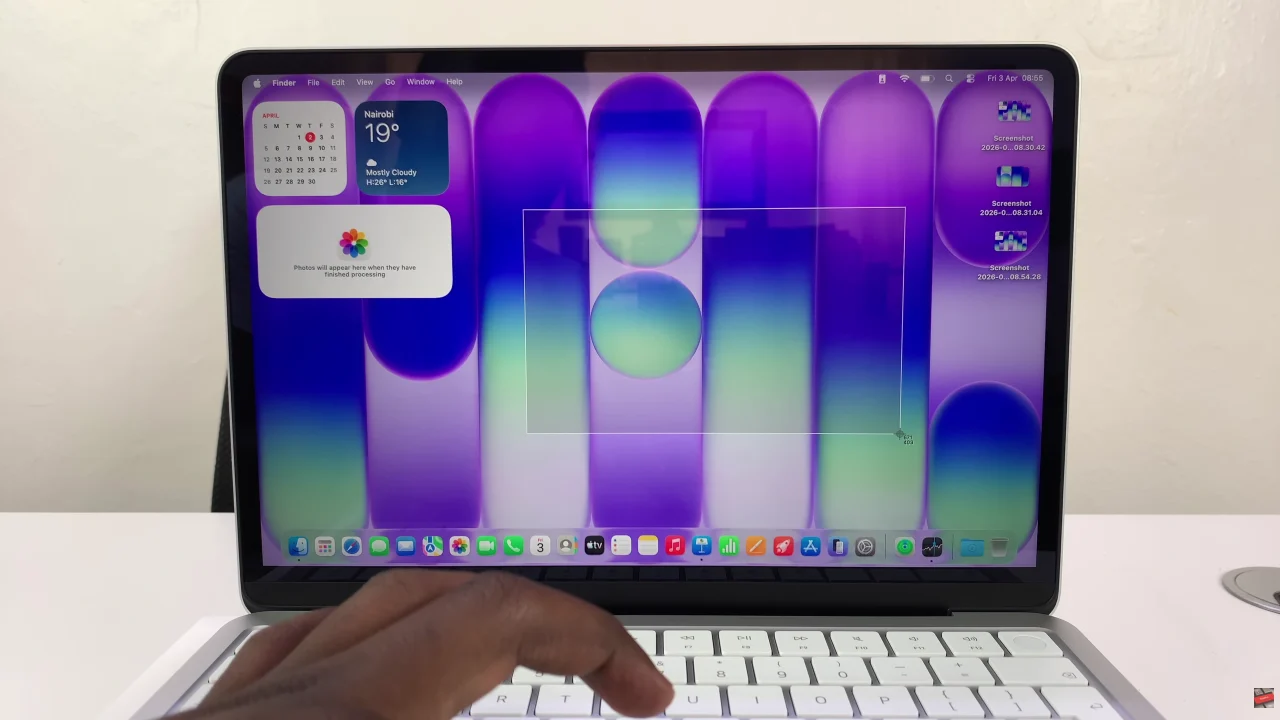
Alternatively, you can capture partial screenshots on your MacBook Neo. To do this, use the keyboard combination; Command, Shift + 4. You’ll see an icon appear on your screen. Press and hold the touchpad then drag the icon to the section you’d like to capture.
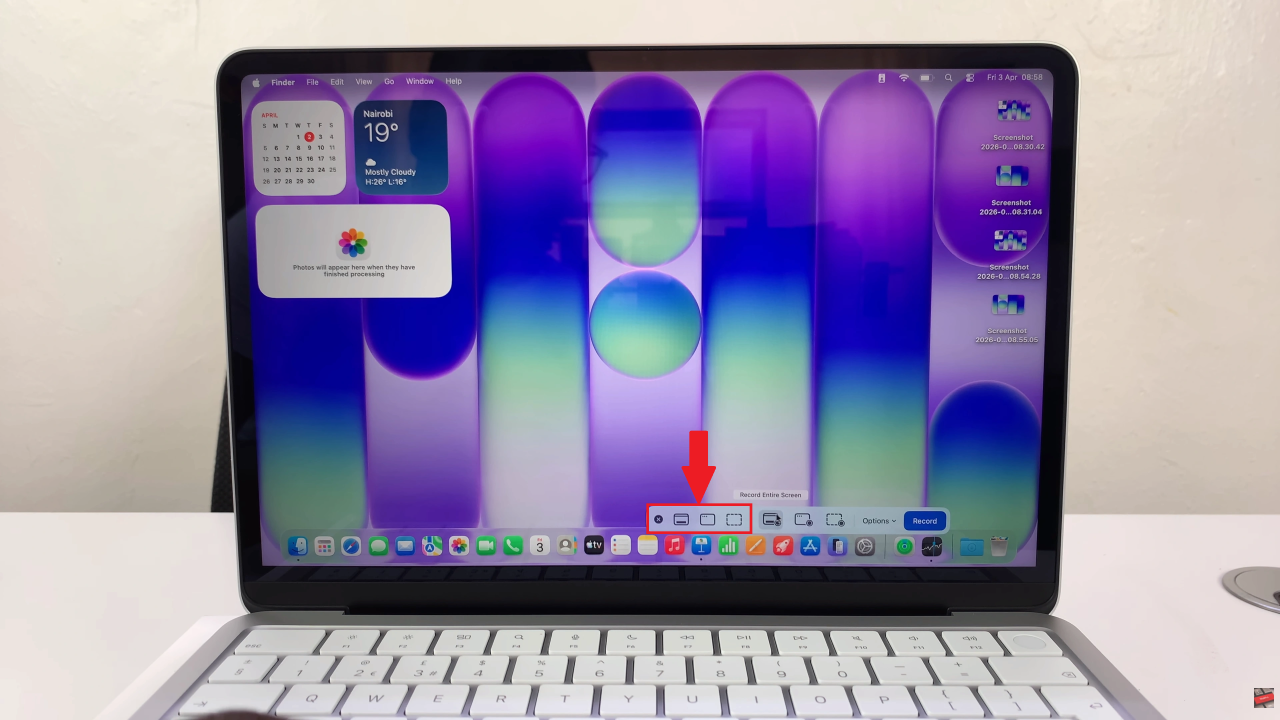
Additionally, if you’d like to access the screenshot settings, simply press Command, Shift + 5 and you’ll see a screenshot toolbar appear on the screen. From here, you can customize the screenshot settings to suit your needs.
With the methods covered in this guide, you now have everything you need to confidently capture, edit, and share screenshots with ease. These features are especially useful for work, study, content creation, or even just saving important moments on your screen.

