Let’s walk you through the simple process of switching between the 12-hour and 24-hour clock formats on your iPhone.
Keeping track of time is an essential aspect of our daily lives, and our smartphones play a crucial role in helping us stay punctual. If you own an iPhone and want to customize the way time is displayed, you’re in luck!
Whether you prefer the standard 12-hour format or the more internationally-used 24-hour format, we’ve got you covered.
Read this: How To Automatically Turn ON Low Power Mode On iPhone
Switch Clock Format On iPhone
To change the clock system from 12-hour to 24-hour and vice versa:
First, unlock your iPhone and navigate to the home screen. Locate and tap on the Settings app, represented by a gear icon.
Within the Settings menu, scroll down and tap on General. In the General menu, look for and select Date & Time.
Under the Date & Time settings, you will find the 24-Hour Time option. By default, the switch will be off, indicating the 12-hour format.
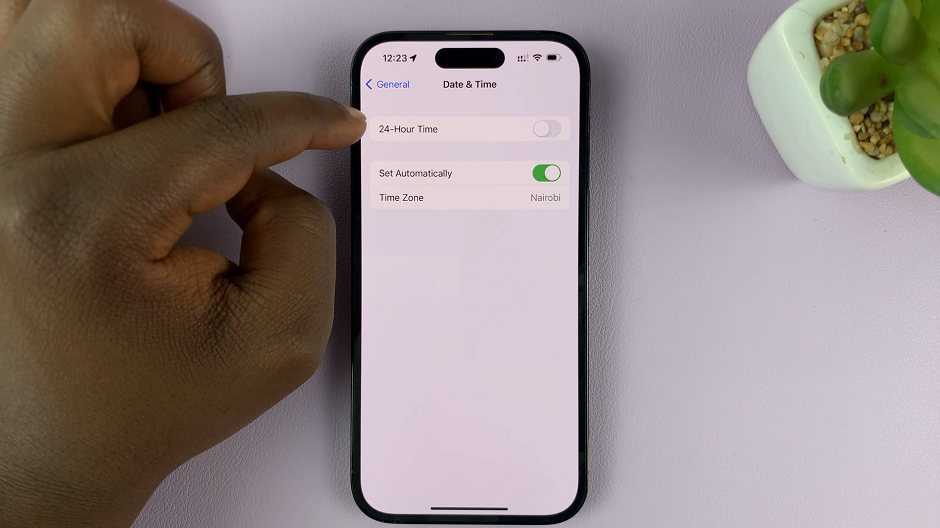
Tap the switch to turn it on and activate the 24-hour format. Once you have made your selection, exit the Settings app.
It’s important to note that when you switch to the 24-hour time system, the clock will display the time continuously, without the need for AM or PM indicators. This format is widely used in many countries and is especially favored by those who prefer a more precise representation of time.
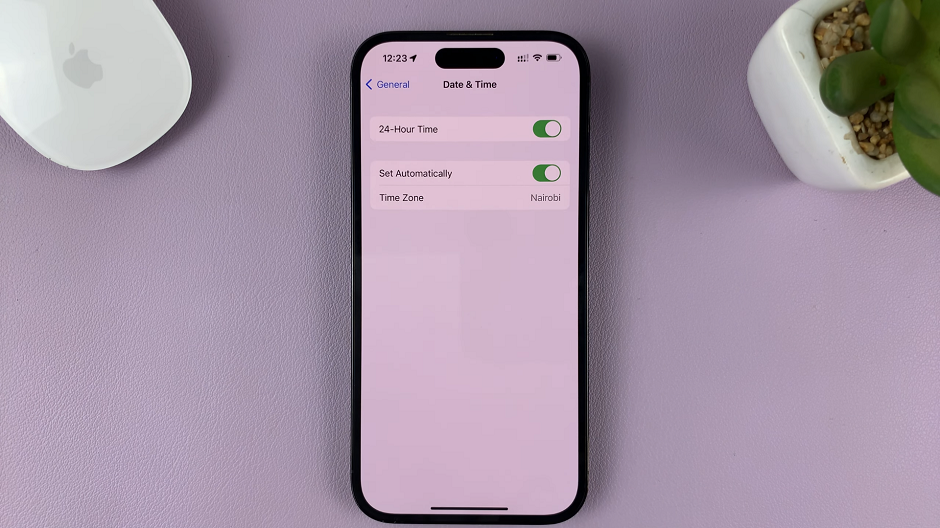
With this, you will have successfully switched the clock format on your iPhone. The time on your device will now be displayed in the format of your choice.
Automatic time Zone Adjustment
Bonus Tip: While adjusting the clock format, you may also notice an option called “Set Automatically” within the “Date & Time” settings. When enabled, this feature allows your iPhone to automatically update the time based on your current location. It’s a convenient way to ensure your device always displays the correct time, especially when traveling across different time zones.
By following the step-by-step instructions provided in this article, you can now take control of your iPhone’s clock format and enjoy a time display that suits your needs. Stay punctual!

