Learn from this article how to safely eject or unmount an external hard disk or USB drive from your Samsung Galaxy Z Fold 7 to prevent data loss or corruption. Properly unmounting ensures that all read/write operations complete safely, preventing potential corruption, data loss, or drive damage.
Before removing the external hard disk, ensure that all file transfers or operations involving the storage device complete. This prevents any potential data loss or corruption that may occur if files are in the midst of being transferred.
You also need to close any applications or programs that may be accessing files stored on the hard disk. This includes media players, document editors, or any other apps that may have opened files from the hard disk.
Read: How To Add / Remove Wireless Debugging Shortcut On Galaxy Z Fold 7
Safely Eject External Hard Disk From Galaxy Z Fold 7
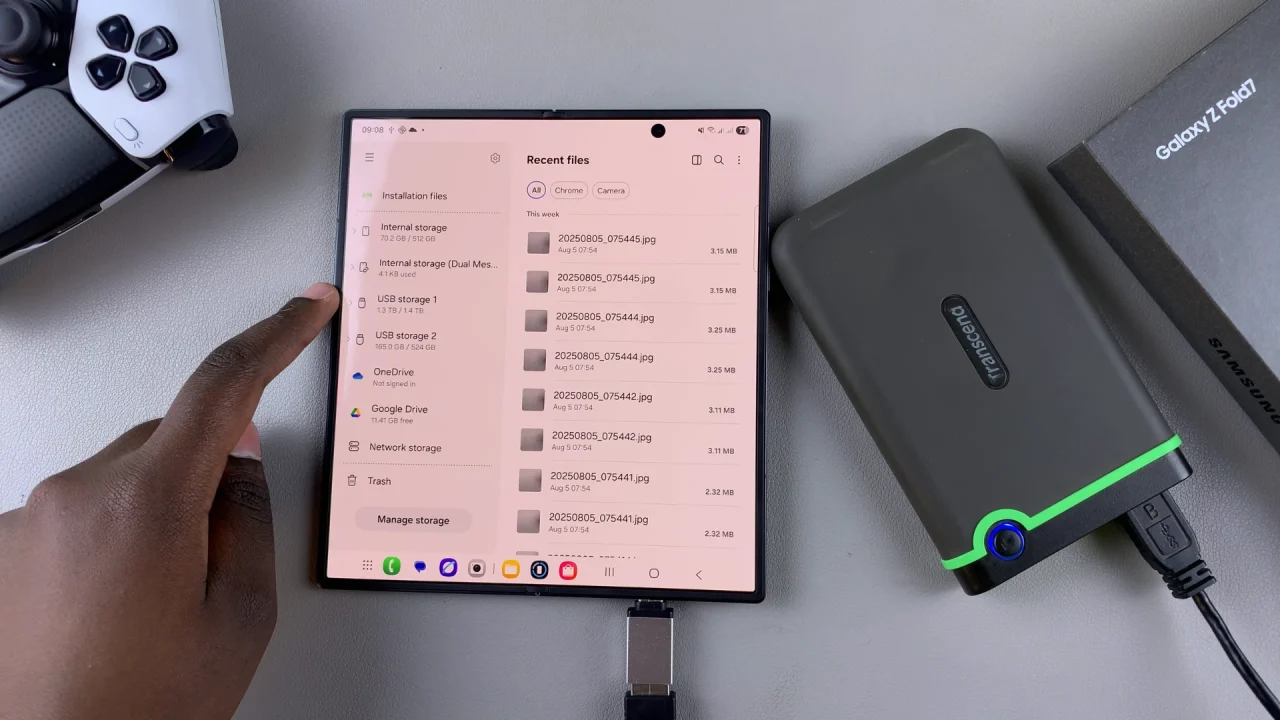
Once you close all the applications, launch the My Files app and tap on the hamburger menu in the top-right corner. Here, locate the hard drive from the list of storage devices. This option is typically found in the device’s settings menu under the Storage section.
If your Galaxy Z Fold 7 is connected to multiple hard drives, ensure that you select the correct one before proceeding with the eject process.
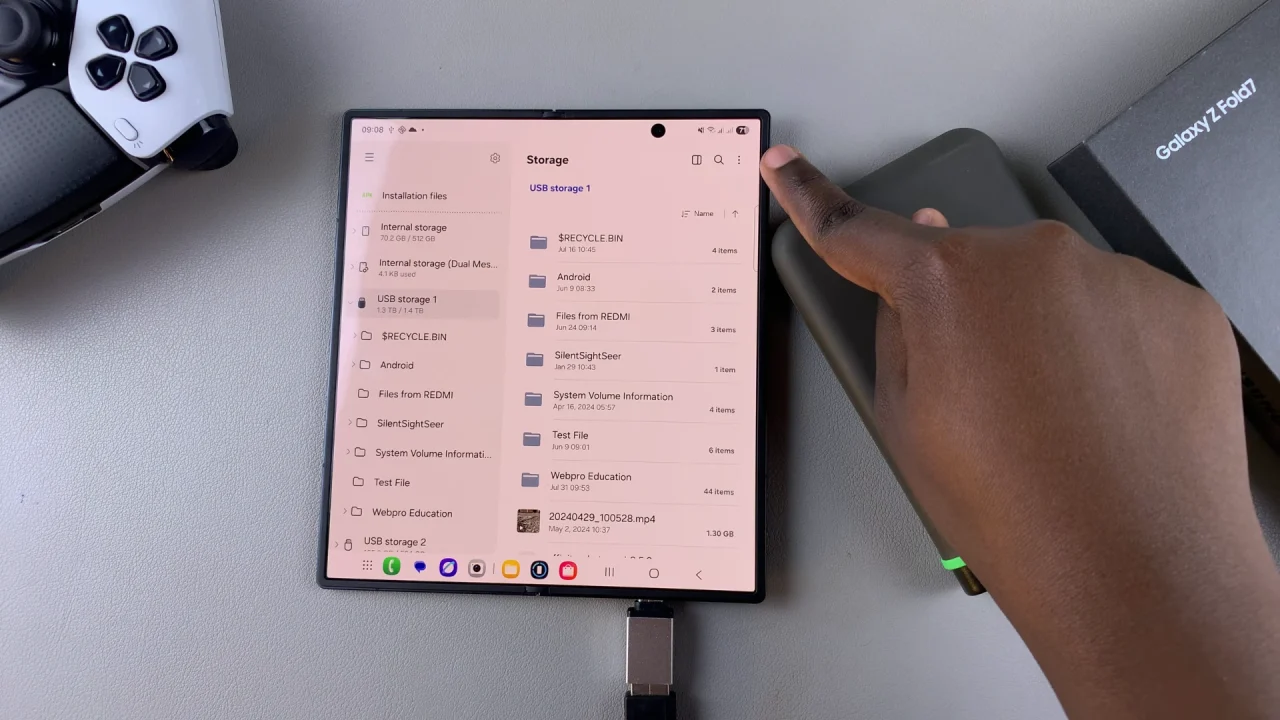
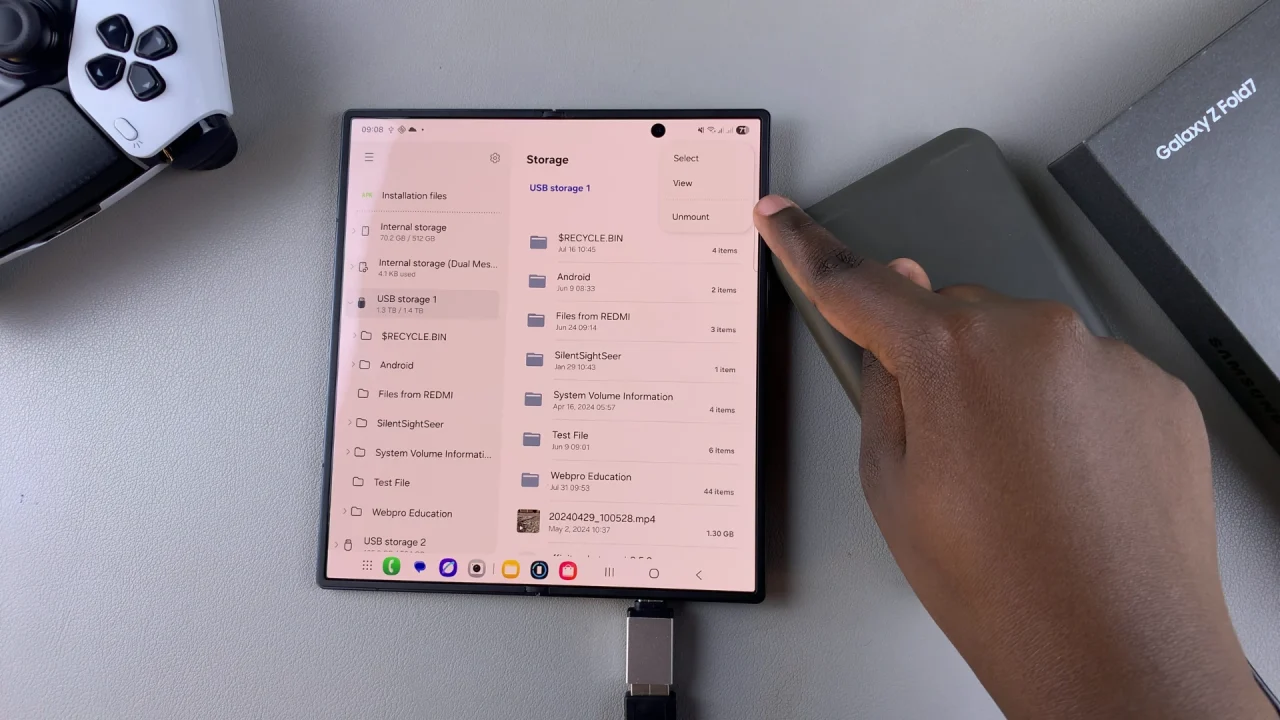
Once you’ve located the hard drive, tap on it to open the contents and tap on the three dots in the top-right corner. Select the Unmount option.
This initiates the process of unmounting the external hard disk from your Z Fold 7.
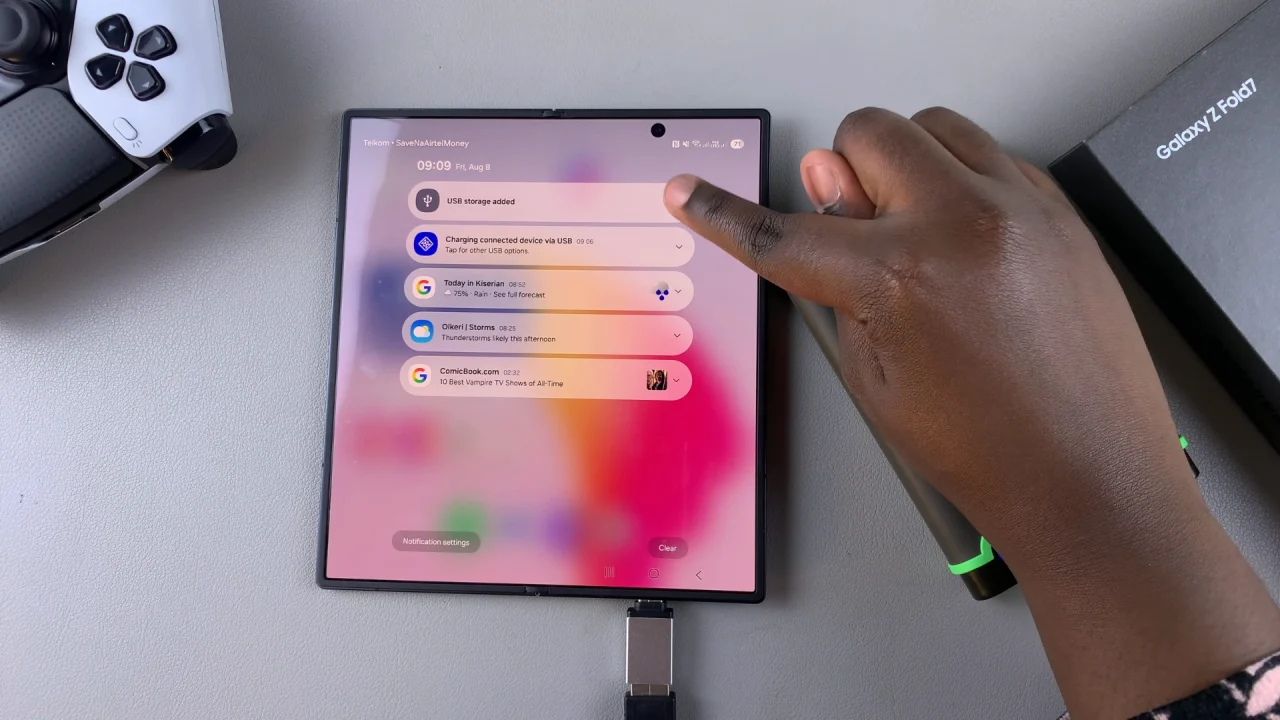
You can also swipe down to reveal the notifications panel, where you’ll see the USB Storage Added notification. Tap on the drop-down arrow next to it, and select Unmount from the options.
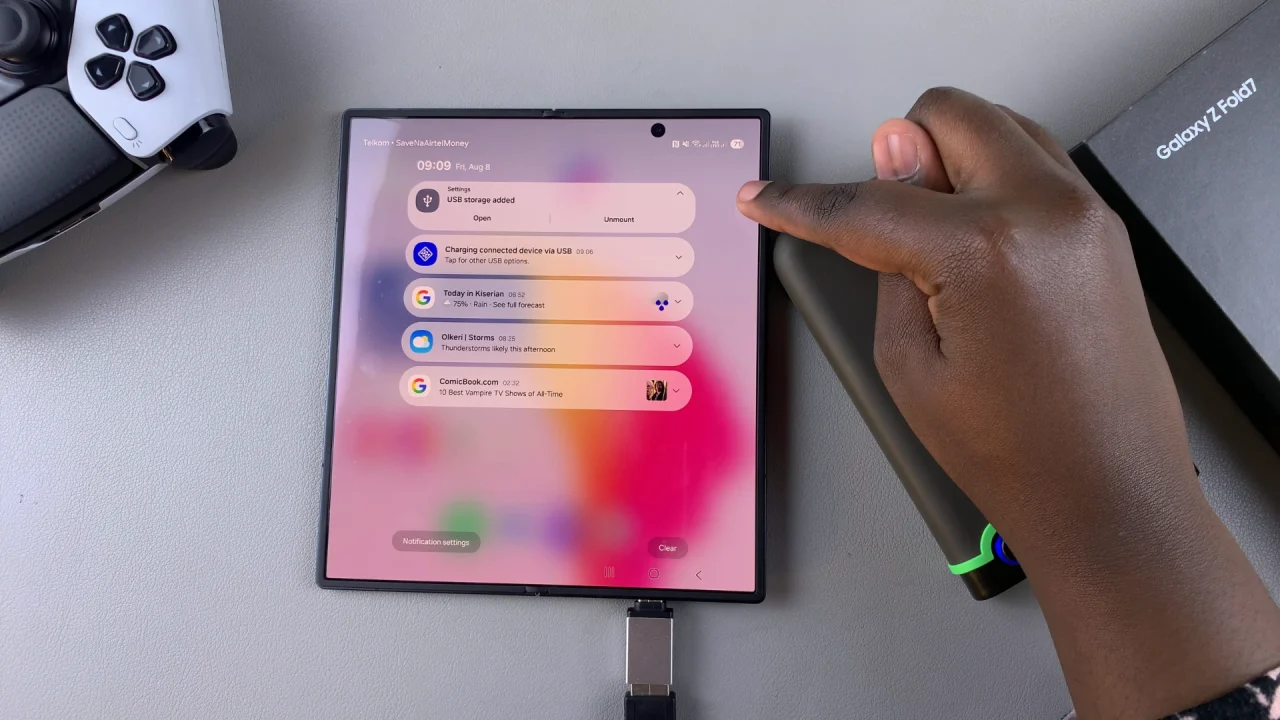
After selecting the unmount option, wait for your device to confirm that it’s safe to remove the hard drive. This confirmation message ensures that all data transfers have been completed, and it’s now safe to physically disconnect the external hard disk.
You should see the Unmounted label next to the name of your drive.
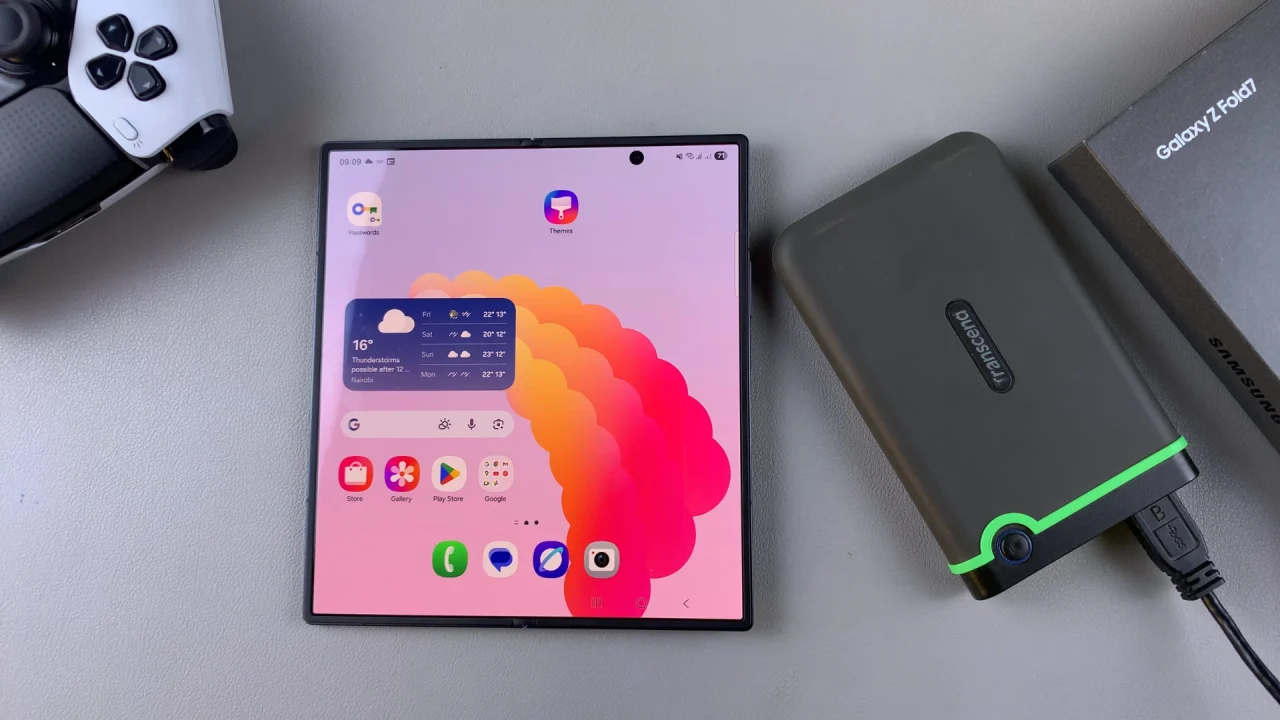
Once you receive confirmation from your Z Fold 7, carefully disconnect the hard disk from the phone. Avoid forcefully removing the hard drive to prevent damage to the connectors or ports.
Finally, unplug the adapter and the USB flash drive. Always wait for confirmation—either a notification disappearing or a message—before removing the drive.
As a last resort, power off your device completely before unplugging the external drive. This ensures any pending operations complete first.

