Timelapse video is an innovative approach to compressing hours of footage and activity into just a few seconds of stunning raw clips. Thanks to the iPhone 17 and iPhone 17 Pro, it has never been easier to shoot high-quality timelapse video.
Their sophisticated camera systems do not just provide sharp, high quality videos, but they also make the process straightforward for new users and seasoned shooters alike. In this tutorial, we will tell you step by step just how to record timelapse video on your iPhone 17 or iPhone 17 Pro.
In no time you will be ready to share your cinematic timelapse videos with friends, family, or social media.
Watch: How To Disable Voice Over Mode On iPhone 17
Record Timelapse Video On iPhone 17 & 17 Pro
Begin by launching the Camera application on your iPhone 17. Find the Camera app on the home page and tap on it. Then, scroll through the option and locate the ‘Timelapse‘ option.
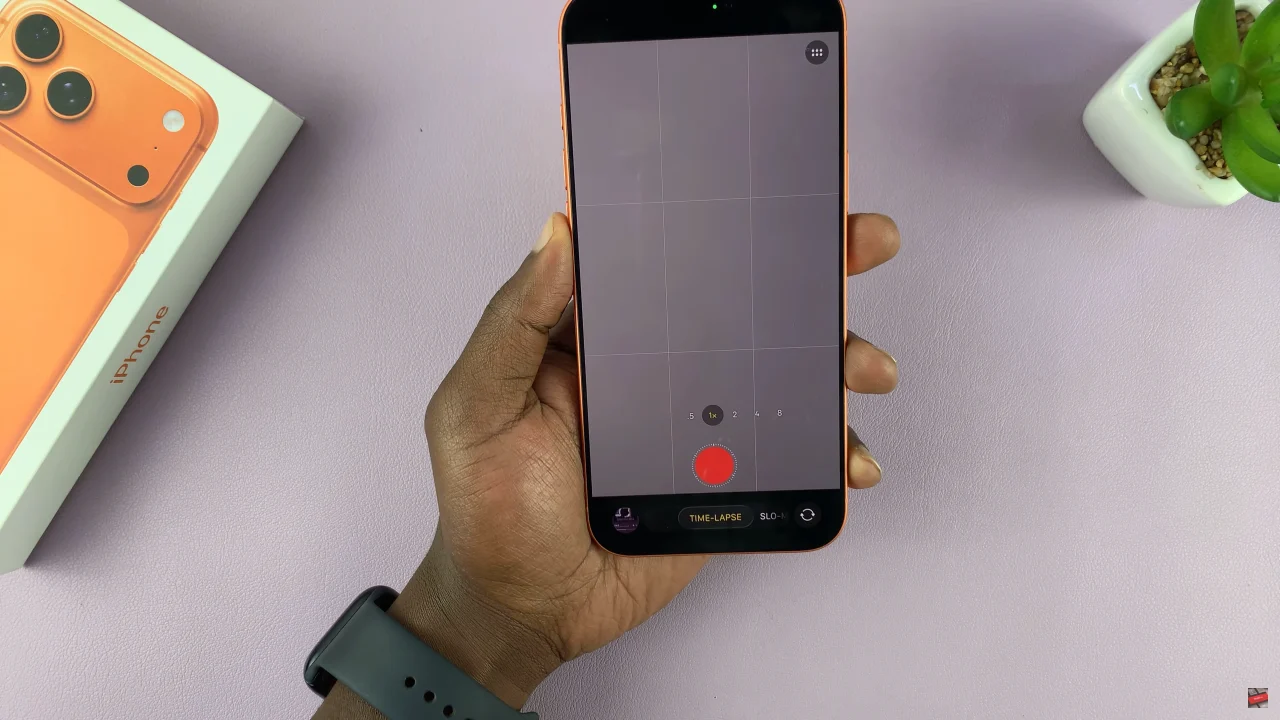
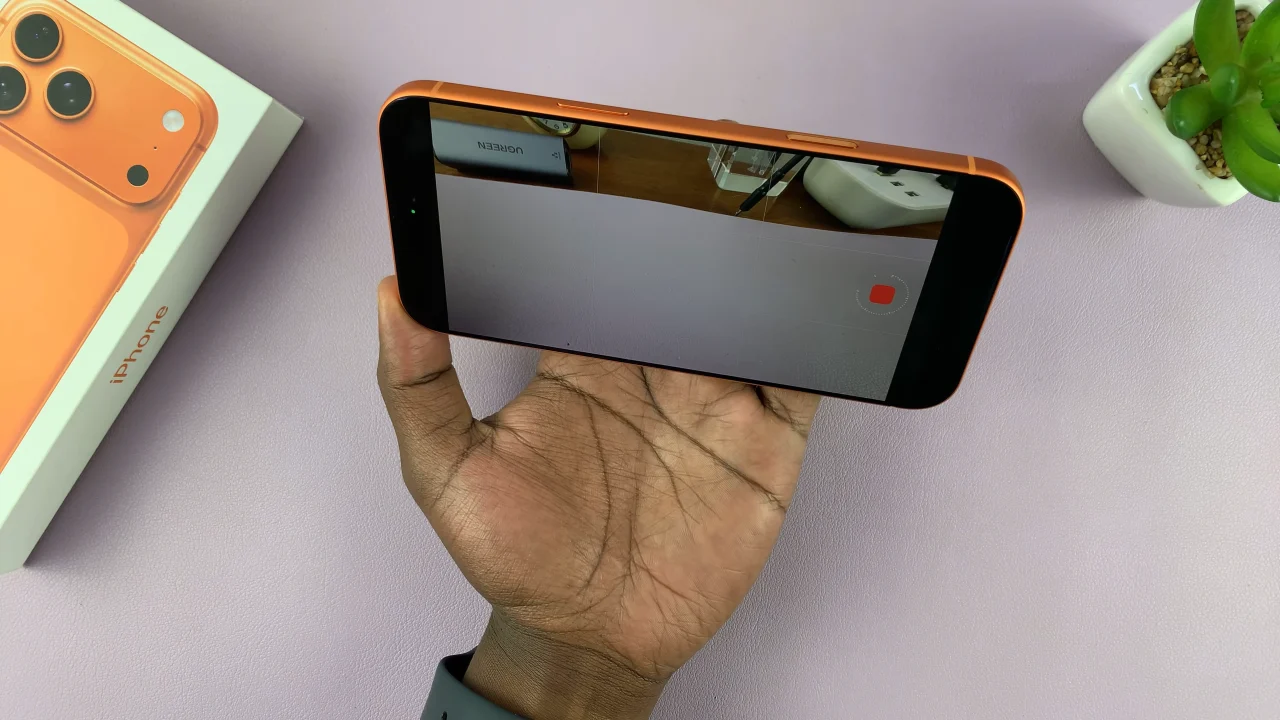
Following this, align the camera within the area you’d like to capture the video. Then, tap on the record button to begin the capturing process. Once you’ve captured the intented area, you can stop the recording and access the recorded video within the Gallery on your iPhone 17.
Recording timelapse videos on your iPhone 17 / 17 Pro is simple once you know the steps. With a little patience and some creative framing, you can turn everyday moments into mesmerizing short videos. Try experimenting with different scenes, lighting, and angles to make your timelapse clips truly unique. Don’t forget to share your creations with friends and social media!

