If you use your MacBook Neo with multiple monitors, having the right screen layout can significantly improve your productivity.
Sometimes, you may need to re-arrange your extended displays—for example, if your external monitor is physically positioned to the left, but your MacBook thinks it’s on the right.
Fortunately, adjusting your display arrangement on MacBook Neo is straightforward. Here’s a step-by-step guide on how to re-arrange the extended display on your MacBook Neo.
Read: How To Connect External USB Microphone To MacBook Neo
Connect Extended Display To MacBook Neo
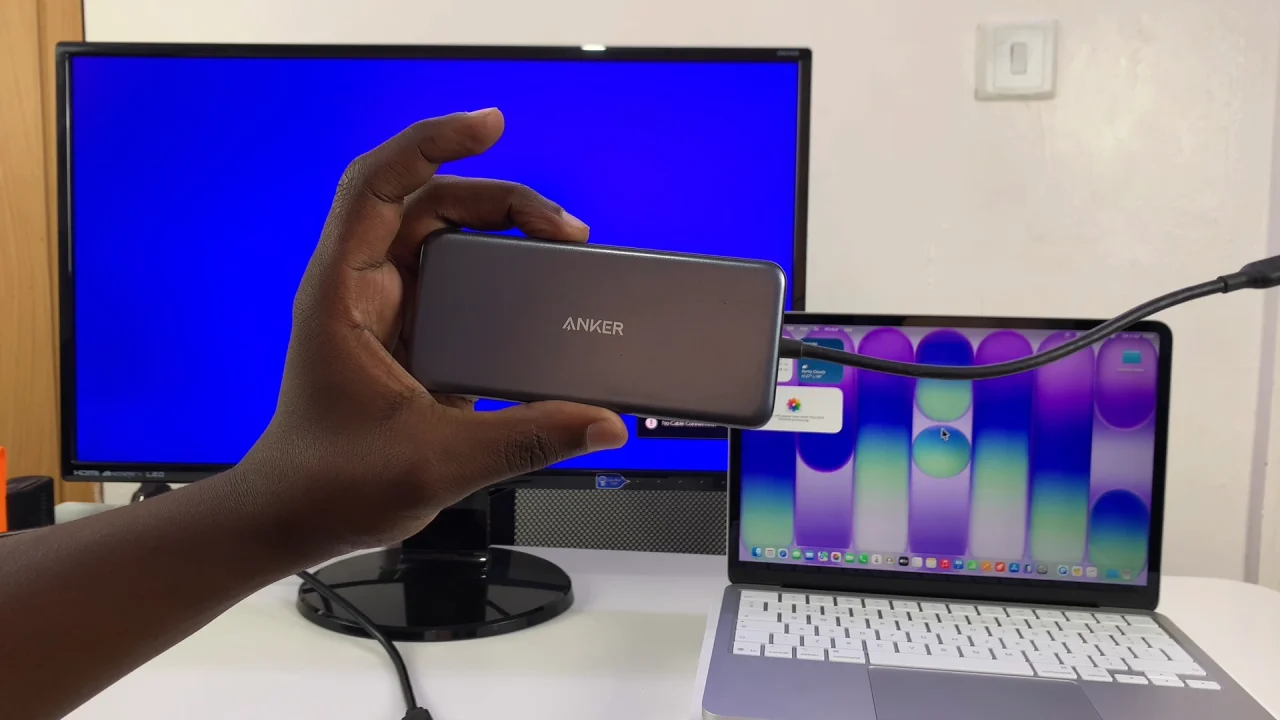
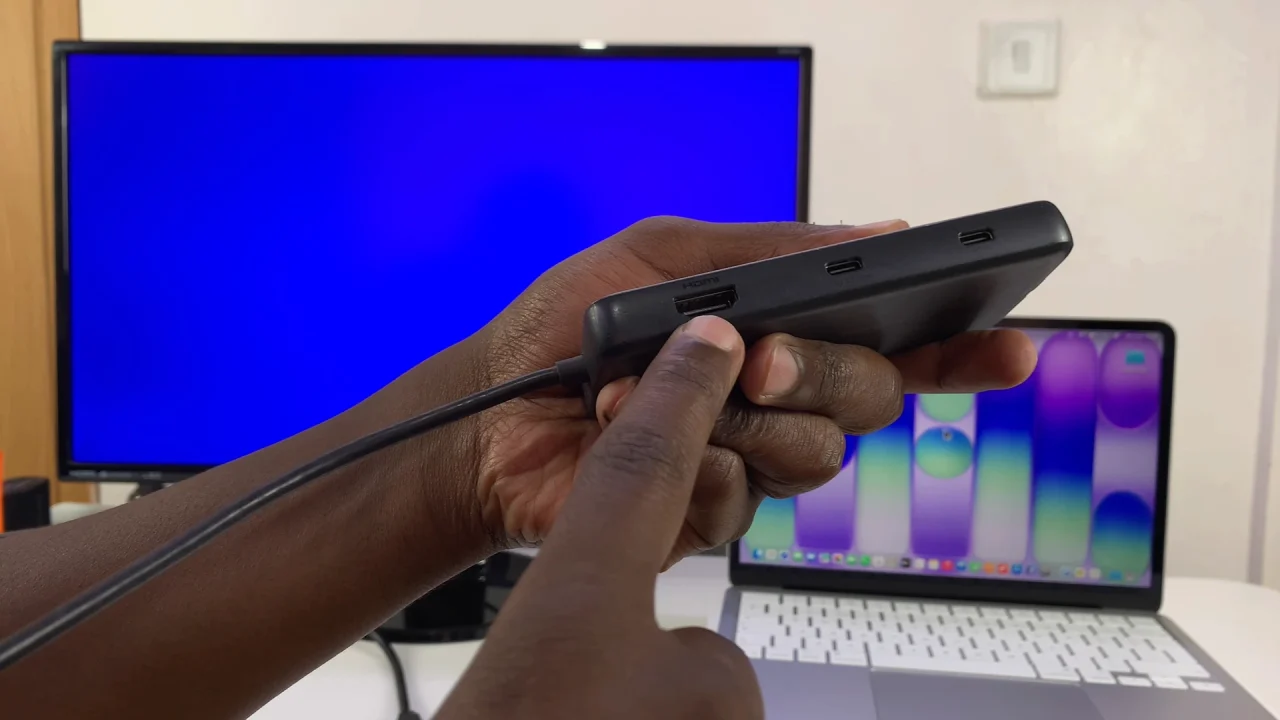
To begin, turn on your external monitor or TV. Plug one end of the cable into your display. Connect the other end to your MacBook Neo (or via an adapter).
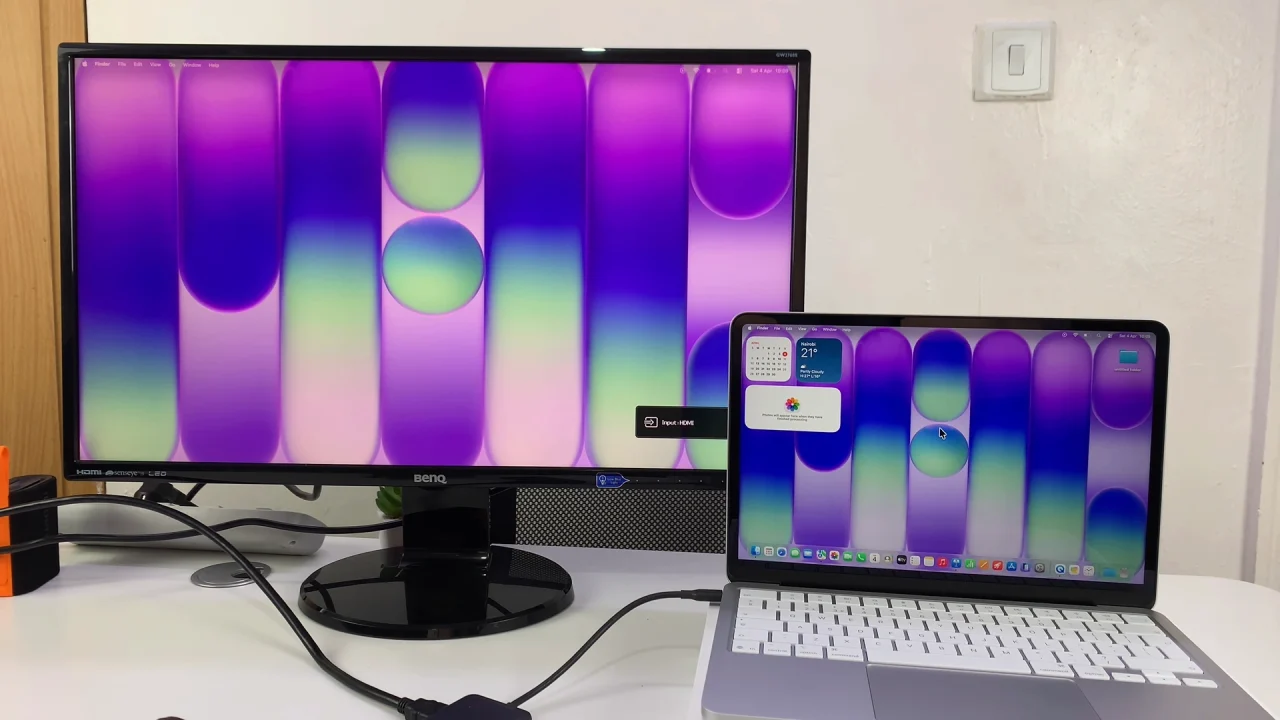
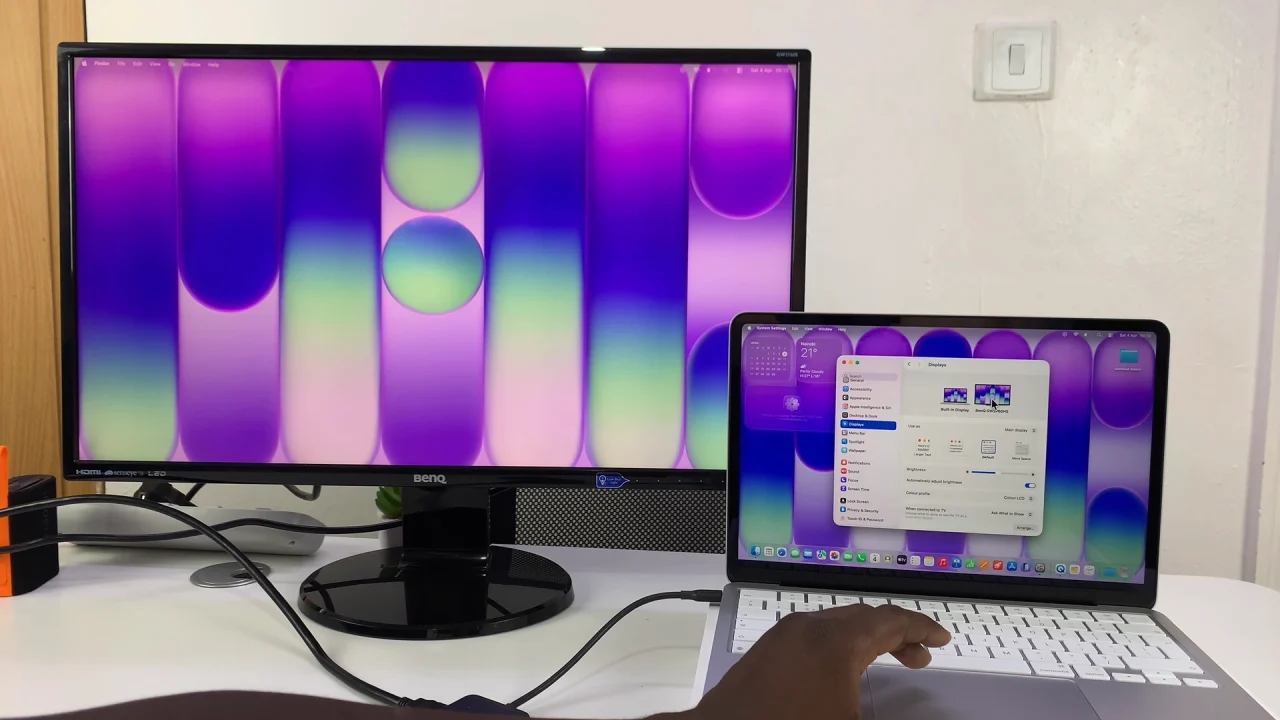
Once connected, your MacBook Neo should automatically detect the display.
Re-arrange Extended Display On MacBook Neo
To re-arrange your external display, click the Apple menu in the top-left corner and select System Settings.
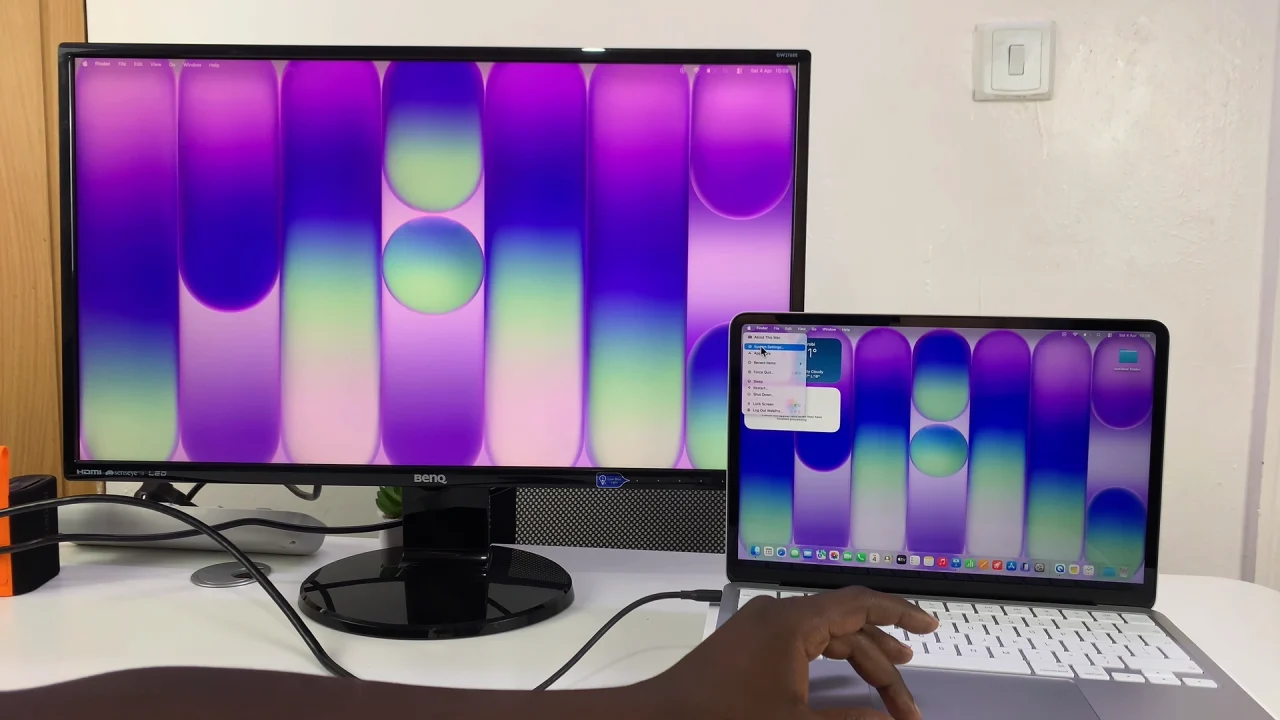
Select Displays in the left-hand side panel. Here, you’ll see both your MacBook screen and the external display.
To match your physical setup, under the Displays settings, look for the Arrange option and click on it.
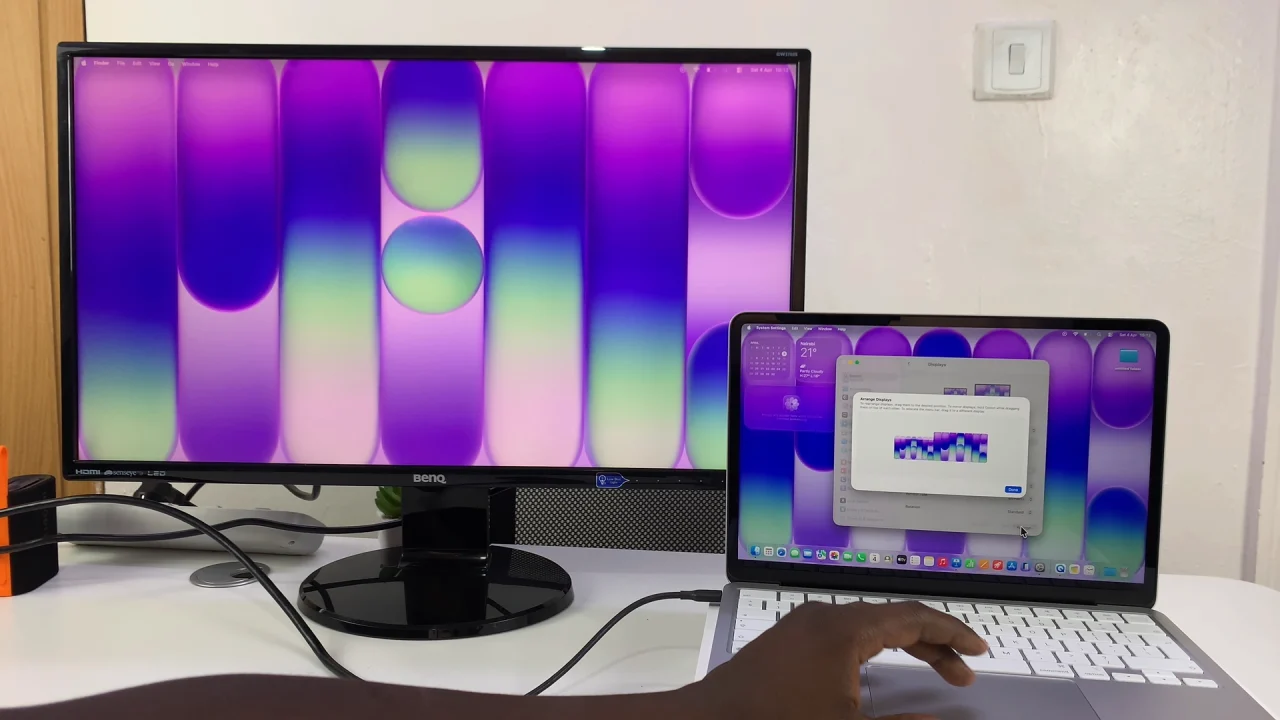
You now want to drag the displays to position them (left, right, above, etc.) to match the physical set up.
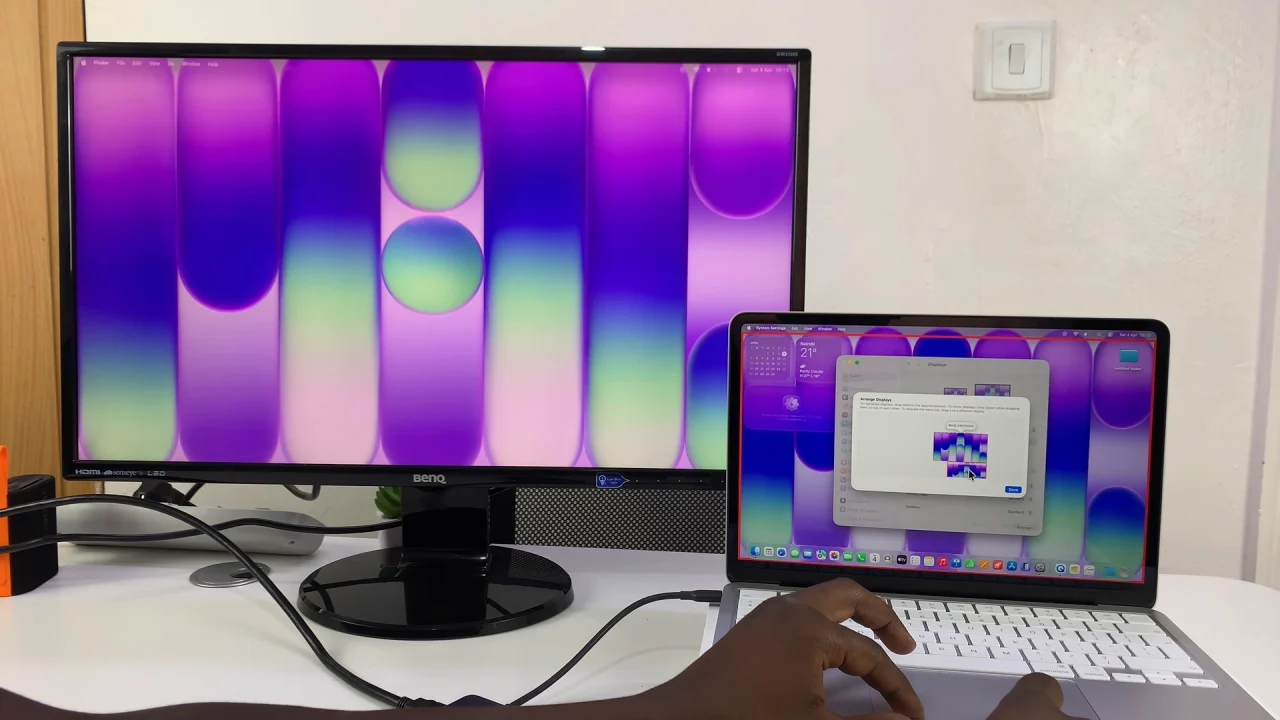
Tap on Done to save your changes. This ensures smooth cursor movement between screens.

Once satisfied with the arrangement, move your cursor across all screens to ensure it follows your new layout. Open a few windows and drag them between monitors to test.
Use Your External Display Efficiently
Once set up, you can drag apps between screens. You can also use one display for work and the other for browsing or media. Another possibility is going full-screen on one monitor while multitasking on the other.
