With privacy becoming an ever-growing concern in the digital age, ensuring that your browsing sessions remain secure is paramount. Apple’s Safari browser on iPad offers private browsing to help protect your privacy, but did you know you can take it a step further by locking private browsing with Face ID?
This article will guide you through the process of setting up Face ID to lock your private browsing in Safari, adding an extra layer of security to your internet activities.
Private browsing mode in Safari is a useful feature that prevents your browsing history, search history, and cookies from being saved. However, anyone with access to your iPad can still open Safari and see your private tabs if they’re left open. By enabling Face ID for private browsing, you ensure that only you can access these private tabs, adding an additional layer of security.
Before you begin, ensure you have an iPad that supports Face ID (such as iPad Pro models). Also, you’ll need the latest version of iOS installed on your iPad.
Read: How To Create Alarm On iPad
Lock Private Browsing In Safari With Face ID On iPad
First, unlock your iPad and navigate to the Settings app, which is represented by a gear icon.
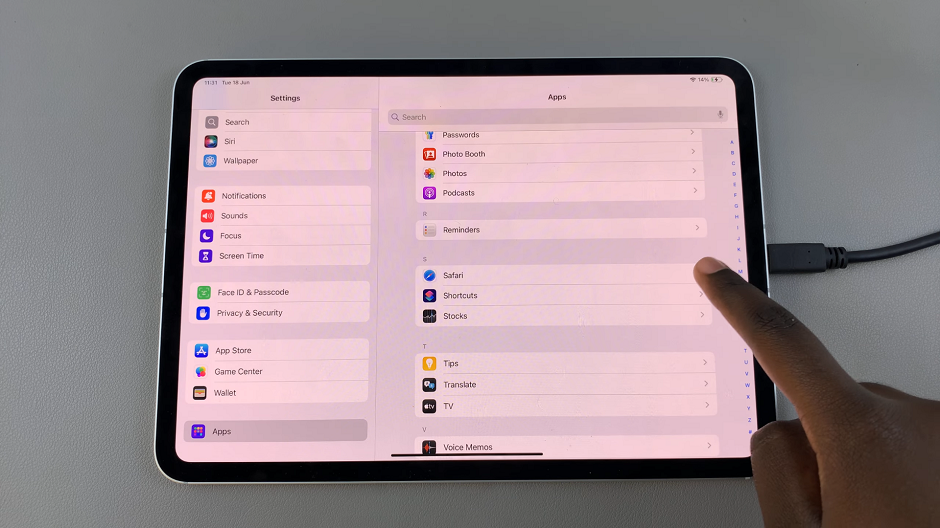
In the Settings menu, scroll through the left-hand side panel and tap on Apps. This section contains various apps. Find Safari and tap on it to open its settings.
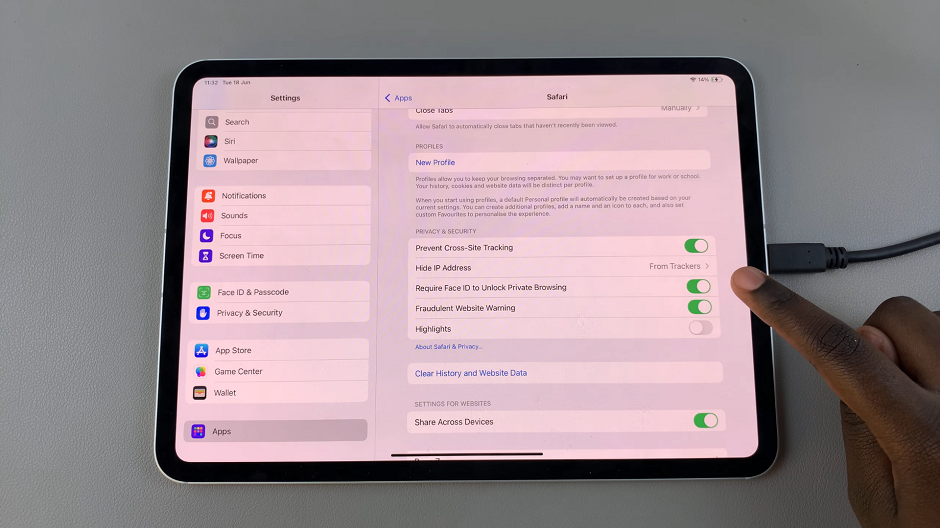
Once you’re in the Safari settings, look for the Require Face ID to Unlock Private Browsing option, under the Privacy & Security section. It should have a toggle button next to it.
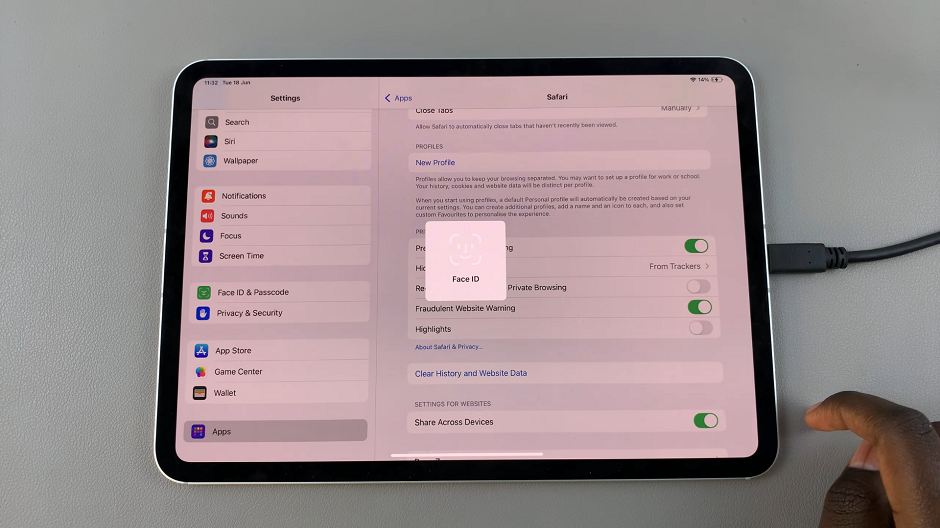
Toggle on the switch next to Require Face ID to Unlock Private Browsing to enable Face ID specifically for Safari’s private browsing mode. Your Face ID will be scanned and this feature will be enabled.
Once you have enabled Face ID for Safari, you can exit the Settings app. Then, proceed to use Safari for private browsing without Face ID unlocking it. Open Safari and tap on the tabs icon at the bottom right corner of the screen. Then, tap on Private to enter private browsing mode.
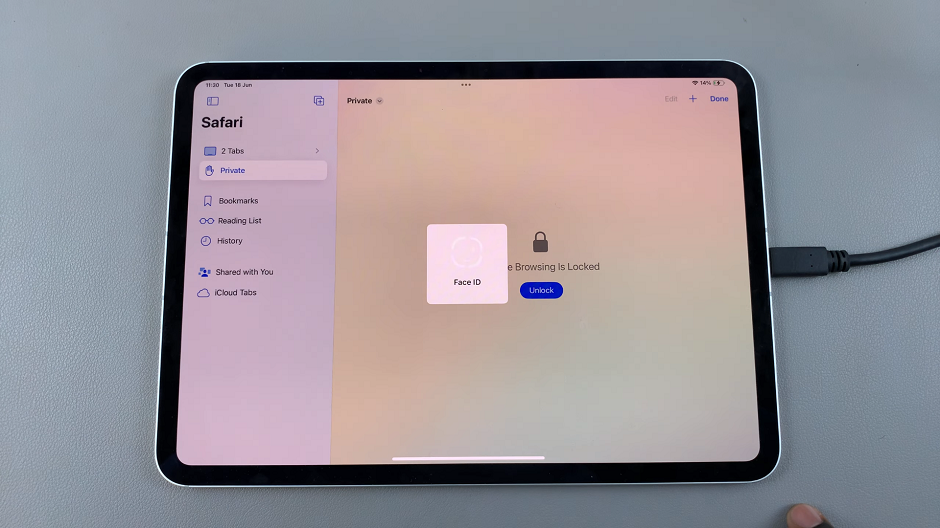
This ensures your browsing history is not saved, and cookies are not stored. Any tab you open in Private mode, will now require Face ID to authenticate and open it.
Tips for Maximizing Your Privacy
Close Private Tabs When Done: Even with Face ID, it’s a good habit to close your private tabs when you’re done browsing.
Regularly Clear History and Website Data: For extra privacy, periodically clear your browsing history and website data from Safari settings.
Use Strong Passcodes: Ensure your iPad is protected with a strong passcode in addition to Face ID to prevent unauthorized access.
Troubleshooting
If you encounter issues while setting up Face ID for private browsing in Safari, try the following:
Ensure Face ID is Set Up Correctly: Go to Settings –> Face ID & Passcode and ensure Face ID is configured and working properly.
Update iOS: Make sure your iPad is running the latest version of iOS. Software updates often include important security fixes and feature enhancements.
Restart Your iPad: Sometimes a simple restart can resolve minor software glitches.
By locking private browsing in Safari with Face ID, you add a robust layer of protection to your online activities. This feature ensures that your private tabs remain accessible only to you. This will prevent unauthorized access and enhancing your overall digital privacy.