In this guide, you’ll learn how to factory reset Sony WH-CH720N headphones step by step. Following these instructions ensures you bring your headphones back to default settings and prepare them for a clean, stable connection.
If your Sony WH-CH720N headphones are not working as expected, performing a reset can often solve the problem. A reset helps clear connection issues, restore default settings, and fix minor glitches that affect performance. Whether your headphones fail to connect properly or experience audio dropouts, resetting them gives you a fresh start.
The factory reset process on headphones is quick and straightforward. You don’t need any extra tools just follow the correct button combination to restore the headphones to their original state. This is especially helpful before selling or giving away your headphones, as it removes all previously paired devices.
READ: How To Check For Updates On Sony WH-CH720N Headphones
How To Factory Reset Sony WH-CH720N Headphones
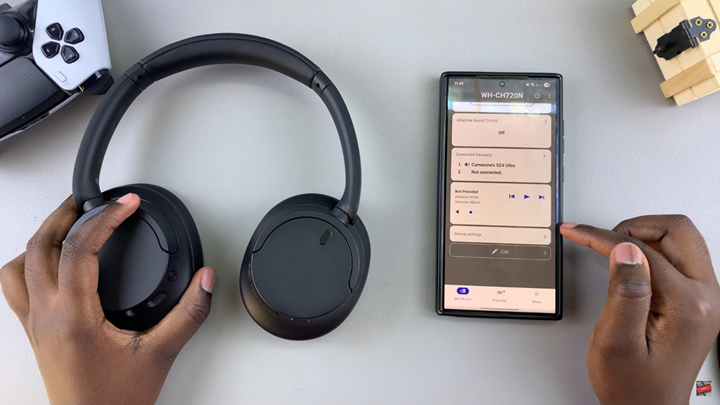
Launch the Sony Headphones Connect app on your smartphone.
Scroll down and select Device Settings.
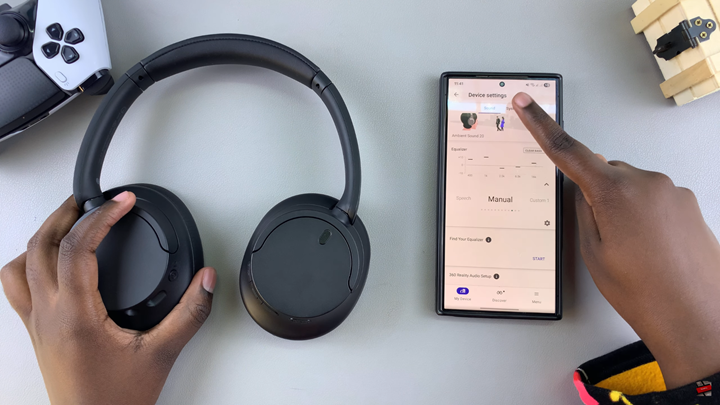
Tap on the System tab.
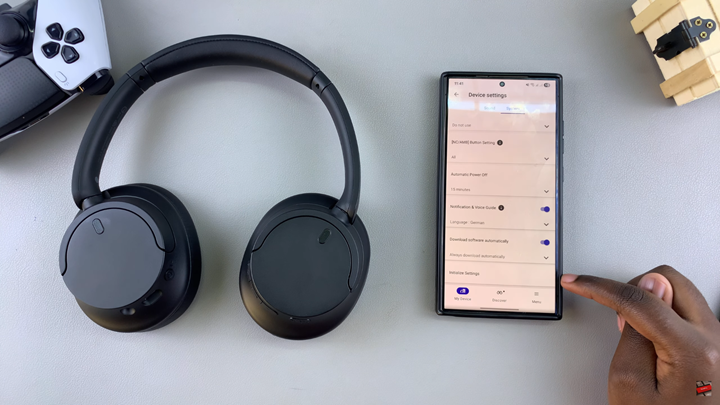
Find and select Initialize Settings.
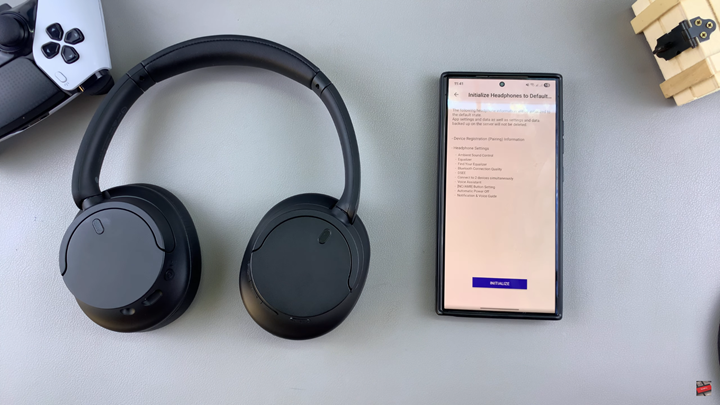
Choose Initialize Headphones to Default State.
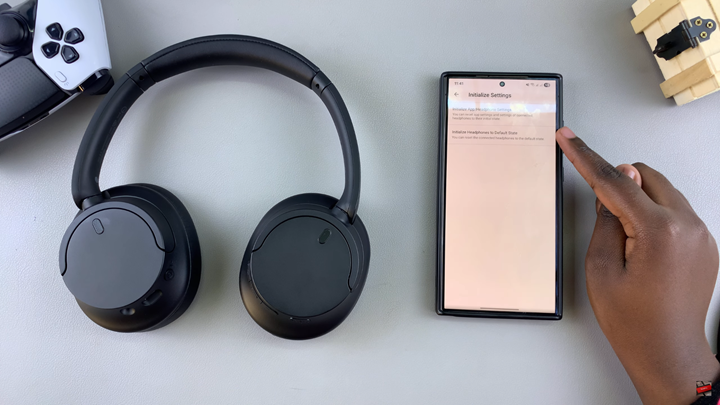
Tap on Initialize and confirm your choice.
Your Sony WH-CH720N headphones will now reset to their default settings.
WATCH: How To Enable Dual Connection On Sony WH-CH720N Headphones

