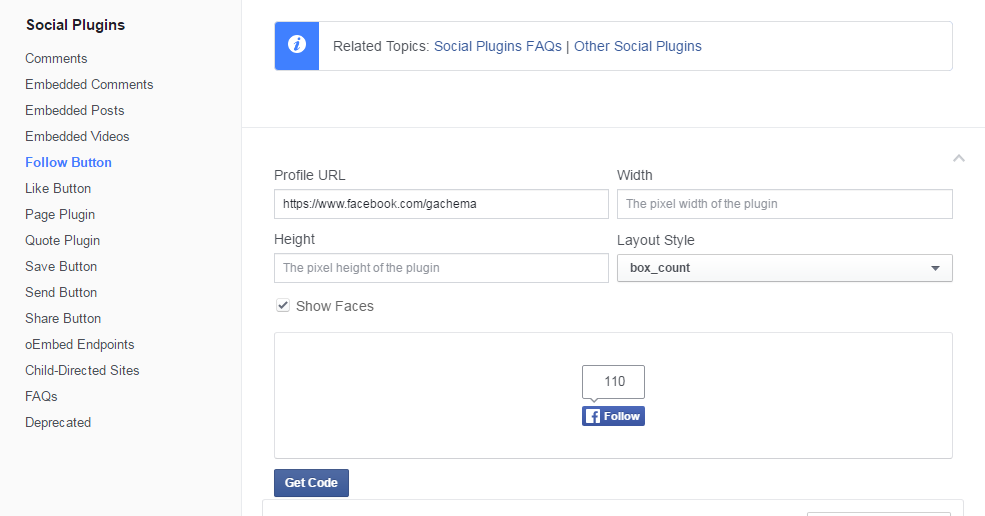
A Facebook badge is like a widget that you put on your blog or website to show off some information about your Facebook profile or Facebook page. The badge can also be clicked to take the user to your Facebook profile or page.
This is one way of promoting your Facebook presence to the visitors of your website or blog. It might help you get more friends, followers or likes to your Facebook page.
To create the badge, go to facebook.com/badges and sign in to your account if you haven’t. Then select the type of badge you want.
Profile Badge:
The profile badge is very straight forward. It displays public info about your Facebook profile. click on the ‘Edit badge’ link to customize the appearance of the badge.
Select the blog or website platform you use. Or you can simply copy the Html code and paste it in your blog/website.
Photo Badge:
The photo badge will show your Facebook photos on your blog or website. You can edit the badge appearance to what you like. This badge will display public photos. When clicked, it will take users to your Facebook photos.
Like Badge:
The like badge serves almost the same purpose as a like box. It will allow you to display your favorite Facebook pages on your website. Not necessarily your own Facebook page.
The page badge will let you display information about one of your Facebook pages on your website or blog. this info includes the name of the page and the fans. When clicked, the badge will direct the user to the page.
Example (Profile Badge):

