If you want stunning photos or shooting captivating videos, Apple has provided you with the Level feature will be your trusty guide to aligning your shots with utmost precision.
The Level tool proves to be particularly advantageous when photographing landscapes, architectural wonders, or any other subjects where maintaining a level perspective is of paramount importance. With its help, you can say goodbye to unwanted tilting or skewed angles, resulting in visually pleasing and impeccably balanced compositions.
In this article, we’ll guide you through the process on how to enable and use Level In on your iPhone camera. Before we start, it is essential to ensure that your device is running iOS 17 or a later version.
Also Read: How To Enable ‘Siri’ Instead of ‘Hey Siri’ On iPhone
How To Enable and Use Level In iPhone Camera
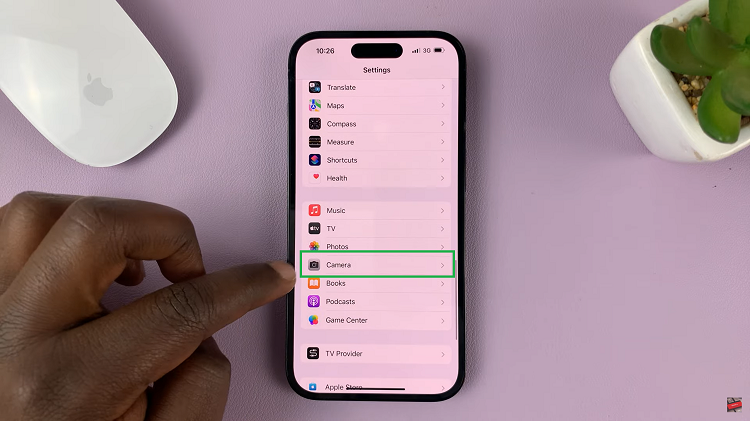
Firstly, open the “Settings“ app on your iPhone home screen. Scroll down and select the “Camera” option. Locate the “Level” feature.
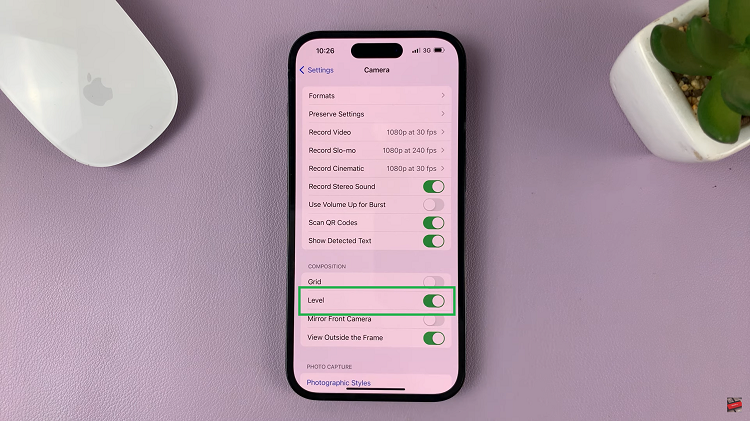
Tap on the toggle the switch next to it to enable it. Now that you have enabled the Level feature, a virtual level indicator will appear whenever you use your iPhone camera.
Once you have activated the Level tool, it’s time to put it to use. Begin by launching the Camera app on your iPhone. Choose the shooting mode (Photo, Video, etc.). With your camera aimed at the subject you want to capture, observe the virtual level indicator on your screen.
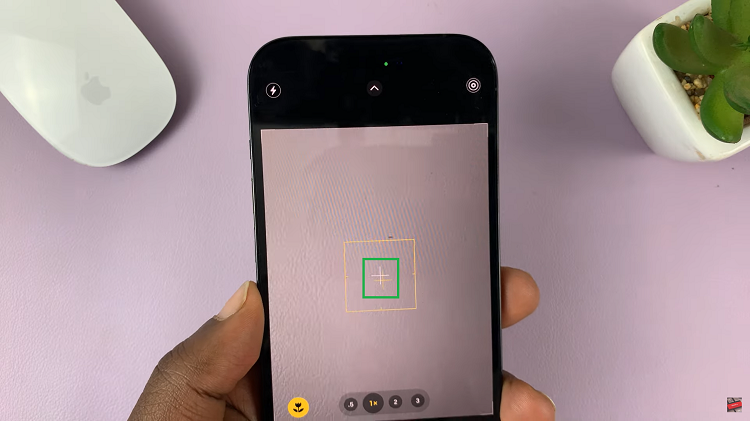
Now, gently adjust your device’s position until the crosshair or line remains centered within the level indicator. Once you have achieved the perfect alignment, press the shutter button to capture the moment.
While the Level tool promotes level compositions, don’t be afraid to experiment with unique perspectives and angles to add creativity to your shots. Use the Level feature as a reference point but feel free to deviate when the situation calls for it.
Watch: How To Add Location Information To Photos Already Taken On Samsung Phones

