Video:Airpods Pro 3: How To Do an Ear Tip Fit Test
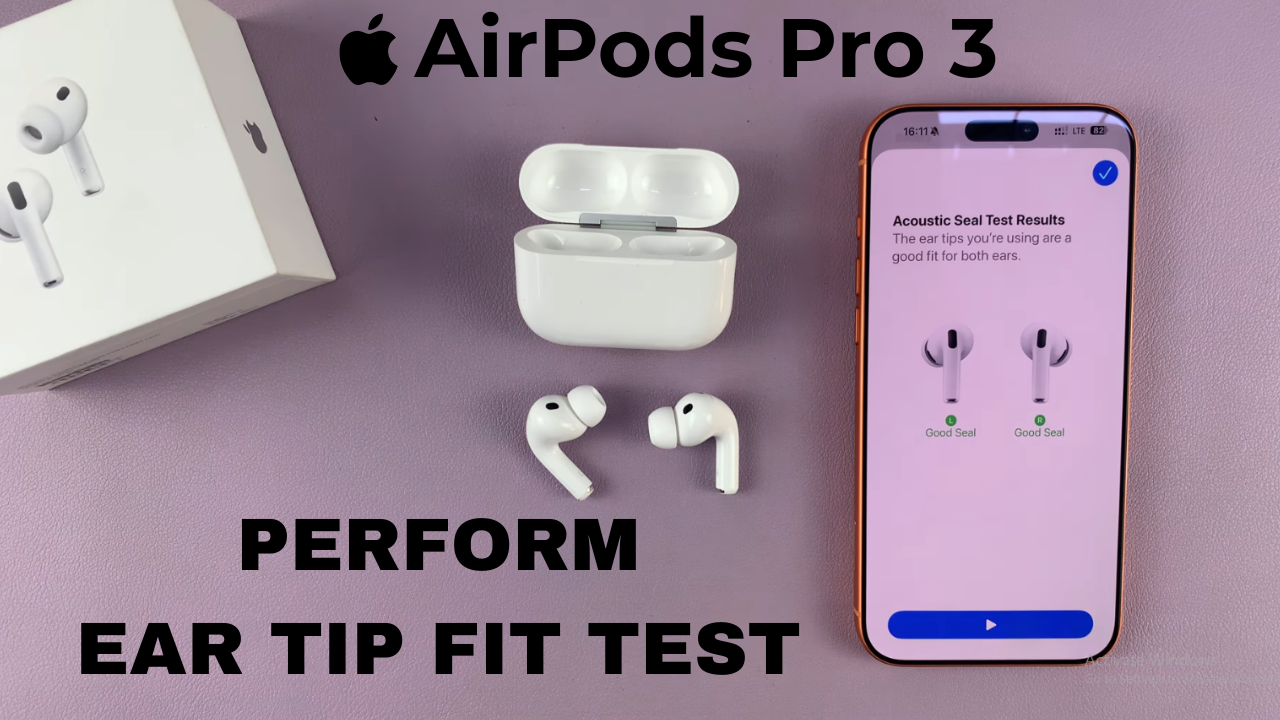
The Ear Tip Fit Test on AirPods Pro 3 is an essential step for anyone who wants to experience superior sound quality and noise cancellation. This quick test ensures your ear tips create the perfect seal, which not only enhances audio clarity but also improves comfort during long listening sessions. Whether you use your AirPods for music, calls, or workouts, ensuring the right fit can make all the difference in performance and sound isolation.
Moreover, understanding how to do an ear tip fit test on AirPods Pro 3 allows you to optimize your listening experience effortlessly. From achieving deeper bass to blocking out external noise more effectively, the right seal transforms how you enjoy your audio. As you go through this guide, you’ll discover how simple adjustments can maximize the potential of your AirPods while keeping them secure and comfortable throughout the day.
Watch:How To Pair & Connect AirPods To Sony Smart TV
Do an Ear Tip Fit Test On Airpods Pro 3
Open AirPods Settings
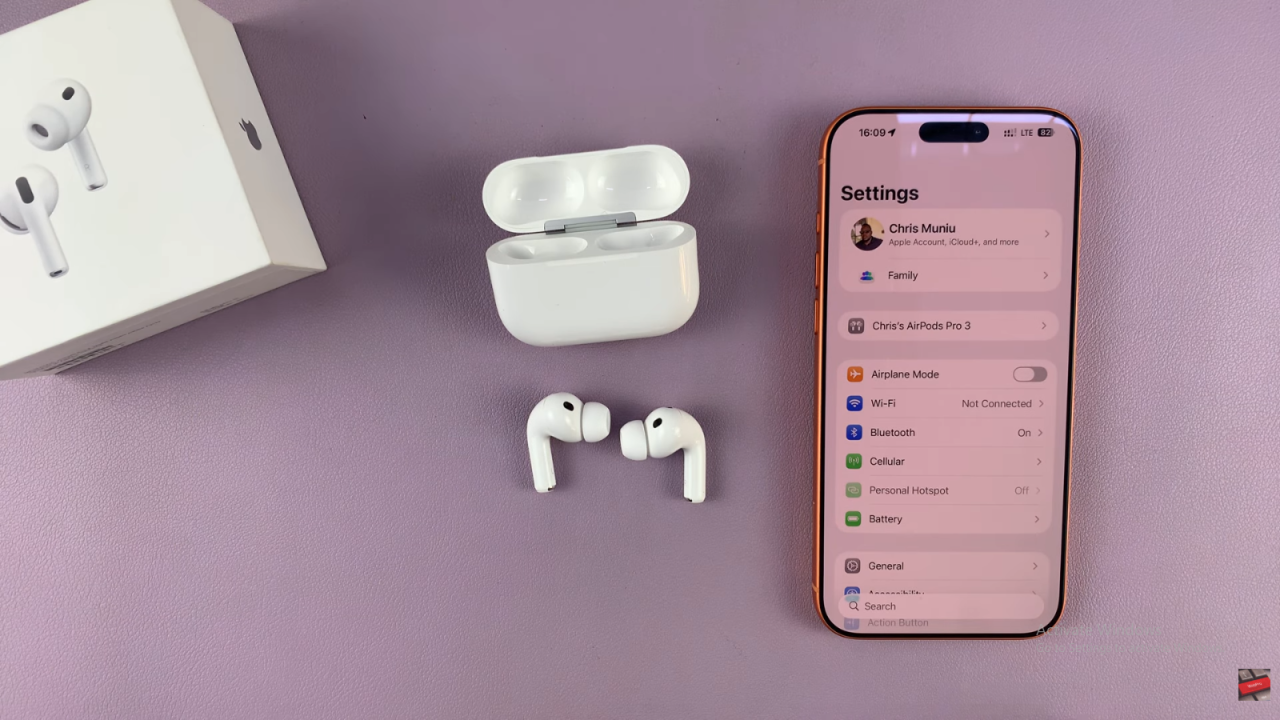
Start by opening the Settings app on your iPhone. Make sure your AirPods Pro 3 case is open or that the earbuds are out so they connect to your phone automatically.
Access AirPods Settings Page
Scroll through your Bluetooth or device list and select your AirPods Pro 3. This opens the dedicated AirPods settings page.

Locate the Fit Test Option
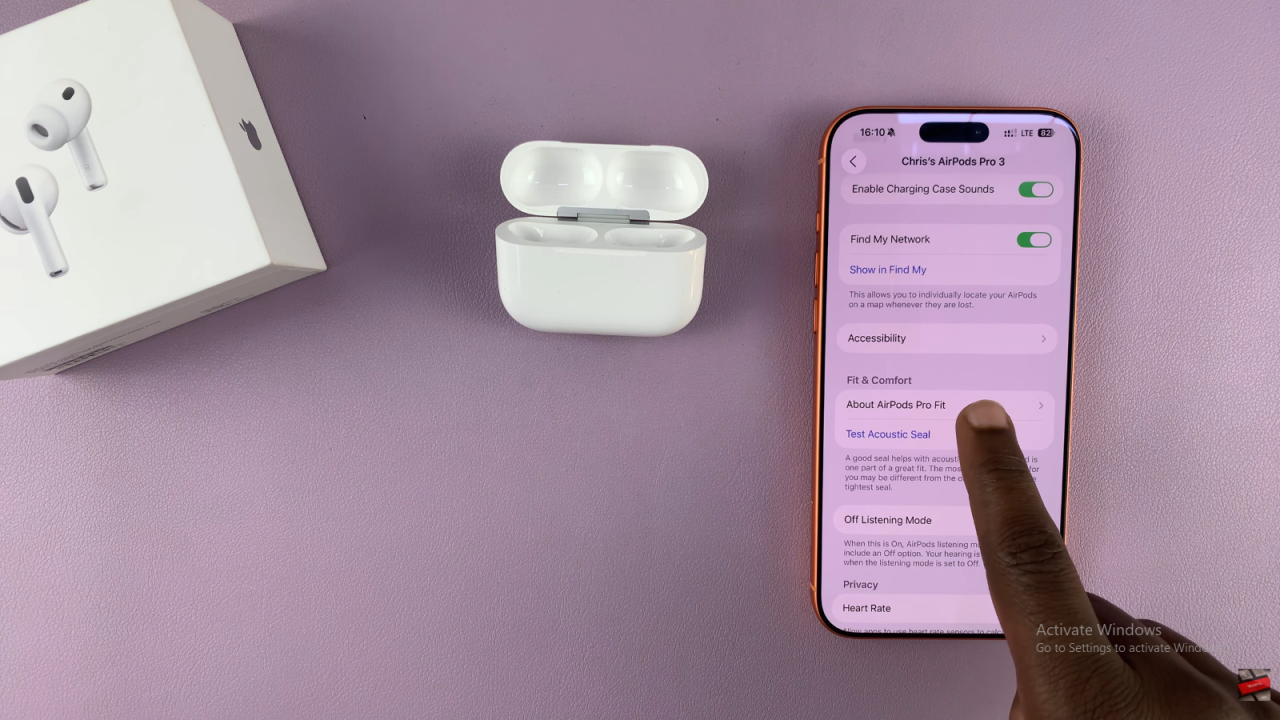
Scroll down until you find “Fit and Comfort”, then tap on “Test Acoustic Seal.” This is the section where you’ll perform the ear tip fit test.
Wear Your Earbuds
Insert both AirPods firmly in your ears. Make sure they feel snug but comfortable to ensure accurate results.
Run the Fit Test
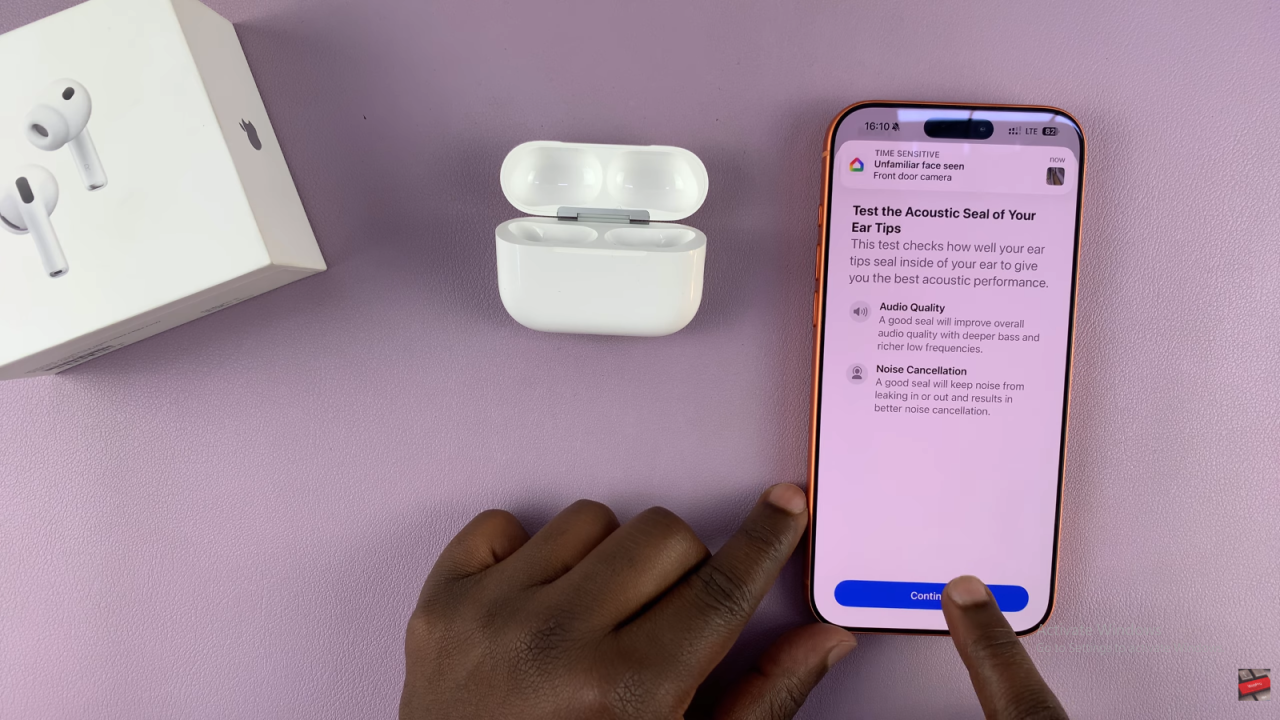
Tap “Test Acoustic Seal”, then select “Continue.” The AirPods will play a short audio clip designed to test the seal and noise isolation.
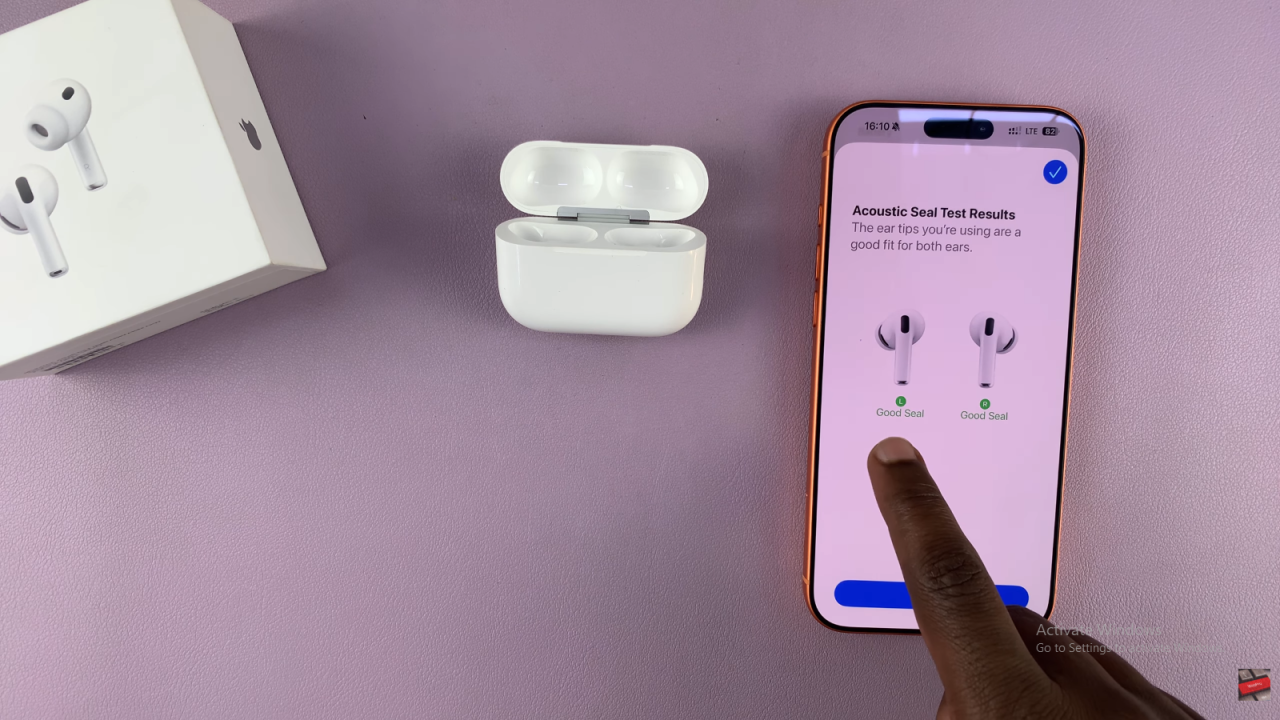
Check the Results
Once the test finishes, you’ll see results for both earbuds. If you have a good seal, it will confirm that your ear tips fit properly.

