The iPhone 17 and iPhone 17 Pro are among the most advanced smartphones ever made, packed with cutting-edge wireless connectivity features like 5G, Wi-Fi 7, and Bluetooth 6.
However, there are times when a wired Ethernet connection can offer more stable and faster internet speeds — especially for downloading large files, streaming high-quality media, or troubleshooting Wi-Fi issues.
If you’re wondering how to connect an Ethernet cable to your iPhone 17, 17 Pro or 17 Pro Max, this guide will walk you through everything you need to know.
Why Use Ethernet On iPhone 17?
While most people rely on Wi-Fi or cellular data, an Ethernet connection provides several advantages:
Stable connection: No interference from other wireless devices.
Faster speeds: Ideal for streaming or large file transfers.
Low latency: Great for gaming or real-time applications.
Secure connection: No risk of Wi-Fi hacking or weak signals.
Read: How To Cancel Subscriptions On iPhone 17 & 17 Pro
What You’ll Need
Before you can connect an ethernet cable to your iPhone 17 Pro, ensure that you have the necessary equipment. Since the iPhone 17 and 17 Pro don’t have a built-in Ethernet port, you’ll need a few accessories to make the connection work.
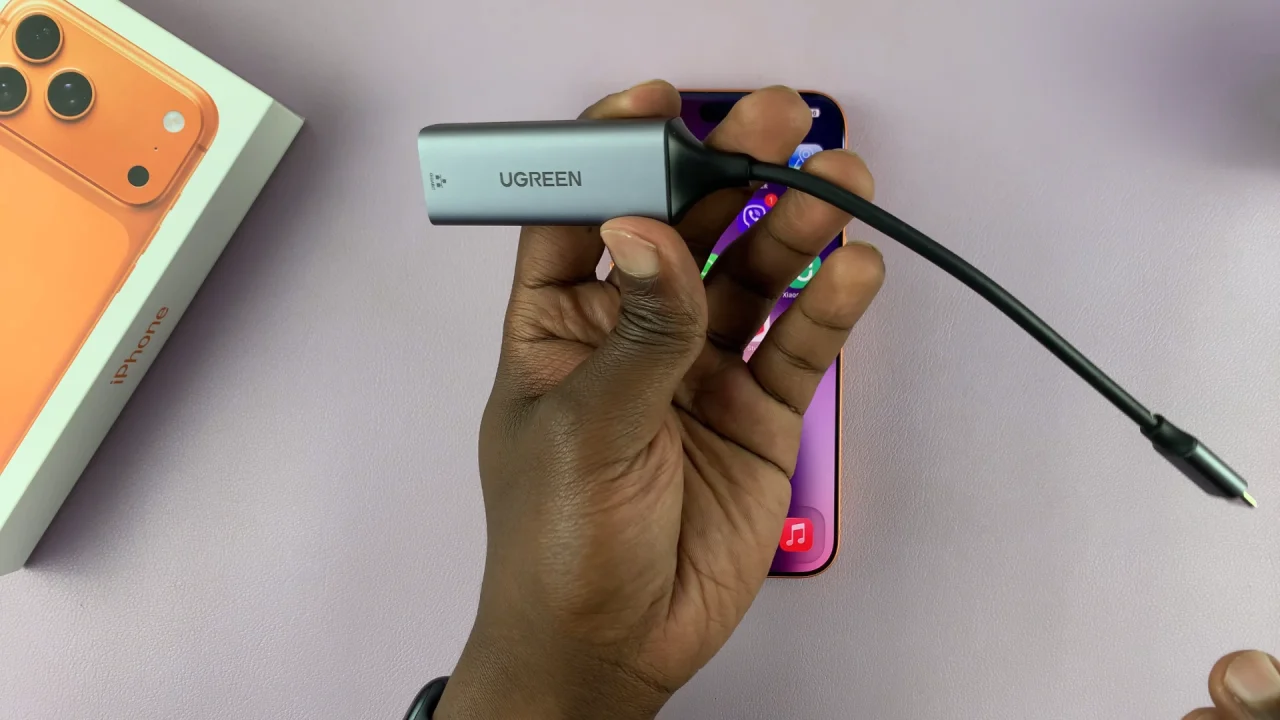
The iPhone 17 series uses a USB-C port. So you’ll need an Apple USB-C to Ethernet Adapter, or any MFi-certified (Made for iPhone) USB-C Ethernet Adapter. Companies like UGREEN and Anker also offer greatly compatible adapter options.
You’ll also need any standard Cat5e, Cat6, or Cat7 Ethernet cable will work. Choose a high-quality cable for best performance.
Some adapters may require external power, especially if they have multiple ports. You can connect a USB-C power adapter to keep your iPhone charged while using Ethernet.
Finally and most importantly, ensure that you have access to a router or modem with an available Ethernet port.
Connect Ethernet Cable To iPhone 17
Once you have everything, plug the Ethernet adapter into the USB-C port on the bottom of your iPhone 17 or iPhone 17 Pro.
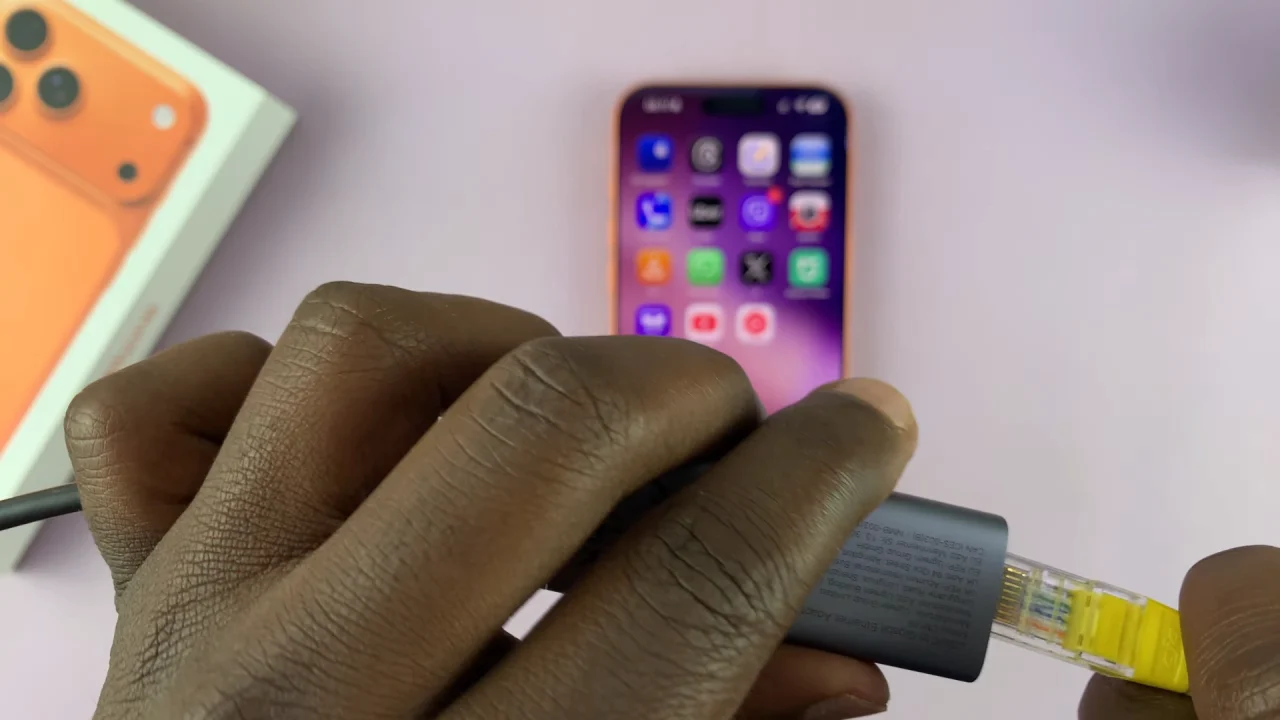
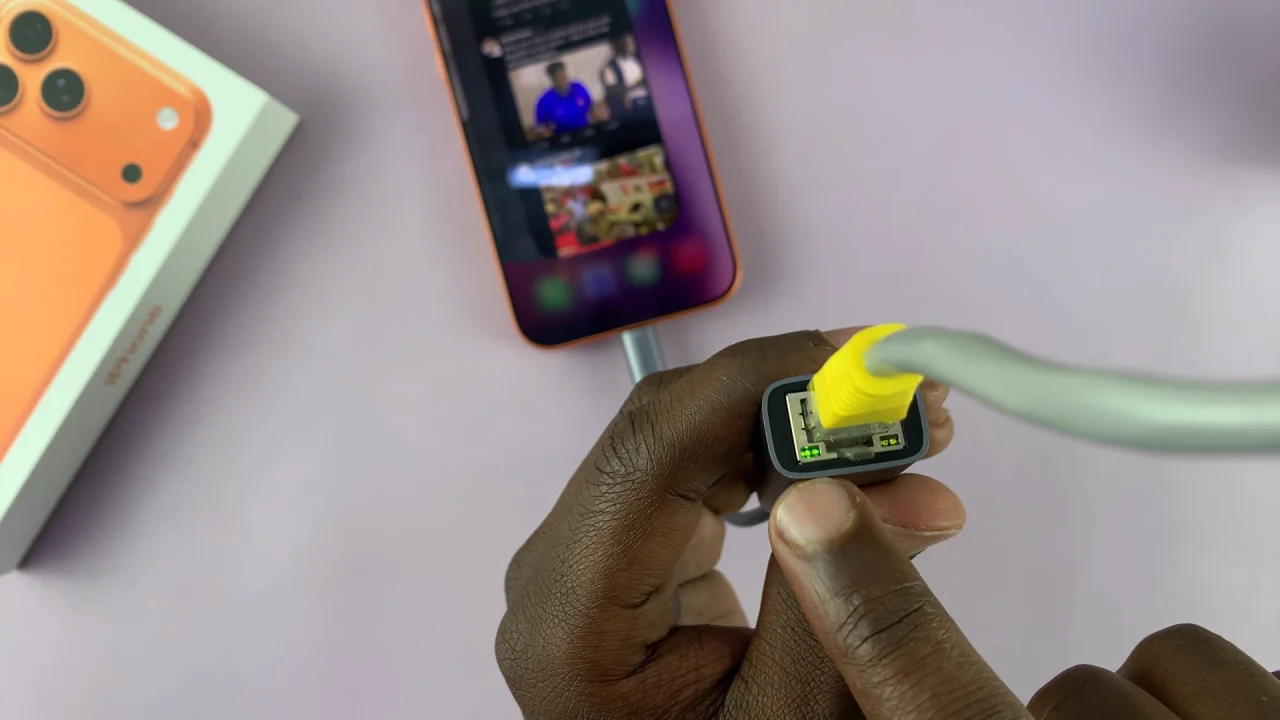
Next, plug one end of the Ethernet cable into the Ethernet port on the adapter. Then, plug the other end of the Ethernet cable into an available LAN port on your router or modem.
You should be able to confirm that the connection is successful if you see the blinking ethernet port lights on the adapter (if available).
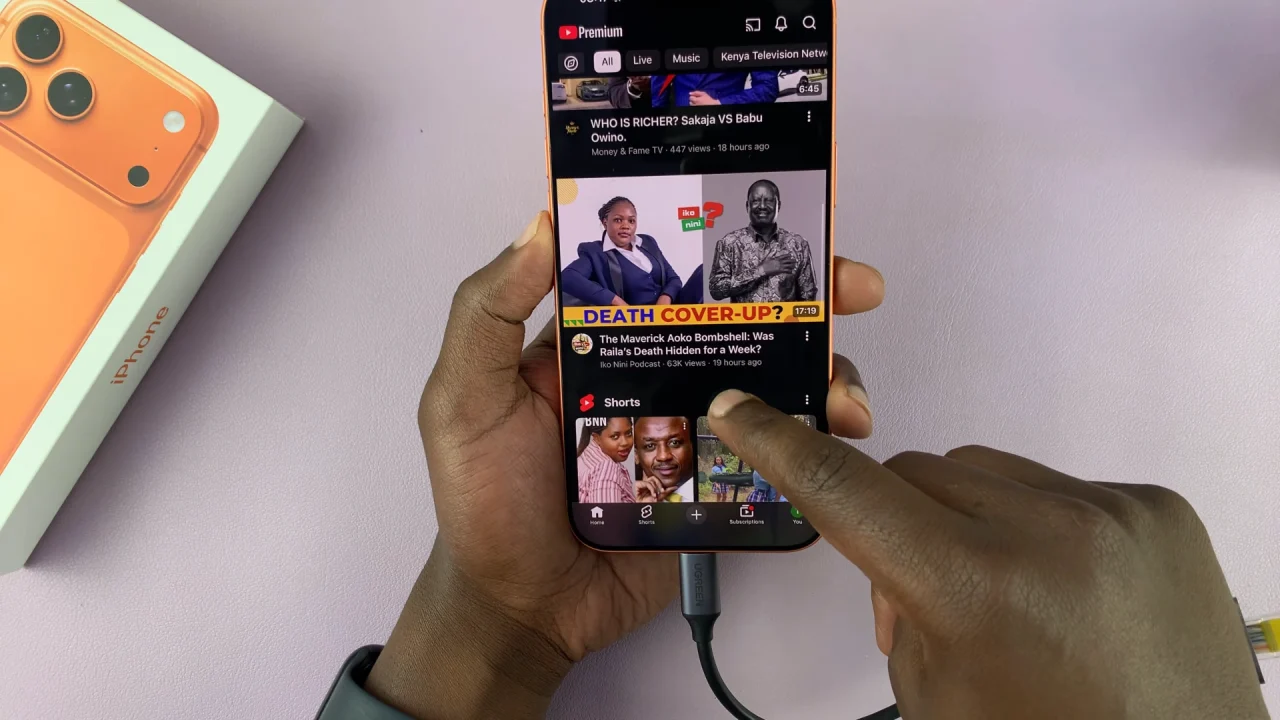
To ensure that the wired internet connection actually works, simply turn off Wi-Fi and mobile data on your iPhone 17, then test the ethernet connection.
You want to open any site or app that uses internet. If the test is successful, you’re good to go! You should now have a stable wired internet connection.
Troubleshooting Tips
If your iPhone doesn’t connect right away, make sure your adapter is compatible with iPhone 17.
You can also restart your iPhone after connecting the cable or try a different Ethernet cable or port on your router. Ensuring your router’s LAN ports are enabled and working, is also paramount.

