Navigating the messaging landscape on your iPad involves harnessing its functionalities to maintain control over your communications. Whether you’re looking to filter out spam, silence notifications from certain contacts, or completely block unwanted messages, the iPad offers versatile tools to tailor your messaging experience. Understanding how to effectively utilize these features not only enhances your privacy but also streamlines your digital interactions.
To begin managing messages on your iPad, accessing the Messages app is the initial step. This centralized platform allows you to view and interact with all incoming and outgoing texts. However, when faced with unwanted messages, whether they’re from unknown senders or specific contacts, knowing how to implement blocking measures becomes crucial.
By delving into the settings menu, you can uncover a suite of options designed to empower users in controlling their messaging environment, ensuring a more personalized and secure communication experience.
Watch:How To Enable Rotate Wi-Fi Address On An iPad
Block Messages On An iPad
Here’s how you do it;
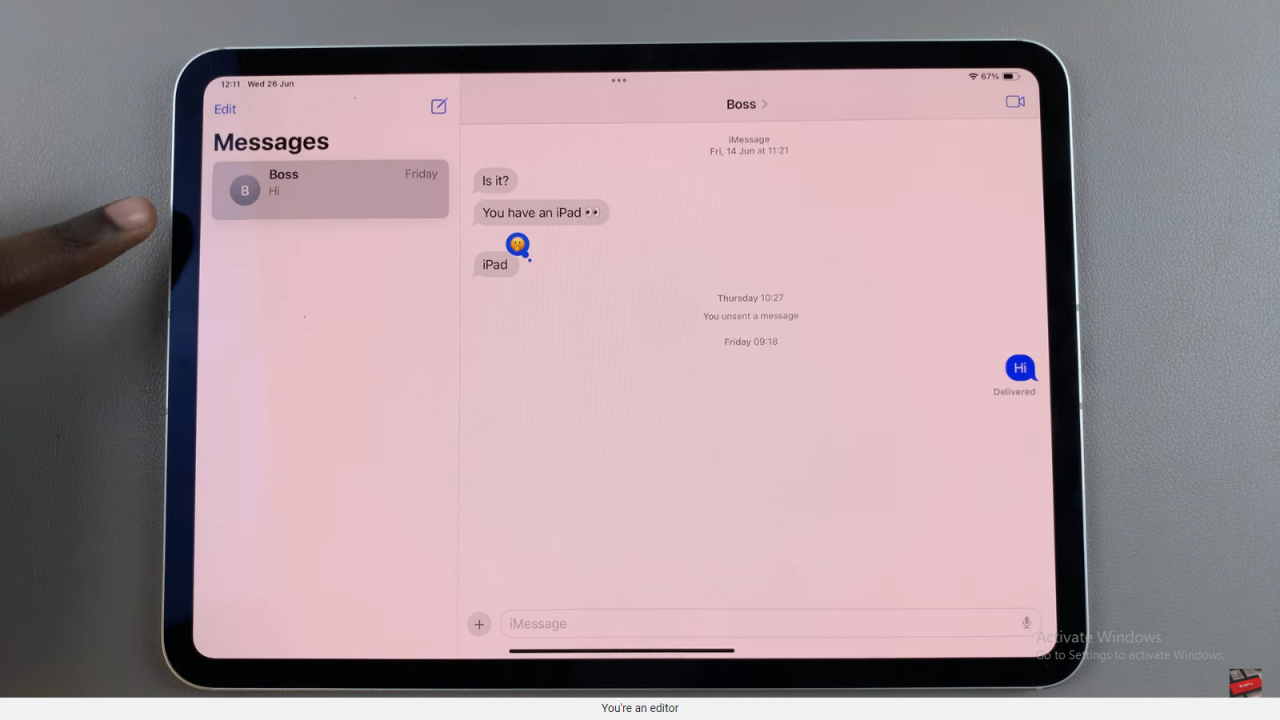
Step 1: Access the Messaging App and Select a Conversation
To begin the process of blocking messages on your iPad, open the Messages app from your home screen or dock. Once inside the app, navigate to the conversation you wish to manage. This step ensures you’re targeting the specific contact or conversation from which you want to block messages.
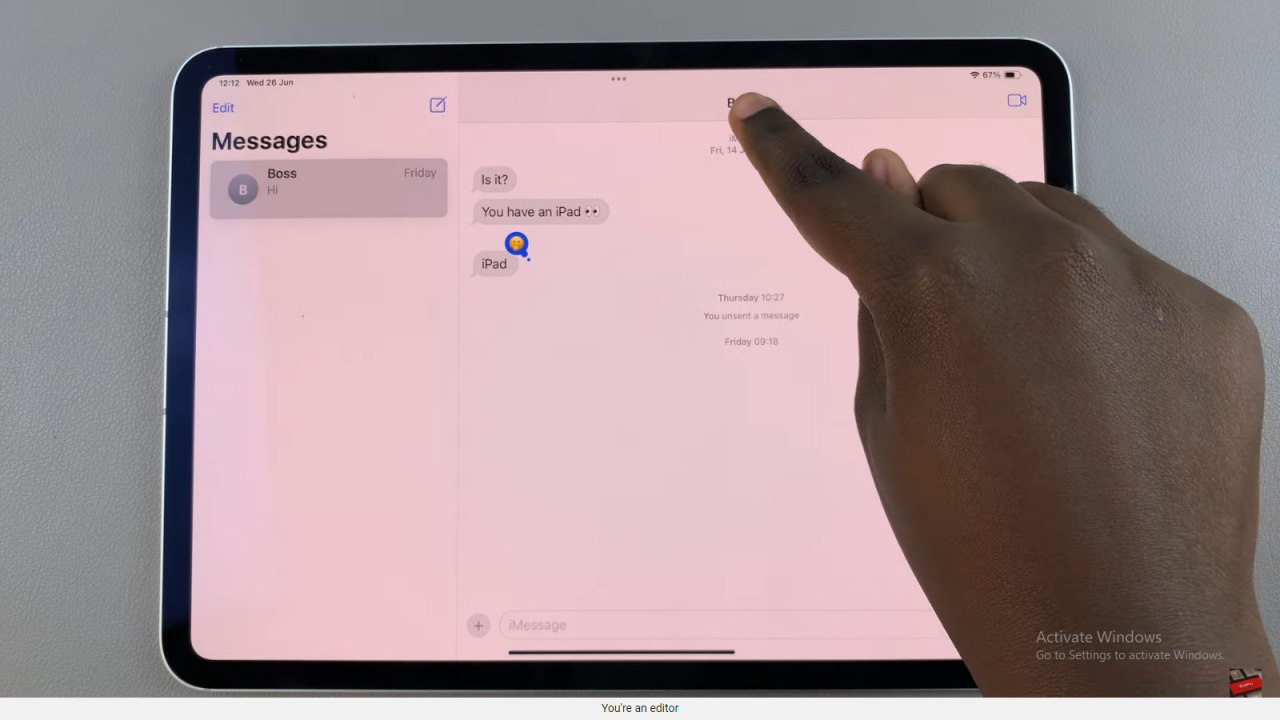
Step 2: Tap on the Recipient’s Name and Select Info
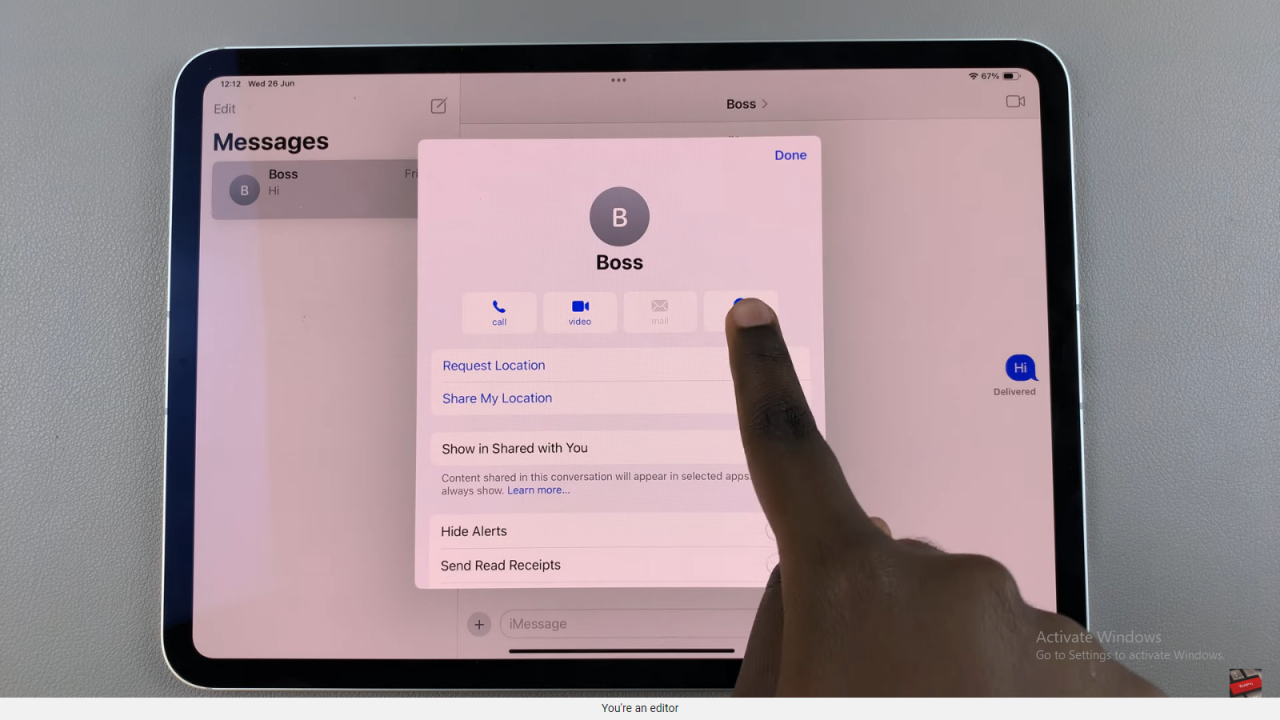
After selecting the conversation, tap on the recipient’s name located at the top of the screen. This action opens a menu with additional options related to the conversation. From the menu, select “Info” to proceed to the next step in managing the contact’s details and message settings.
Step 3: Block the Caller and Confirm
Within the information screen of the contact, scroll down to locate the option labeled “Block this Caller” or “Block Contact.” Tap on this option to initiate the blocking process. A confirmation prompt will appear, asking if you wish to block the contact.

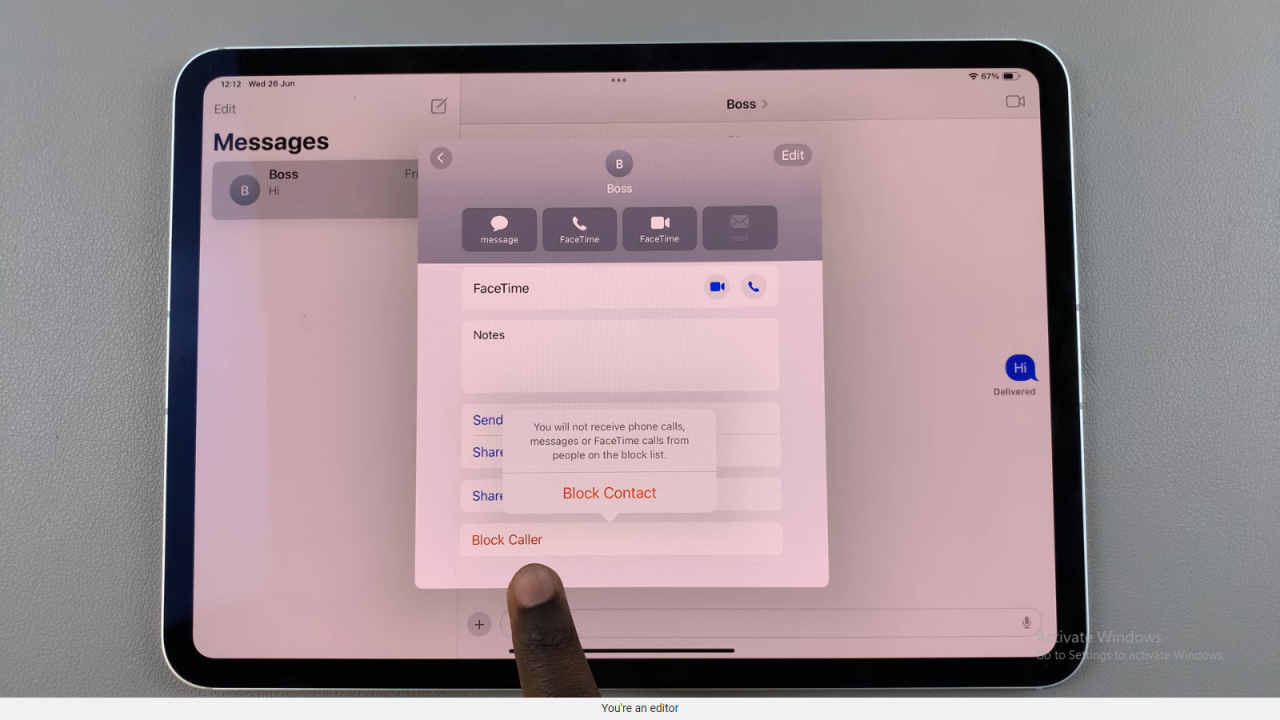
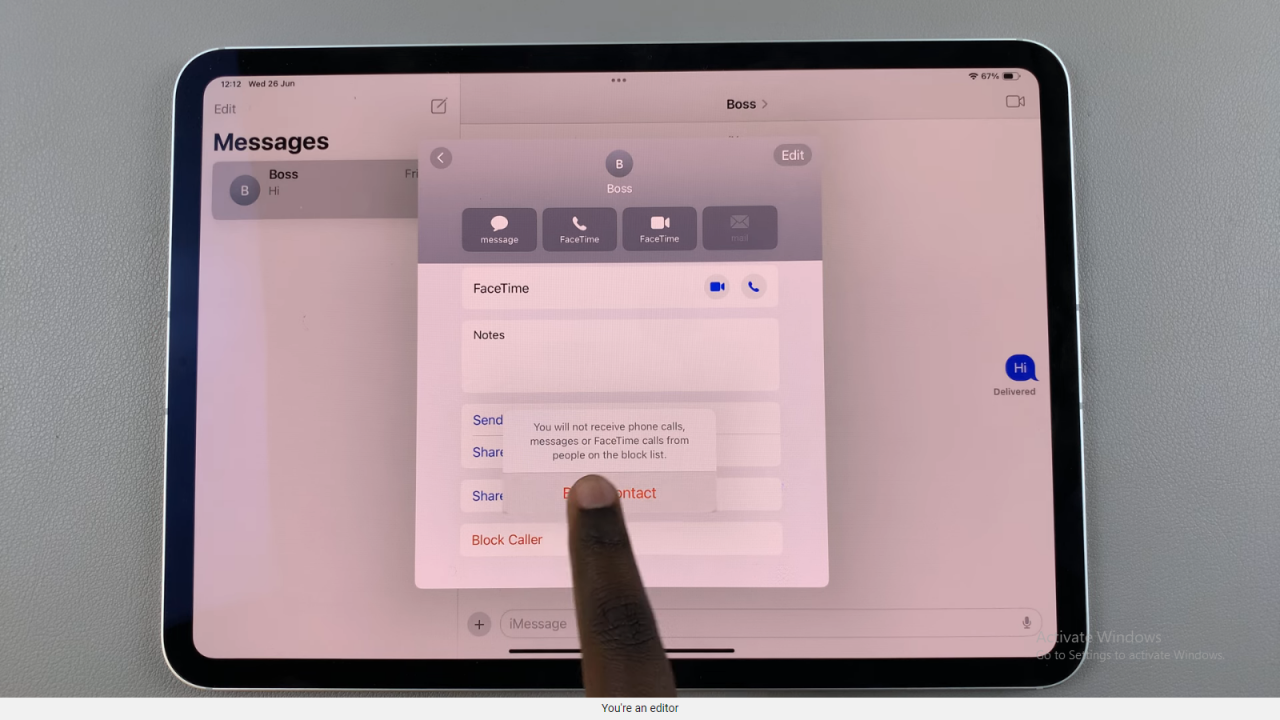
Confirm your decision by tapping “Block Contact” or “Block” to finalize the action. This step ensures that all future messages from the blocked contact will be prevented from reaching your iPad, providing a straightforward solution to managing unwanted communication.
By following these three steps, you can effectively manage and block messages from specific contacts on your iPad, utilizing built-in features to maintain control over your messaging experience.

