The flashlight feature on your iPhone 17 or iPhone 17 Pro can be incredibly handy — whether you’re looking for something in the dark or need quick light on the go. Thankfully, you can easily access it right from the Control Center.
However, if you don’t see the flashlight icon there, or you’d prefer to remove it, Apple allows you to customize your Control Center settings to suit your needs.
Here’s a step-by-step guide on how to add or remove the flashlight from Control Center on your iPhone 17, iPhone 17 Pro or iPhone 17 Pro Max.
Read: How To Set Up Truecaller On iPhone 17 & iPhone 17 Pro
Add Flashlight To Control Center
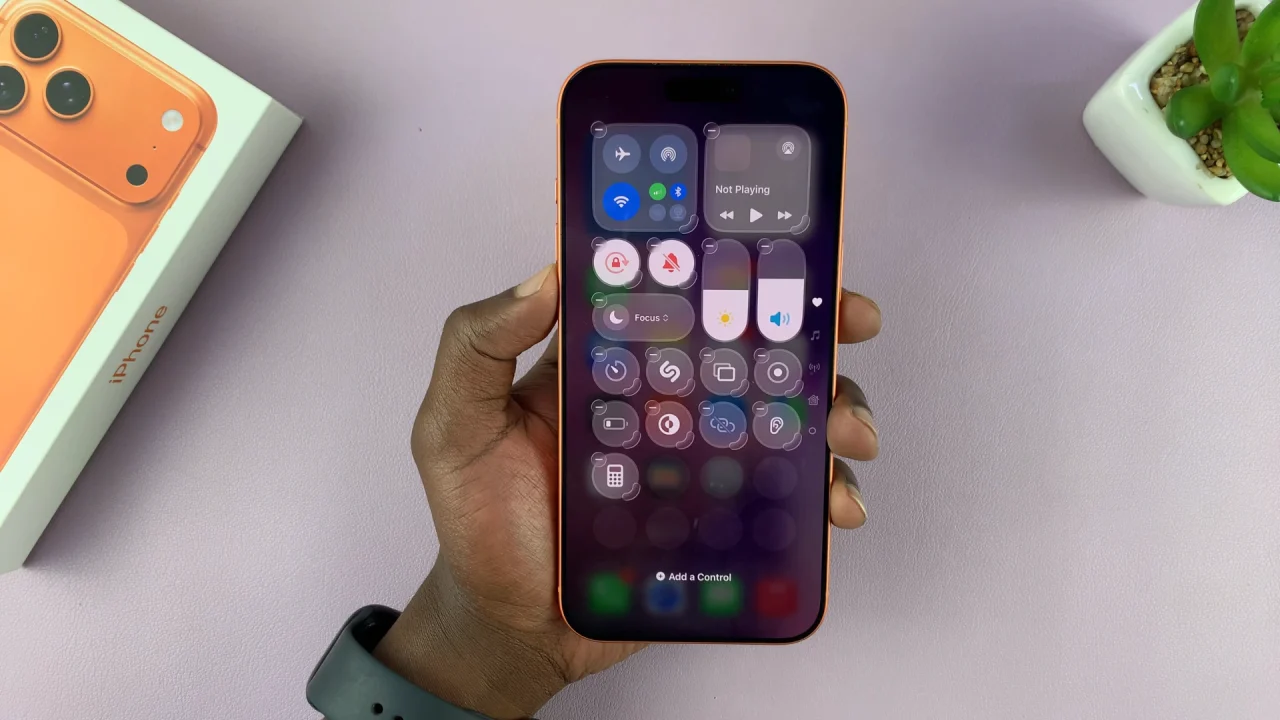
Start by unlocking your iPhone and swiping down from the top-right to bring up the Control Center. Next, you want to long press on an empty space and select the option, + Add a Control.
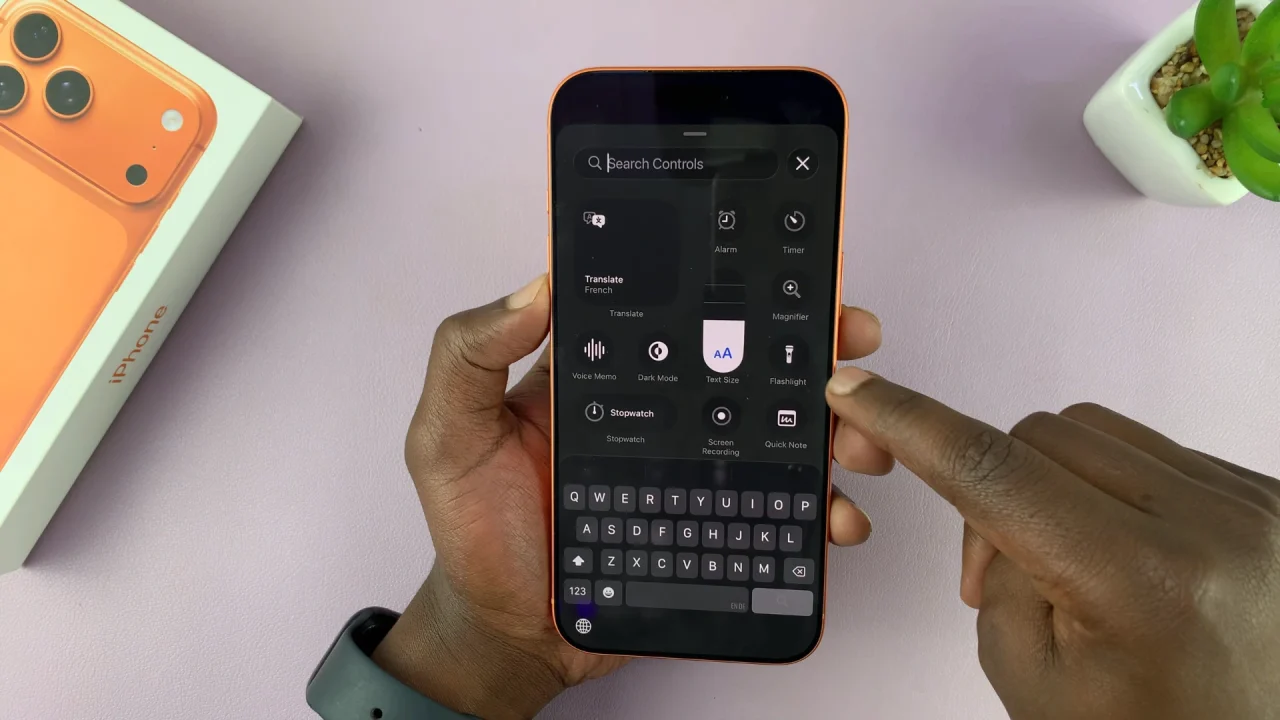
From the resulting apps and functions, find and tap on the Flashlight icon. If you don’t see it immediately, use the search bar to find it.
Once you add it to the Control Center, drag the torch icon to place it where you want for easy access. Finally, tap on an empty space to exit the Control Center.
You can now select it anytime to turn on the torch.

Remove Flashlight From Control Center On iPhone 17 Pro
To remove the flashlight icon from the Control Center, swipe down from the top-right to bring up the Control Center. Next, you want to long press on an empty space to open the Control Center edit menu.
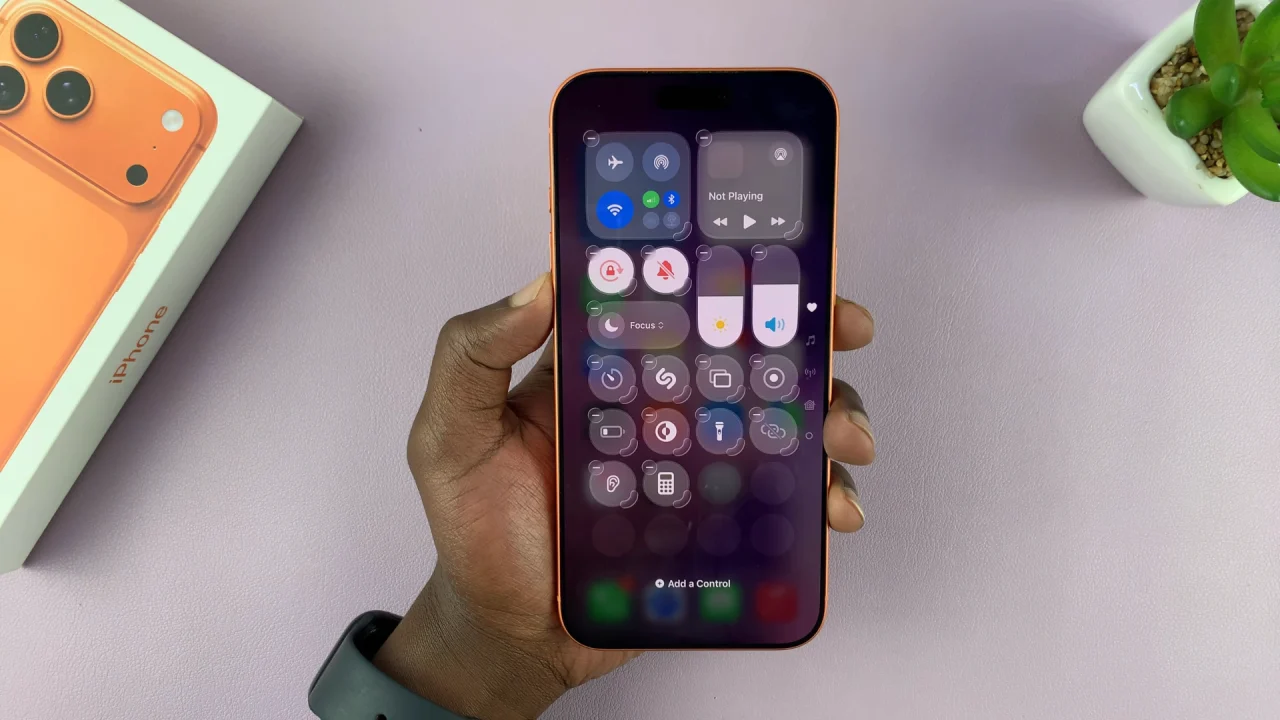
Tap the “–” on the Flashlight icon. The icon should disappear from there. Finally, tap on an empty space to exit the Control Center.

