Factory reset is software restoration of a device to its original system state by erasing all the information stored within it. This will effectively erase all data, settings, and third-party applications that were previously stored in the device.
In most cases, this helps fix chronic performance issues like freezing but does not remove the device’s operating system.
It can be used to clean the phone and prepare it for sale, refurbishing, or transferring ownership by removing personal data. Here are a few steps to go about it;
How to Factory Reset Galaxy A13
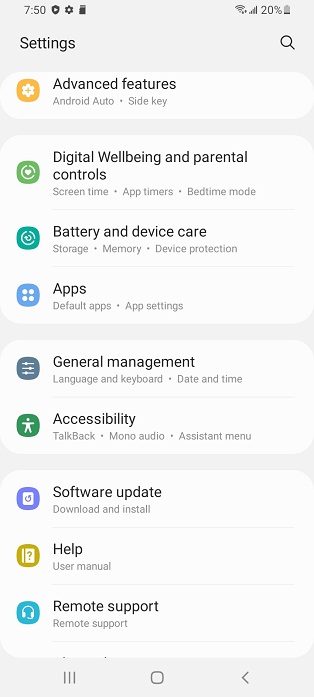
Go to Settings on your phone
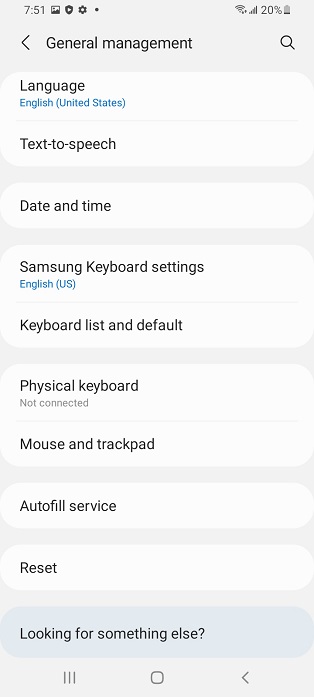
Scroll down to General Management, Tap on it
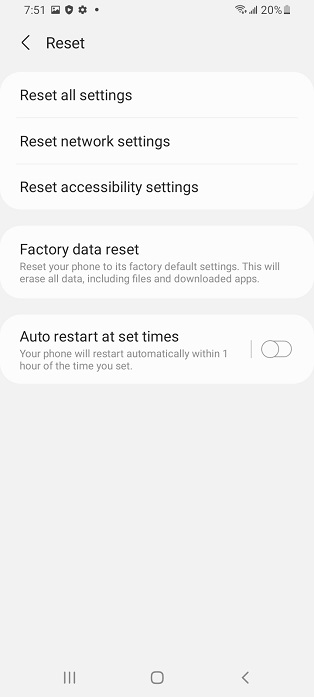
Select Reset
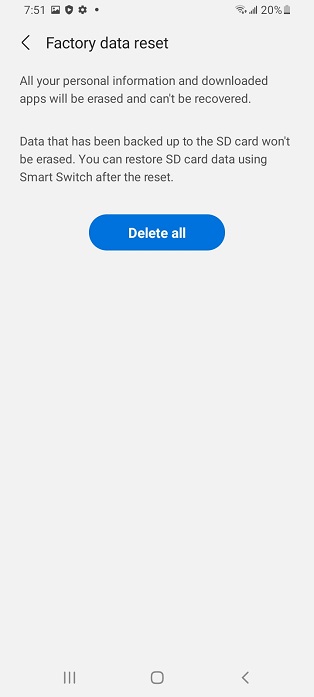
Tap on Factory Data Reset. It gives you a warning on what it will erase.
Tap on Reset
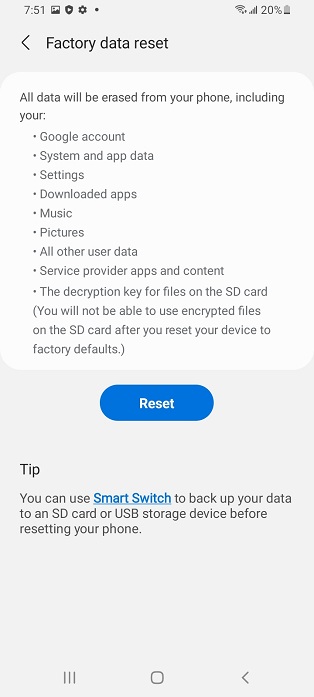
Select Delete All to confirm your changes.
How to Hard Reset Galaxy A13
Hard reset is a hardware operation that restores a device to its original system state. It clears all memory that’s associated with the hardware. This is formatting your hardware, clearing everything without a chance of recovering data/settings.
You must only perform a hard reset if your device is not working properly. This is more severe compared to factory reset which just involves the software resetting. Here are a few steps to go about it;
Press both Power Button and Volume Down button until the screen goes off
Press Power Button and Volume Up to bring up Recovery Mode
Scroll down to Wipe Data/Factory Reset using volume down and select (Use power button for selecting)
Select Factory Reset and click on it using Power Button
Reboot the System once the Factory Reset is done
Factory reset is more effective because it involves clearing the data as compared to Hard reset which it has to involve the hardware formatting. Hard reset is more severe and should only be used as a last resort.
Watch more: Samsung Galaxy A13 Tips and Tricks

