Wireless earbuds are a must-have for daily activities, whether you’re working, having a virtual meeting, or simply listening to your favourite tunes. If you own Sony WF-1000XM6 earbuds, you’re already aware of the superior sound quality, industry-leading noise cancellation, and immersive listening experience.
However, to fully harness the potential of your earbuds, you’ll need to learn how to pair them with your Mac or MacBook. While MacBooks are built to be compatible with Bluetooth devices, small issues such as pairing mode, detecting Bluetooth devices, and more may confuse you, especially if you’re a first-time user.
In this article, we’ll walk you through on how to pair your Sony WF-1000XM6 earbuds with your Mac or MacBook.
Watch: How To Enter Pairing Mode On Sony WF-1000XM6
Pair Sony WF-1000XM6 Earbuds With MacBook
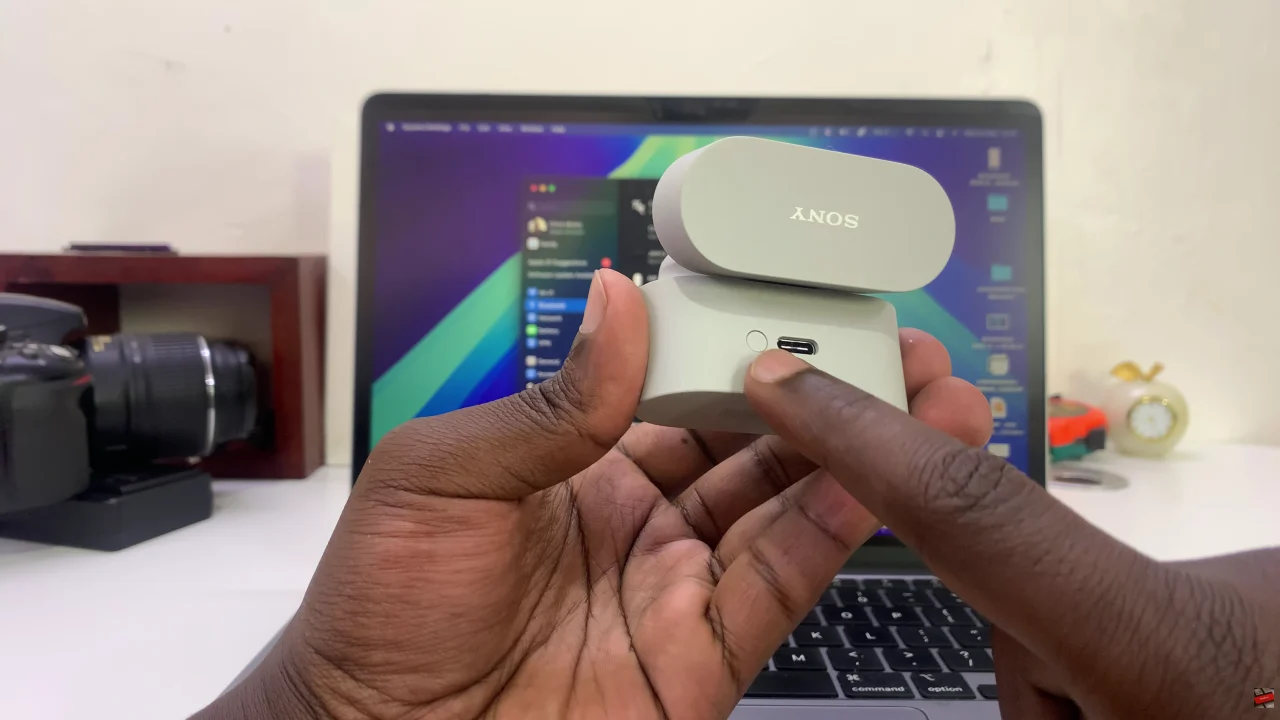
Begin by placing the Sony WF-1000XM6 into pairing mode. This can be done by opening the earbuds case. However, if pairing doesn’t happen automatically, press and hold the button on the case until the light starts flashing blue.
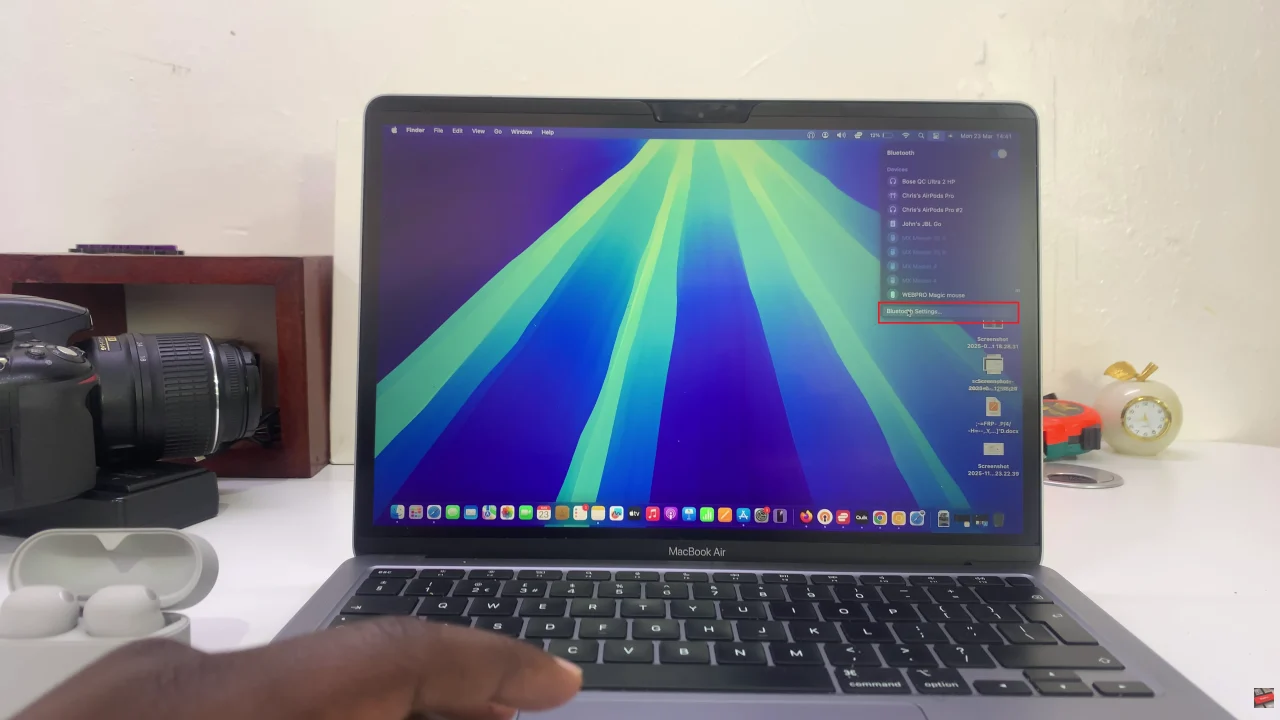
Following this, access the Bluetooth settings on your MacBook. To do this, open the Control Centre on the top right corner and select ‘Bluetooth‘. Within the settings, click on ‘Bluetooth Settings‘ to access the Bluetooth settings.
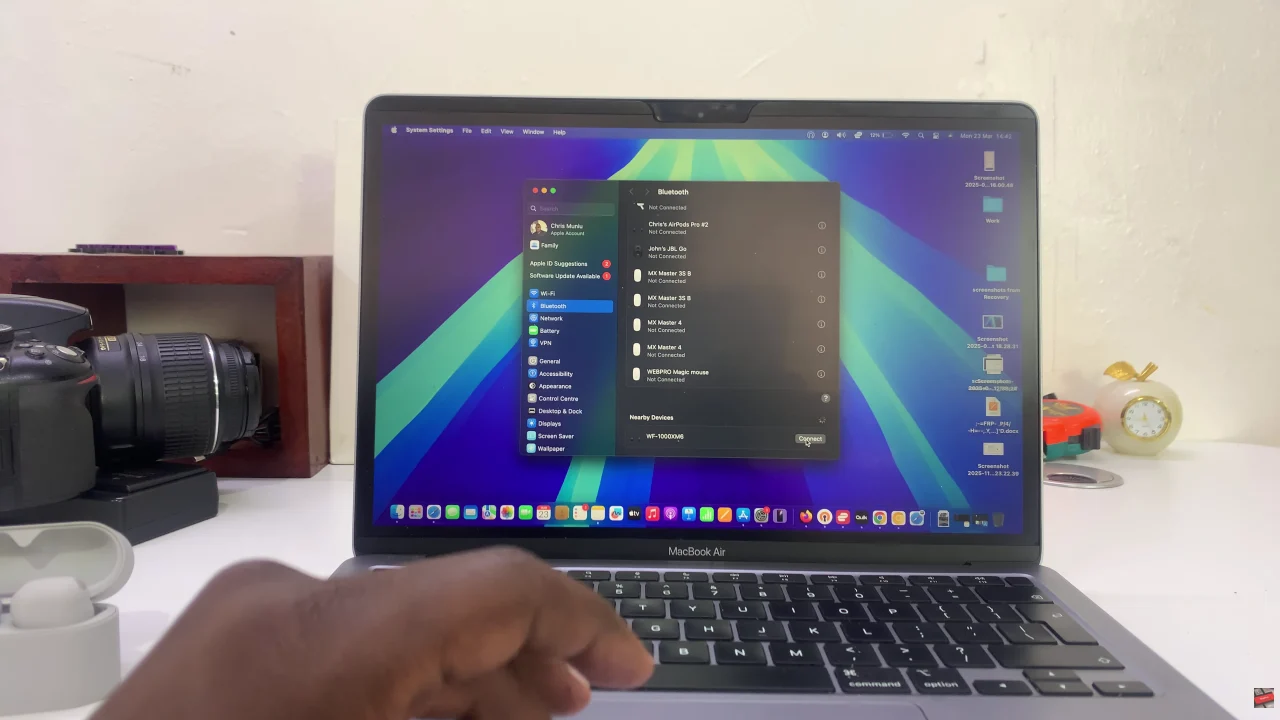
At this point, your Mac or MacBook will scan for nearby Bluetooth devices. Once the earbuds have been discovered, click on ‘Connect‘ to begin the pairing process. After the pairing is done, your Sony WF-1000XM6 will be connected to the MacBook.
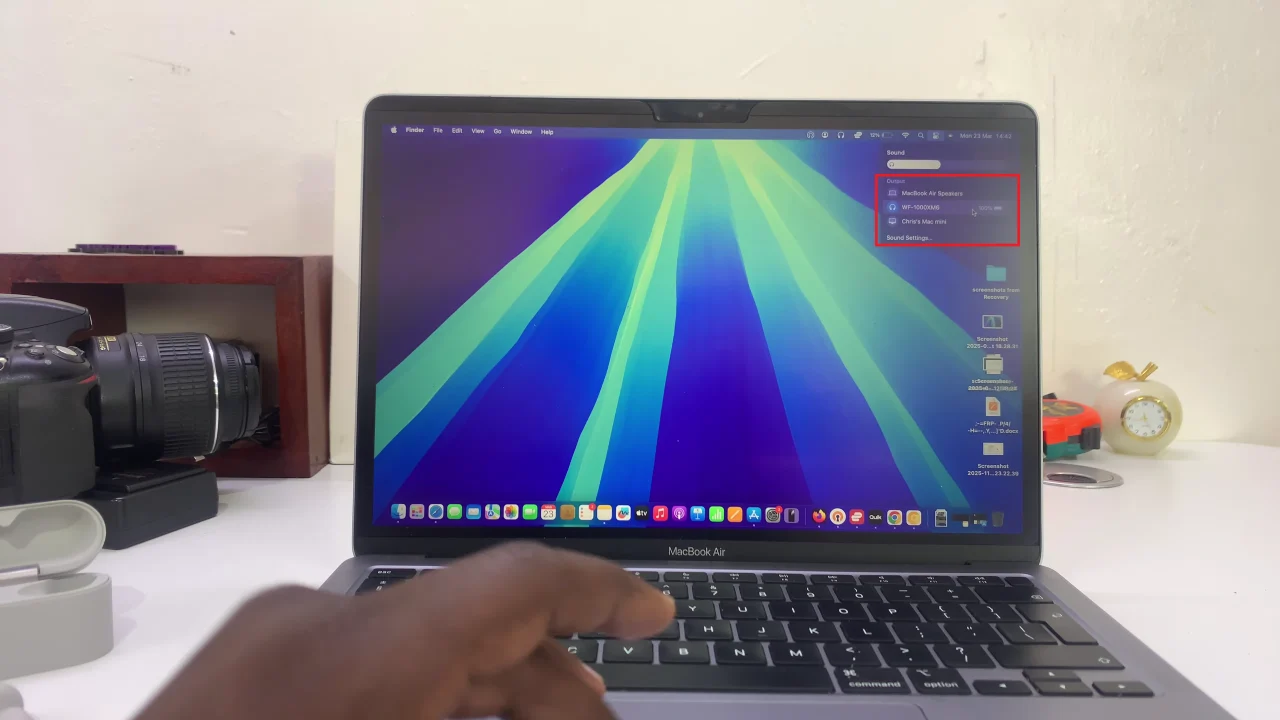
Additionally, you can manually select the earbuds as your default sound output device. Click on the Control Centre and select the sound icon (next to the sound slider). From the devices that appears, choose your Sony WF-1000XM6 earbuds.
In conclusion, pairing your Sony WF-1000XM6 earbuds with a Mac or MacBook is a quick and straightforward process once you follow the right steps. With Bluetooth enabled and your earbuds in pairing mode, you’ll be connected in seconds.
