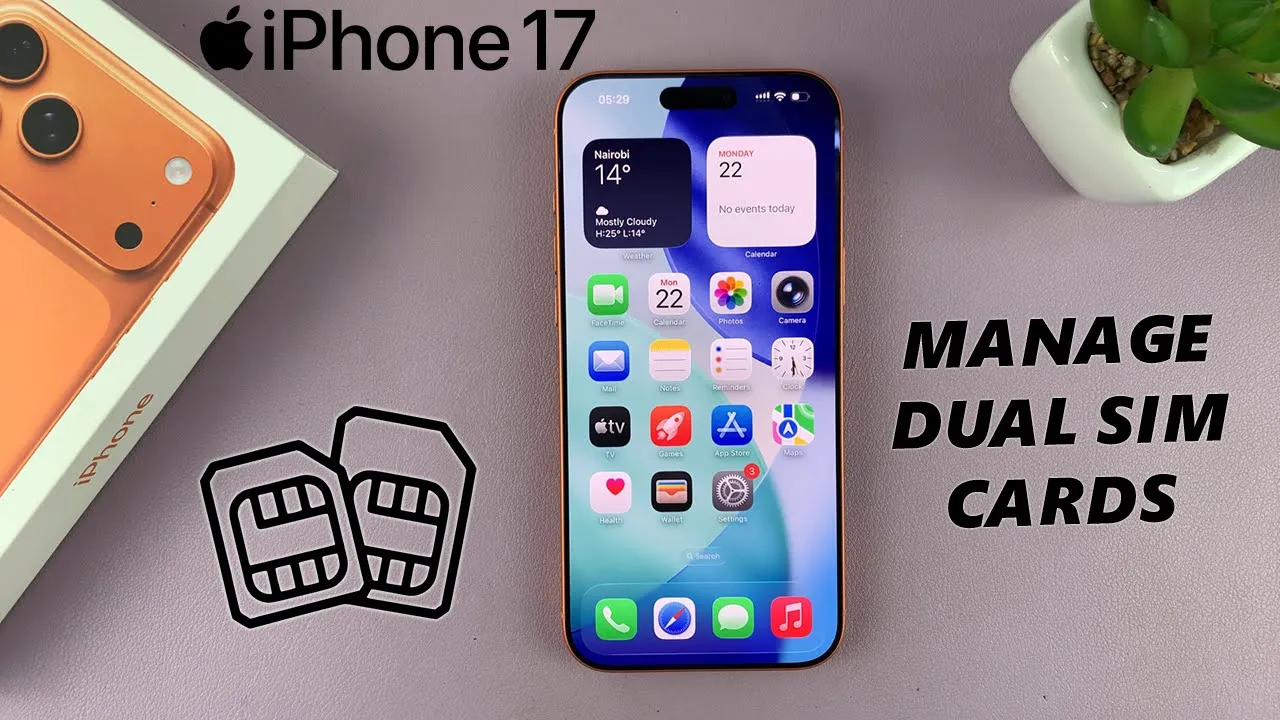
Video:Dual SIM iPhone 17: How To Manage Dual SIM Set Up
The Dual SIM feature on the iPhone 17 gives you flexibility to manage personal and business lines on one device. It combines an eSIM and a physical SIM, letting you switch easily between networks. This setup is ideal for professionals, travelers, and users who want efficient communication without carrying two phones.
Additionally, managing Dual SIM on the iPhone 17 helps you control how calls, messages, and data work across both SIMs. You can choose which line handles what, making your device more efficient and organized. Whether you’re separating work from personal life or using local carriers abroad, the iPhone 17 ensures smooth, reliable, and connected communication.
Watch:How To Use Dual Capture On iPhone 17 Pro
Manage Dual SIM Set Up On iPhone 17
Access Mobile Settings
Open the Settings app on your iPhone 17 or 17 Pro. Scroll down and tap Mobile Service to view your SIM cards. Here, you’ll see both your physical SIM and eSIM or two eSIMs, depending on your setup.

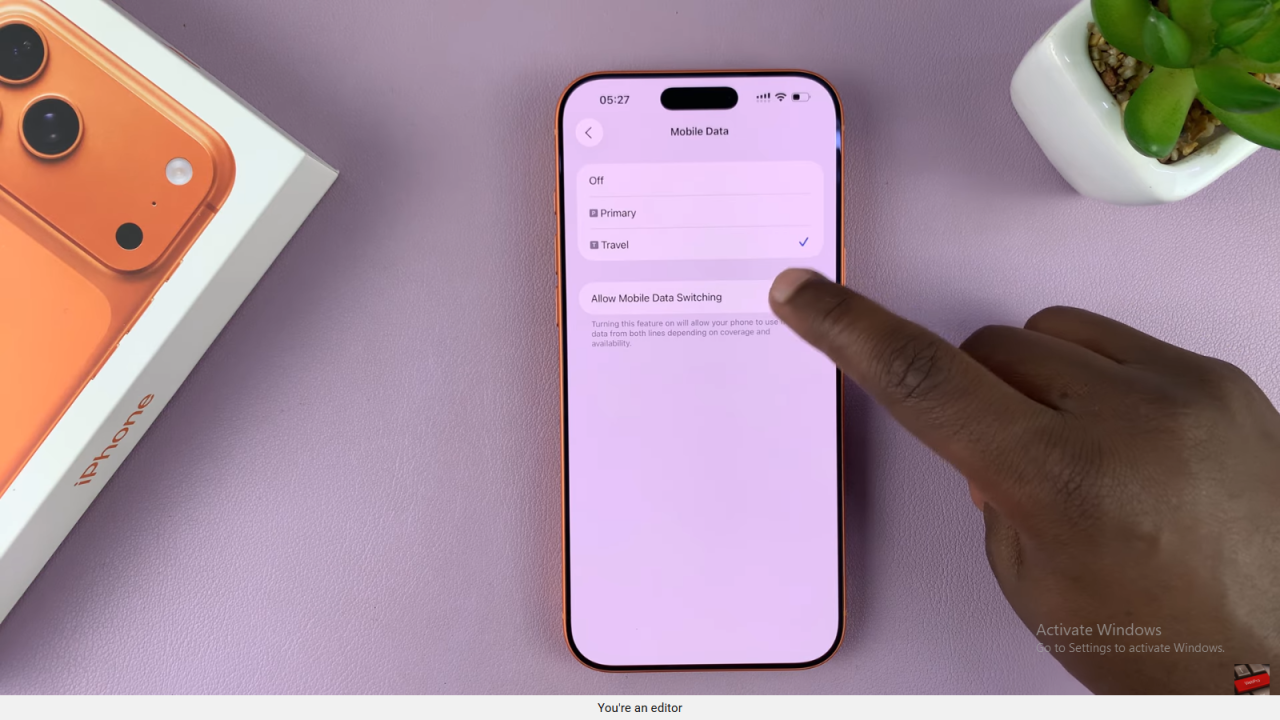
Set Default SIM for Mobile Data
Under the mobile data section, tap to select which SIM you want to use as your default data line. You can also enable Mobile Data Switching to allow your iPhone to switch to the other SIM automatically if one loses connection.
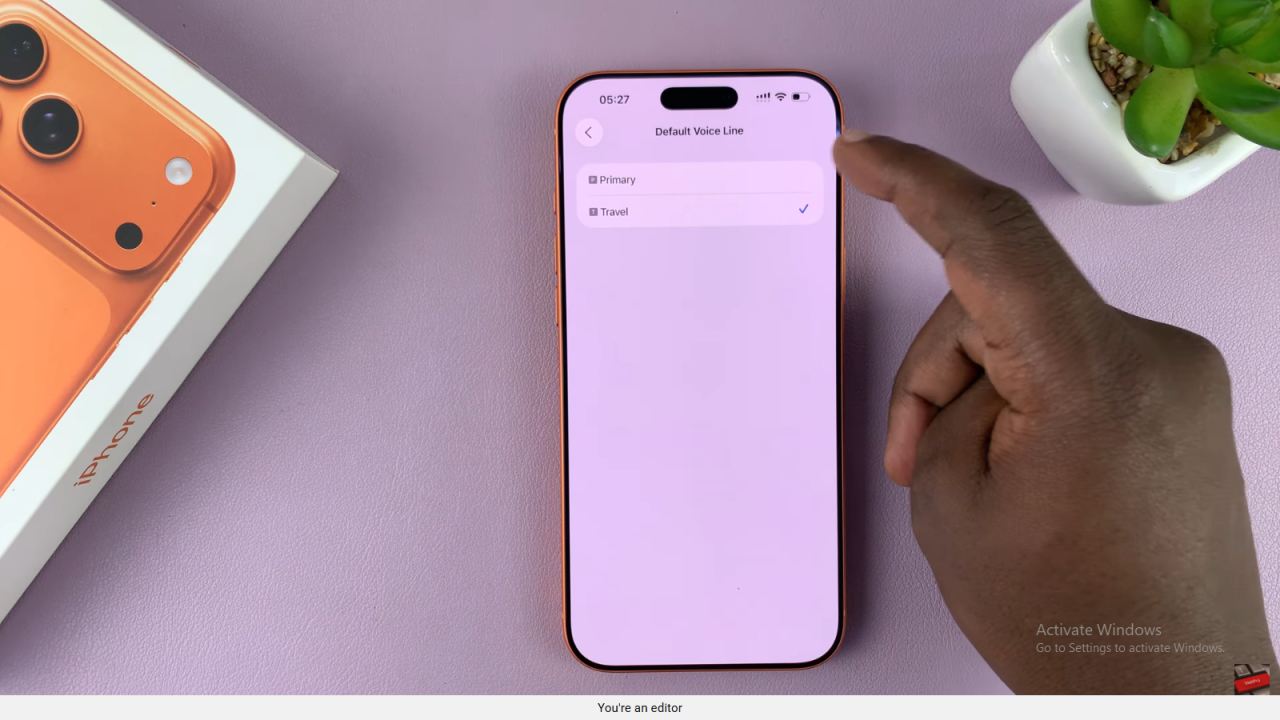
Choose Default Voice Line
Go back and select Default Voice Line. Choose the SIM card you want to use for outgoing calls. Remember, both SIM cards can still receive incoming calls at any time.
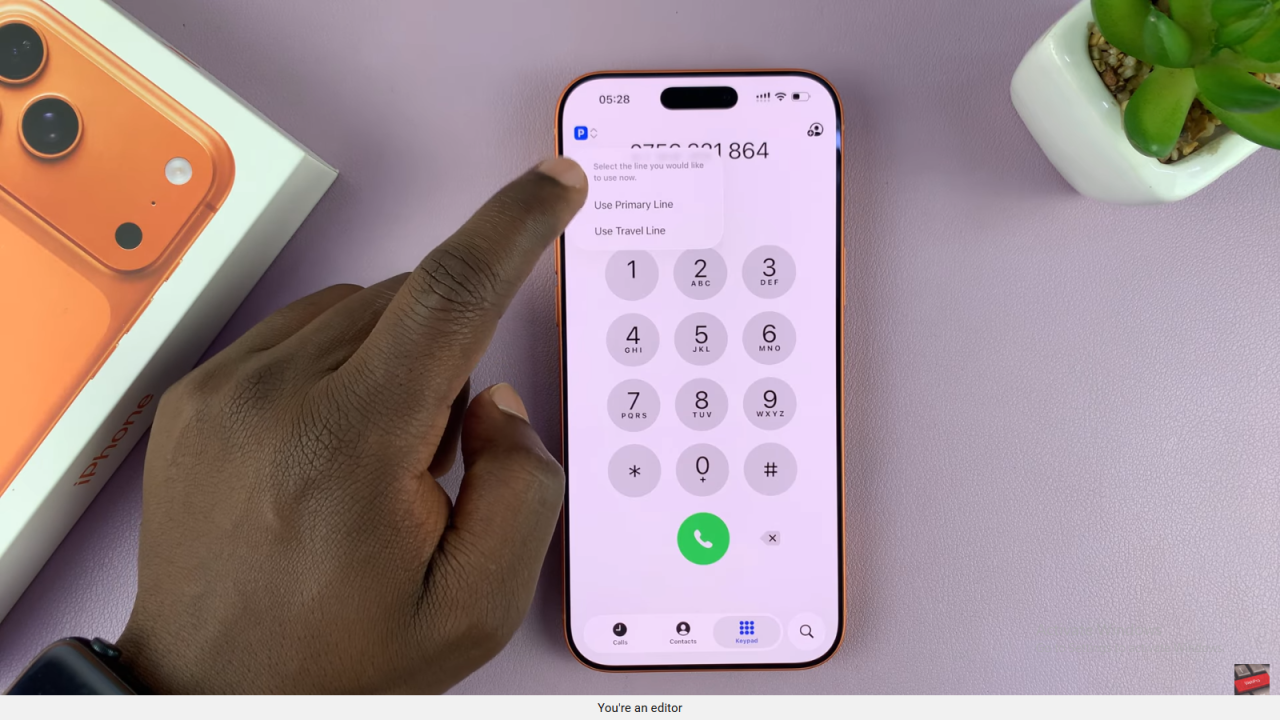
Switch SIM for Specific Calls
When making a call, you can choose a different SIM for that specific call directly from the dial pad or contacts screen. This flexibility allows you to manage costs or network coverage easily.
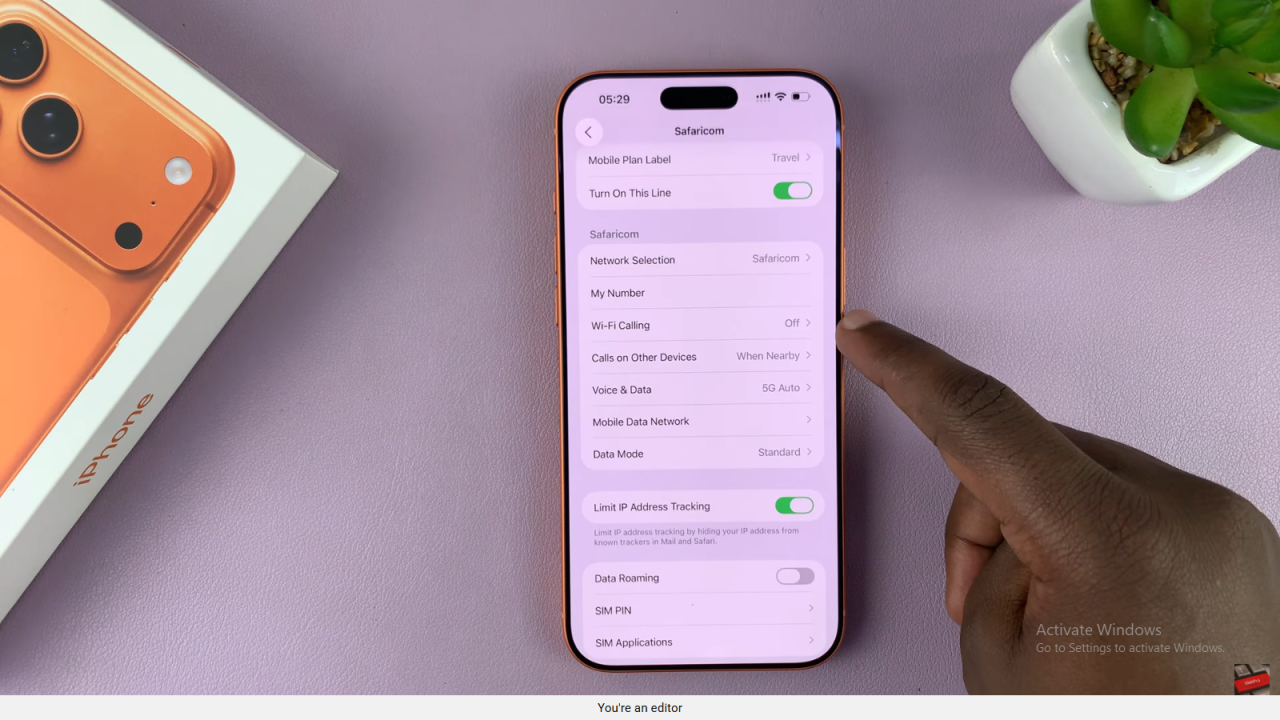
Adjust Individual SIM Settings
To change options for a specific SIM, tap the SIM name under Mobile Service. You can turn 5G or Wi-Fi Calling on or off, change your SIM PIN, or view SIM applications. These settings help you personalize each SIM’s performance.

