Video:How To Record Screen On iPhone 17 / 17 Pro
Recording your screen on the iPhone 17 or iPhone 17 Pro has become an essential feature for users who want to capture and share what’s happening on their devices effortlessly. Whether you’re creating tutorials, showcasing gameplay, or saving memorable moments from your favorite apps, knowing how to record screen on iPhone 17 / 17 Pro can make a big difference in how you communicate and share content.
Moreover, the screen recording tool now offers improved quality settings, better accessibility options, and enhanced control over audio capture, allowing users to create professional-level recordings directly from their devices. As you explore this feature, you’ll notice how easily it fits into everyday use—whether for personal productivity, entertainment, or creative expression, making the iPhone 17 lineup even more versatile and user-friendly.
Watch:How To Enable HDR Screen Recordings On iPhone 17 / 17 Pro
Record Screen On iPhone 17 / 17 Pro
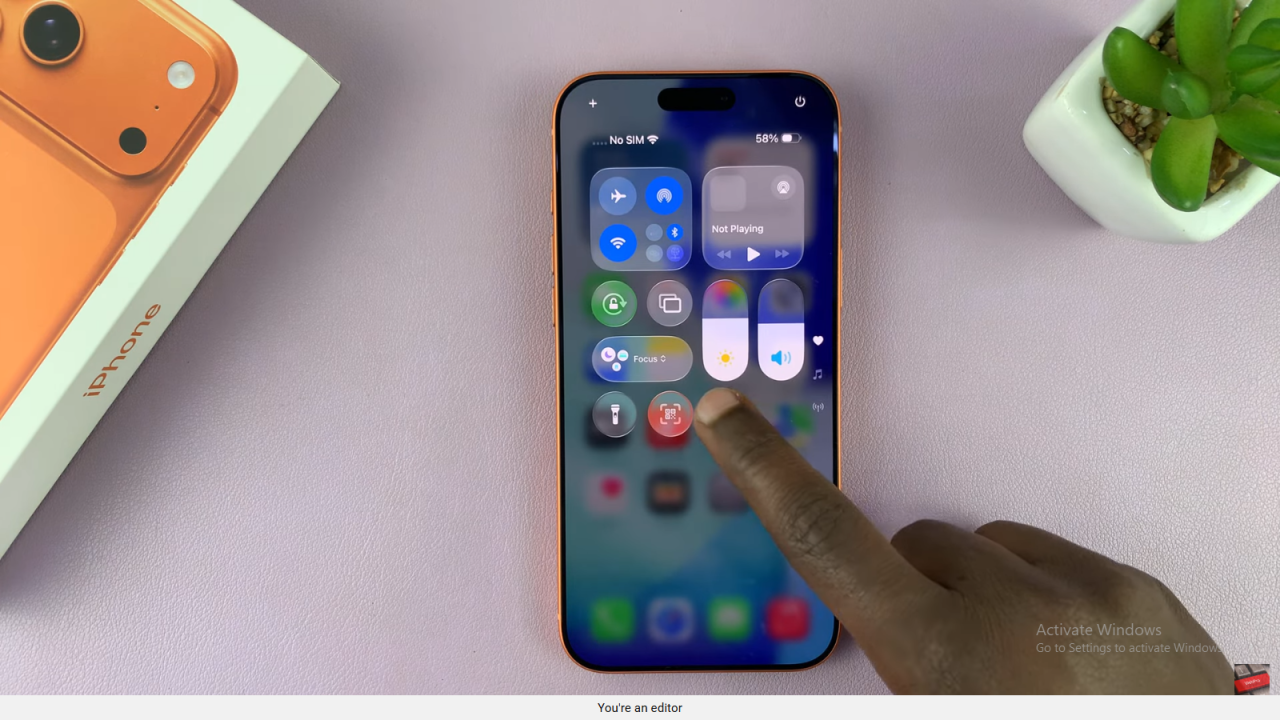
Open Control Center
Swipe down from the top right corner of your iPhone 17 or 17 Pro. This will open the Control Center quickly.
Find Screen Record Icon
Next, look for the Screen Recorder icon. It appears as a small filled circle inside a thin ring.
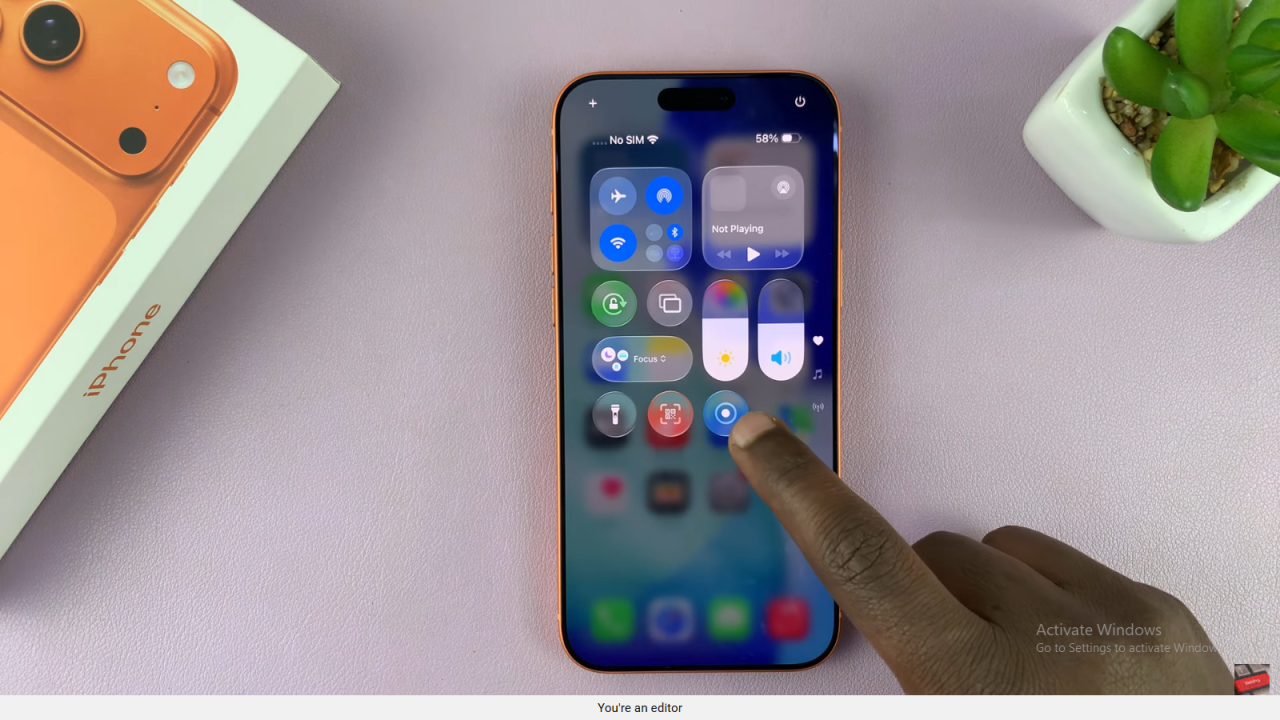
Start Screen Recording
Then, tap the icon once. A 3-second countdown will appear before the recording begins. From that moment, everything you do on the screen will be recorded.
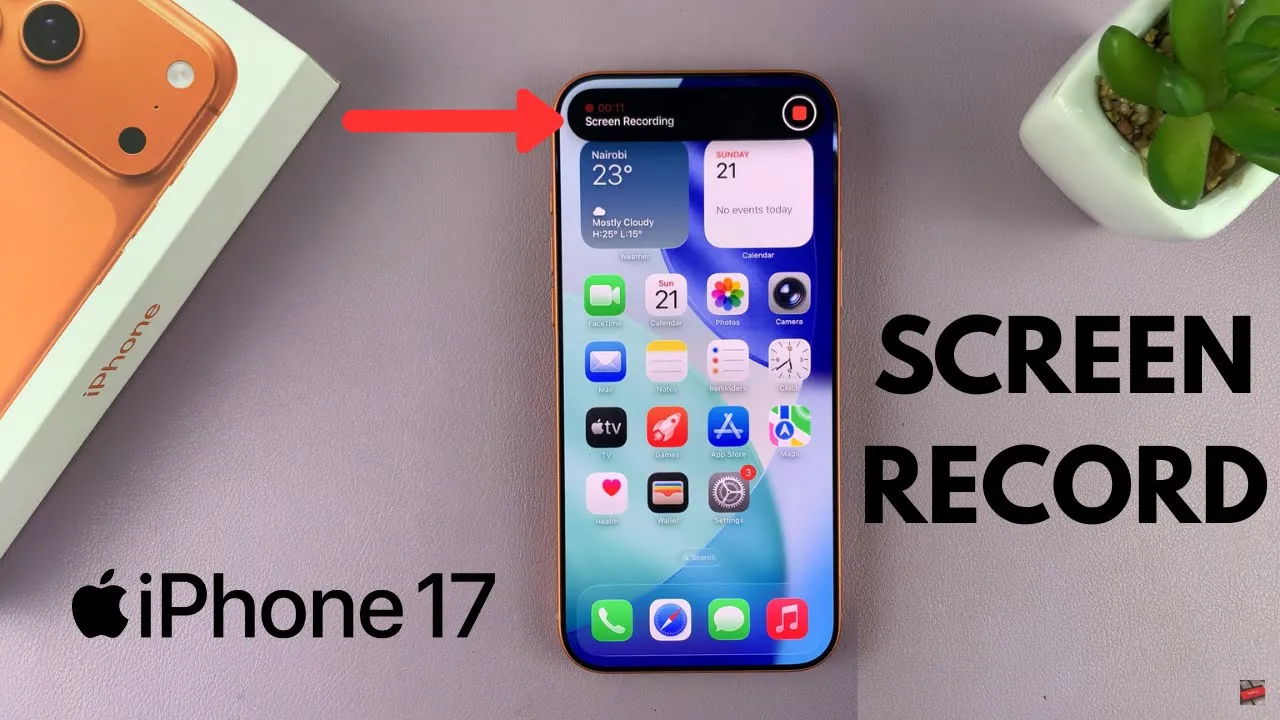
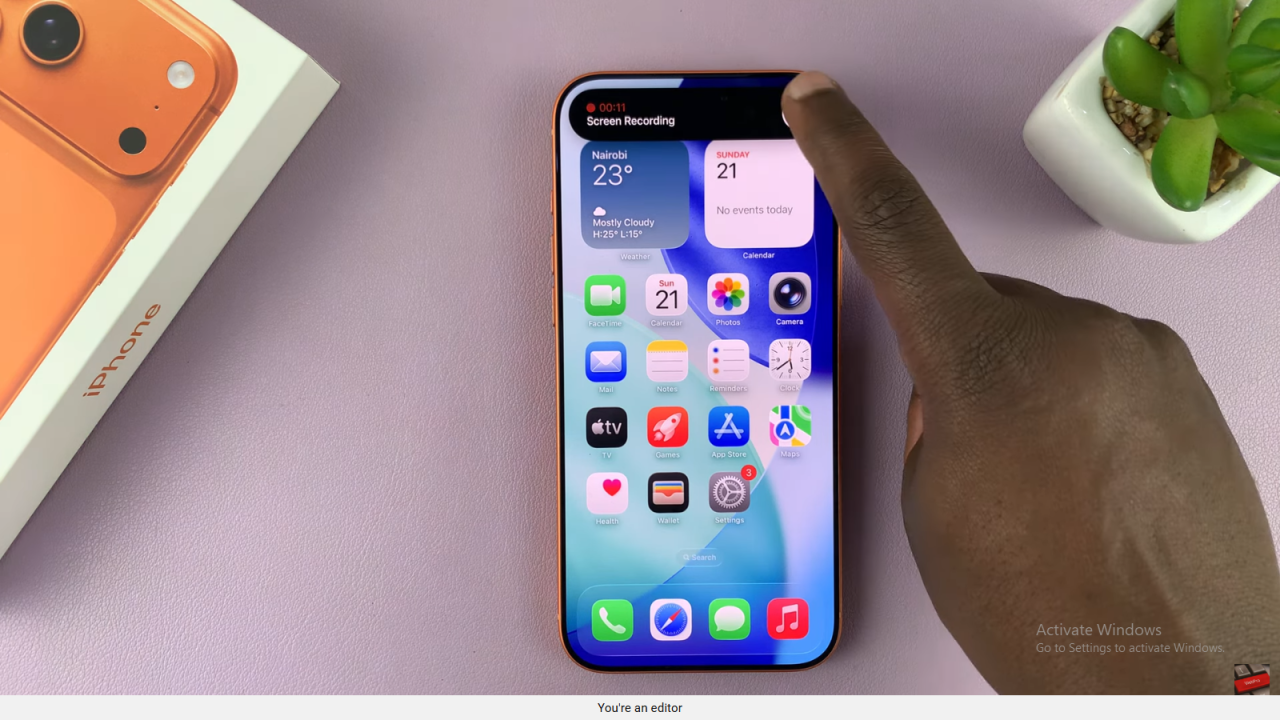
Stop Screen Recording
When you’re done, tap the Dynamic Island or the red timer at the top. After that, select Stop to save your recording automatically.
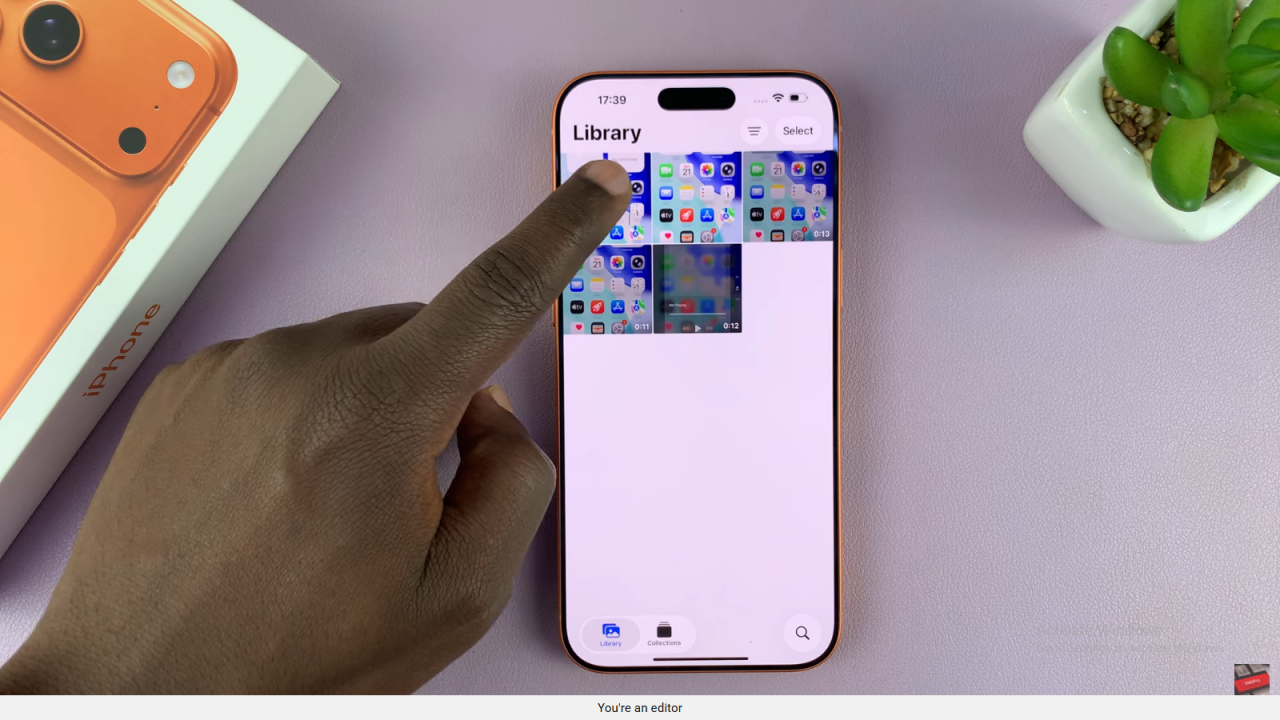
Find Screen Recordings
After saving, go to the Photos app. Under Recents or Screen Recordings, you’ll find your video ready to play or edit.
Read:How To Enable HDR Screen Recordings On iPhone 17 / 17 Pro

