Keeping the date and time accurate on your Samsung Galaxy A17 5G is important for timely notifications and a smooth app experience. Occasionally, your phone may show the wrong time, especially if you forgot to change it when the automatic time setting was incorrect, or if you travel through various time zones.
If this happens, manually setting your date and time will keep your Samsung Galaxy A17 5G accurate and reliable. In this tutorial, we’ll show you how to manually set the date and time on your Samsung Galaxy A17 5G.
After you finish reading this, the clock on your phone will be accurately set for the area you are in, and your apps, messages, and functions of the system will all work together without any issues.
Watch: How To Change Region Manually On Samsung Galaxy A17 5G
Manually Set Date & Time On Samsung Galaxy A17 5G
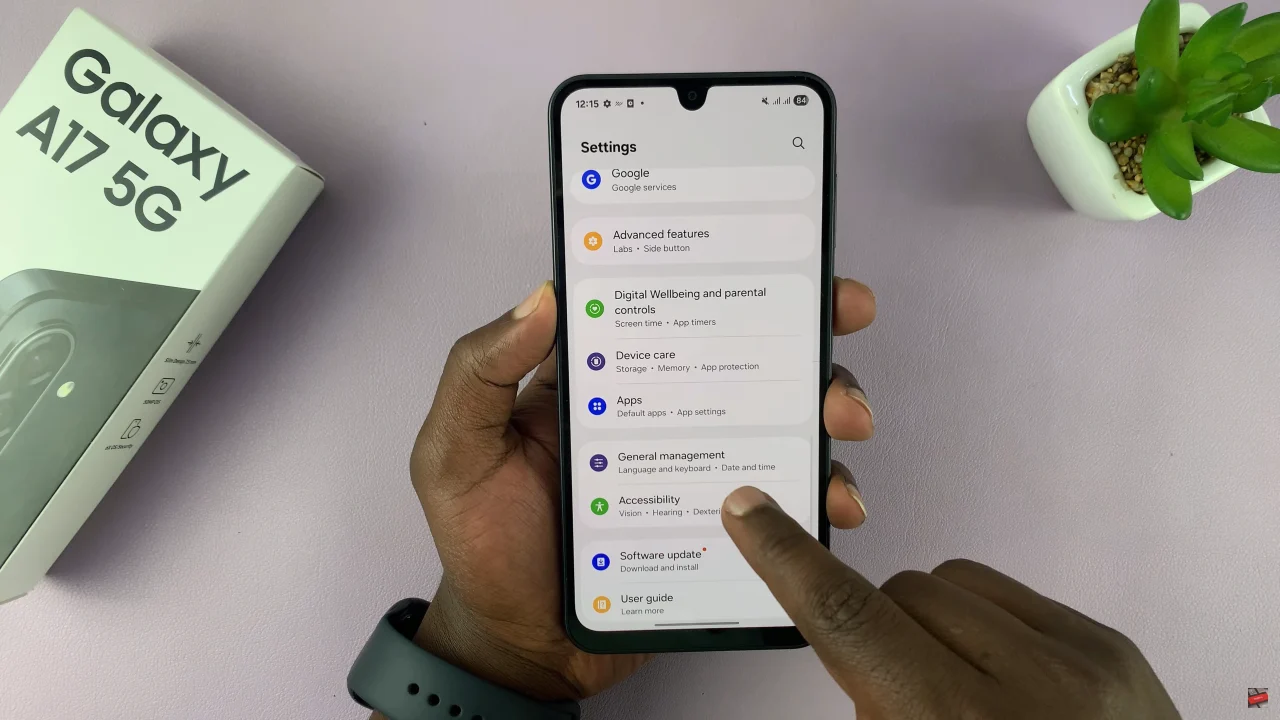
Begin by accessing the Settings app on your Galaxy A17 5G. Find the Settings app on the home screen or app drawer and tap on it to proceed. Then, scroll down and select ‘General Management‘.
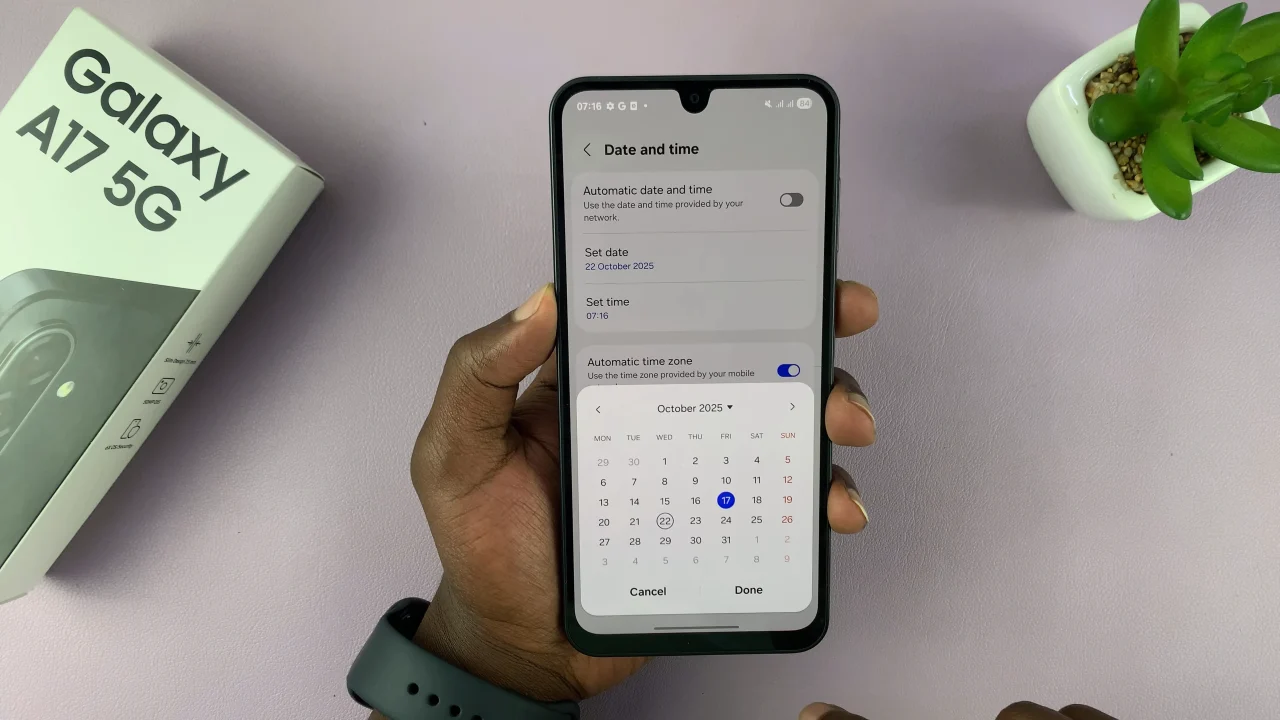
Within the General Management settings, scroll down to the bottom and select ‘Date & Time‘. At this point, find the ‘Automatic Date & Time‘ option and disable it first before you proceed.

Once disabled, you’ll see the ‘Set Date‘ and ‘Set Time‘ option appear. Now, tap on the desired option and you can manually adjust both the date and time on your Galaxy A17 5G. Afterwards, exit the settings and the changes will be applied.
In conclusion, manually setting the date and time on your Samsung Galaxy A17 5G is quick and simple. Whether your phone shows the wrong time or you prefer full control, adjusting these settings ensures your device stays accurate and reliable. With the correct time set, you’ll avoid syncing issues and keep your phone running smoothly.
Read: How To Remove Lock Screen Shortcuts On Samsung Galaxy A17 5G
