Color plays a crucial role in how we interact with our smartphones, influencing everything from reading text to viewing images and videos. For individuals with color vision deficiencies, certain colors can be difficult to distinguish, making daily smartphone use challenging.
To address this, Samsung Galaxy devices, including the Galaxy A17, offer a built-in color correction feature. This feature allows users to adjust the display’s color balance, enhancing visibility and making the screen more accessible.
Whether you need subtle adjustments or a complete color transformation, understanding how to enable or disable color correction can greatly improve your device experience.
Also Read: How To Enable / Disable Charging Sound On Samsung Galaxy A17
How To Enable / Disable Color Correction On Samsung Galaxy A17
Begin by unlocking your Samsung Galaxy A17 and navigating to the home screen. Locate the “Settings” app, represented by a gear icon, and tap to open it. Next, scroll down the Settings menu and select “Accessibility.” Within the Accessibility section, find and tap on “Vision Enhancements.”
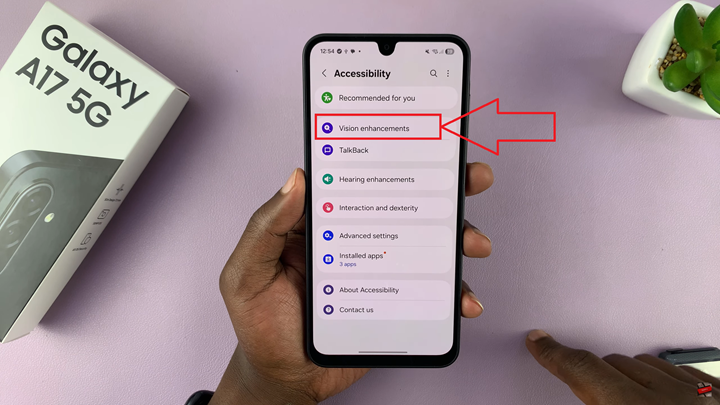
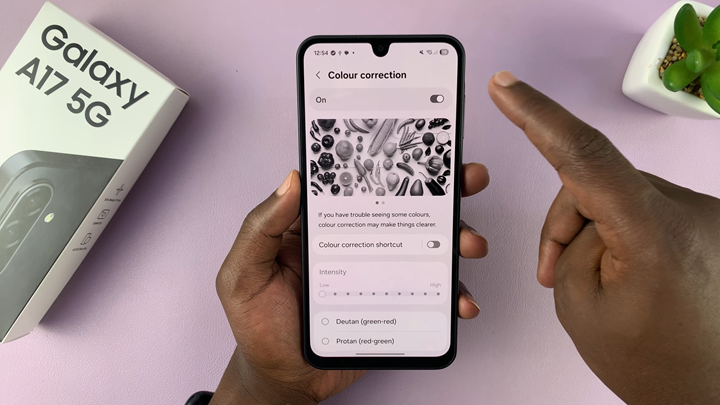
Within Vision Enhancements, scroll until you locate “Color Correction.” Tap this option to access the color correction settings. You will see a toggle switch beside it; switch it to the ON position to enable color correction. Once enabled, you can customize the color adjustments according to your needs.
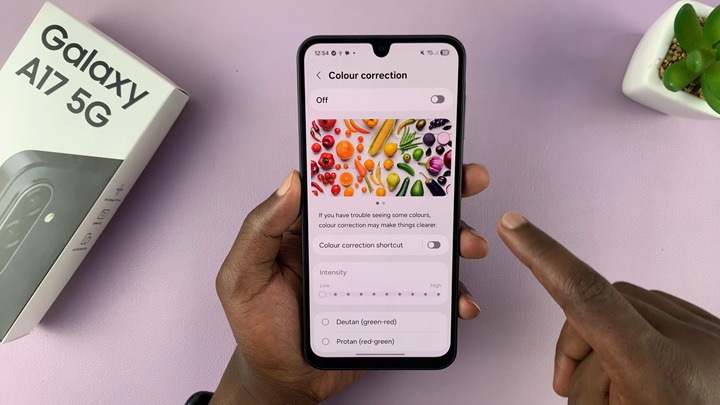
To disable color correction, follow the same steps to navigate to the Color Correction setting, then toggle the switch to the OFF position. This will restore your screen to its default color display.
By understanding and utilizing the color correction feature, Samsung Galaxy A17 users can achieve a more comfortable and accessible viewing experience, improving daily interaction with the device while accommodating specific visual needs.
Watch: Samsung Galaxy A17 5G: How To Install Facebook Messenger

