In this article, we’ll show you how to put Sony WH-CH720N headphones in default step by step. Whether you need a quick reset for troubleshooting or want to completely restore factory settings, the process is simple and effective. Follow along to keep your headphones performing at their best.
If your Sony WH-CH720N headphones start acting up or you want to clear all custom settings, knowing how to put them back to default can be very useful. Resetting or restoring your headphones helps fix common issues such as pairing errors, connection drops, or sound settings that don’t work as expected. With just a few steps, you can bring your Sony WH-CH720N back to factory settings.
The Sony WH-CH720N headphones come with powerful features like noise cancelling, adaptive sound control, and custom equalizer options. However, after experimenting with different settings or connecting to multiple devices, you may notice performance changes. Putting the headphones in default mode ensures that you start fresh, eliminating any saved preferences or glitches.
Watch: How To Change Automatic Power Off Period On Sony WH-CH720N Headphones
How To Put Sony WH-CH720N Headphones In Default
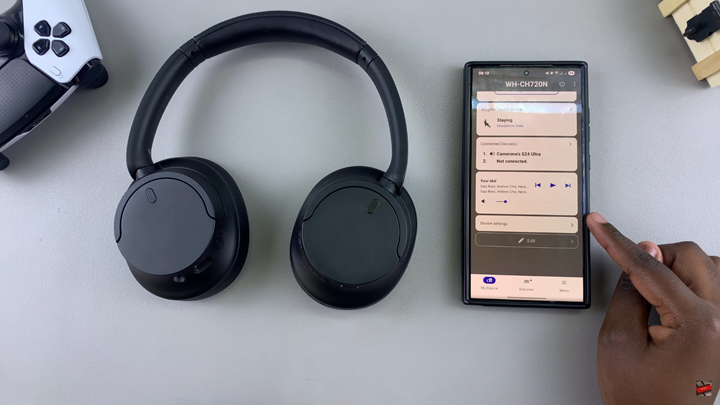
Launch the Sony Headphones Connect app on your phone.
Find and select the Device Settings menu.
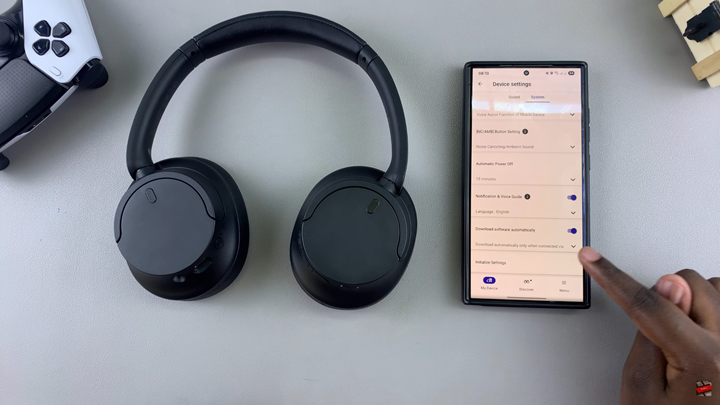
Tap on the System section tab.
Scroll down and select Initialize Settings.
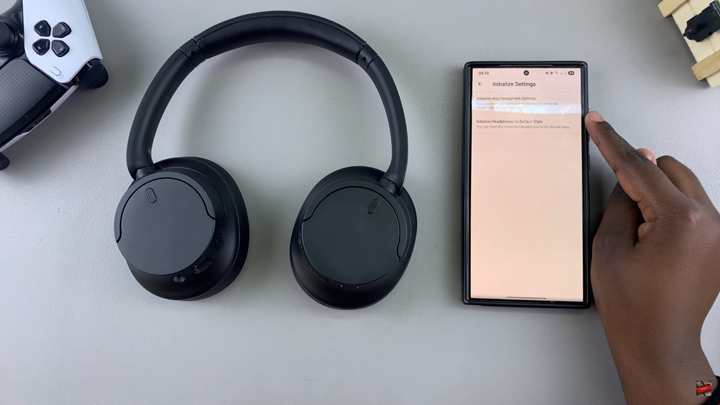
Tap on Initialize Headphones to Default State.
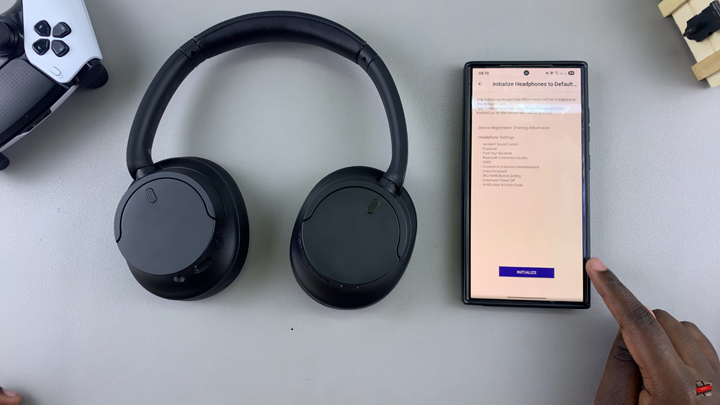
Tap on Initialize again and confirm any prompt that may appear.
After reset, tap on the headphones to establish reconnection.
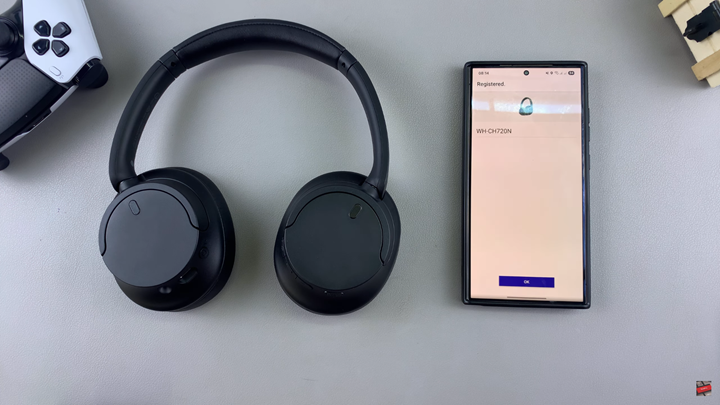
Follow the onscreen prompts and give any necessary permissions to complete the pairing.
Read: How To Connect Sony WH CH720N Headphones With Companion App
