Safeguarding your online privacy is crucial in today’s digital age. With the latest iOS 17 update, Apple has introduced an enhanced feature that allows you to enable Face ID for private browsing in Safari.
By taking advantage of Face ID, you can add an extra layer of security to your private browsing sessions, ensuring that only you can access your sensitive information.
In this article, we’ll guide you through the process on how to enable Face ID for Private Browsing in Safari for your iPhone. Before we continue, it is crucial to ensure that your iPhone is updated to the latest iOS 17 version.
Also Read: How To Disable Face ID For Private Browsing In Safari For iPhone
How To Enable Private Browsing With Face ID In Safari
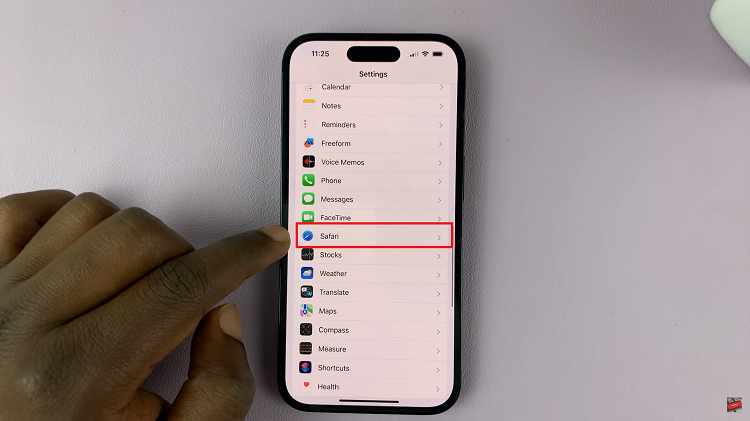
To begin, open the “Settings“ app on your iPhone home screen. Scroll down the list of options until you find “Safari.”
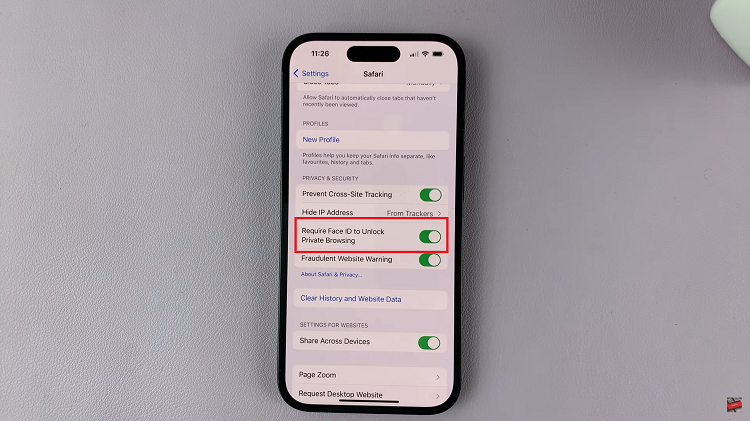
Within the Safari settings, look for the option labeled “Require Face ID to Unlock Private Browsing.” You’ll notice that, by default, this feature is disabled. To activate it, simply toggle the switch next to it.
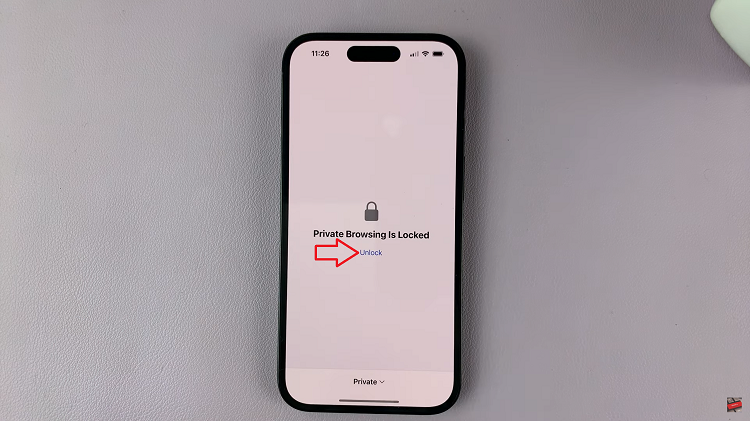
Now that you’ve enabled the Face ID lock for private browsing, make sure it works as intended. Open the Safari app. You should see “Private Browsing Is Locked.” Simply tap on “Unlock” to use your Face ID to unlock private browsing.
With Face ID now enabled, your device will prompt you to authenticate yourself using Face ID before granting access to private browsing mode. This extra layer of security ensures that only you can access your private browsing sessions, even if someone else gains physical access to your iPhone.

