In the realm of digital creativity, the iPad has revolutionized how we capture, edit, and share photographs. Whether you’re a photography enthusiast, a social media influencer, or a professional photographer, having powerful editing tools at your fingertips is essential. One such tool that stands out for its versatility and ease of use is the Magic Eraser tool, available on iPad through apps like Google Photos.
This tool empowers users to effortlessly remove backgrounds, erase unwanted objects, and refine images with precision, all directly from their iPad. In this guide, we will walk you through step-by-step instructions on how to harness the power of the Magic Eraser tool on your iPad.
Join us as we delve into the world of digital editing with the Magic Eraser tool, making your photo editing experience seamless, intuitive, and remarkably rewarding.
Watch: How To Reset Face ID On iPad
Use Magic Eraser Tool On iPad
Begin by installing the Google Photos app from the App Store. Simply search for Google Photos, tap on “Get,” and follow the prompts to install the application onto your device. Then, launch the Google Photos app on your iPad and locate the specific image you wish to edit. Tap on the image to view it in full-screen mode.
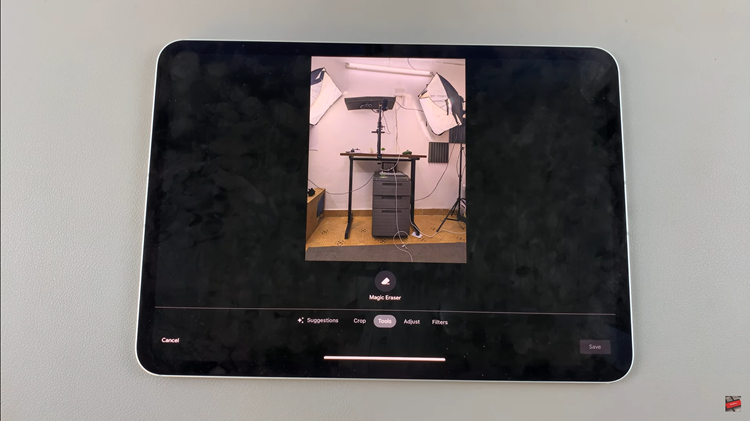
At this point, tap on the edit icon, typically found at the bottom of the screen. It resembles a pencil or slider. Then, navigate to the “Tools” section, usually located at the bottom of the screen. Within the tools menu, locate and select the powerful “Magic Eraser” tool.
Following this, proceed by using your finger to carefully tap on the area of the image that you want to erase. The tool seamlessly identifies and removes similar pixels, ensuring a smooth and natural edit. For finer adjustments and detailed editing, zoom into the image using multitouch gestures to refine edges and achieve impeccable cutouts.
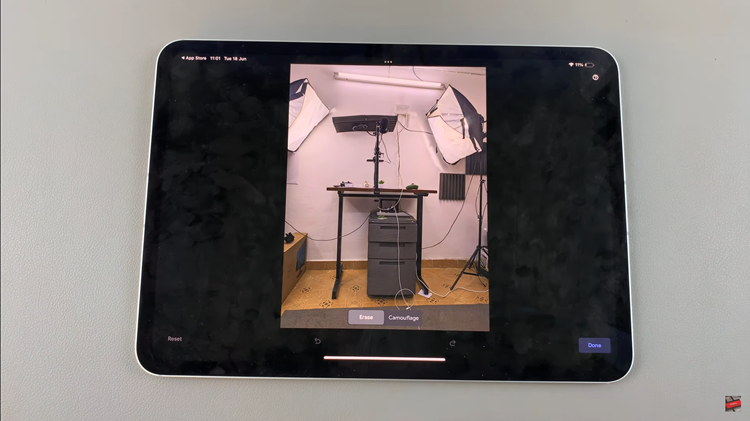
Finally, tap on the “Done” button to confirm your changes. Select “Save” to apply the edited version of your photo. From here, you can effortlessly share your masterpiece with friends, and family, or on social media.
Mastering the Magic Eraser tool on your iPad allows you to transform ordinary photos into polished works of art, offering a user-friendly yet powerful editing solution for enhancing your digital images.

