Video:Airpods Pro 3: How To Rename
The AirPods Pro 3 offer a range of smart customization options that make them more personal and easy to manage. One of the most useful is the ability to change their device name, which helps you identify them quickly among multiple Bluetooth connections. Knowing how to rename AirPods Pro 3 gives you a sense of control and personalization, especially when using them across different Apple devices or sharing your space with others.
In addition, understanding how to rename AirPods Pro 3 adds a simple yet powerful touch to your overall user experience. It not only makes connecting faster but also helps distinguish your earbuds from similar devices nearby. This quick adjustment enhances both convenience and individuality, making your AirPods Pro 3 truly yours.
Watch:Airpods Pro 3: How To Enable Heart Rate Sensor
Rename Airpods Pro 3
Open the Case
Start by opening the lid of your AirPods Pro 3 case so they automatically connect to your iPhone.
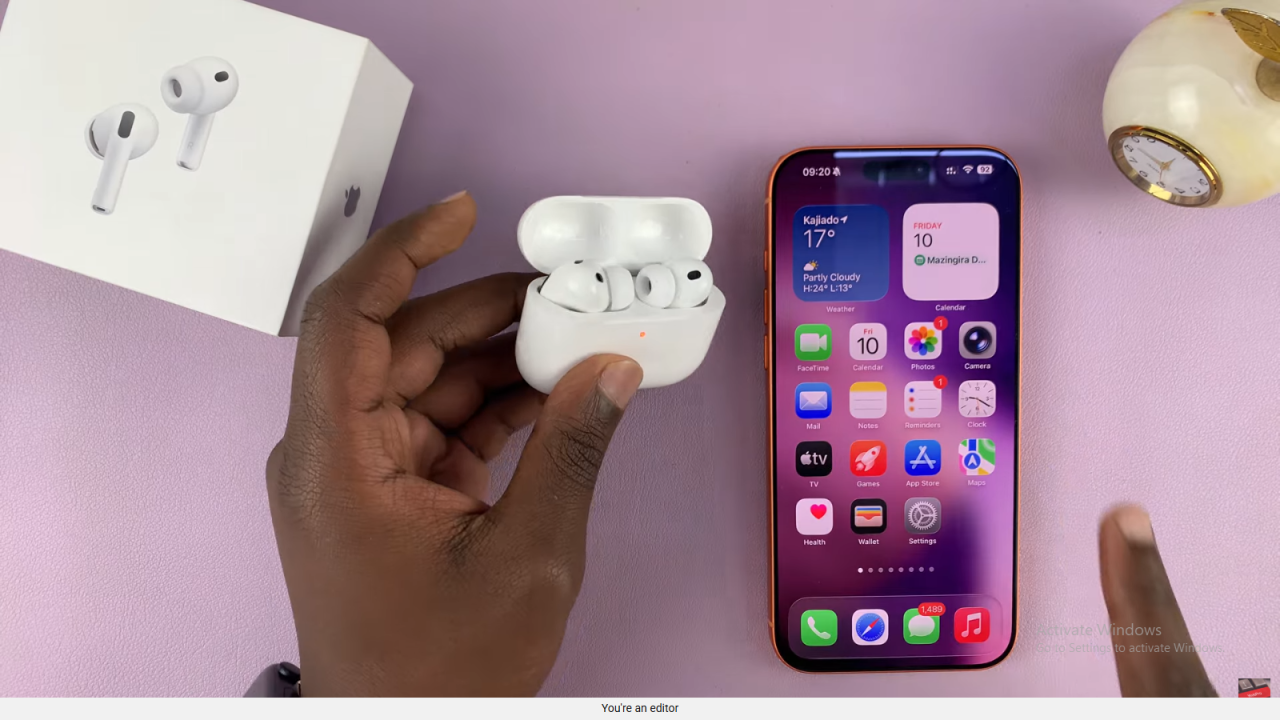
Go to Settings
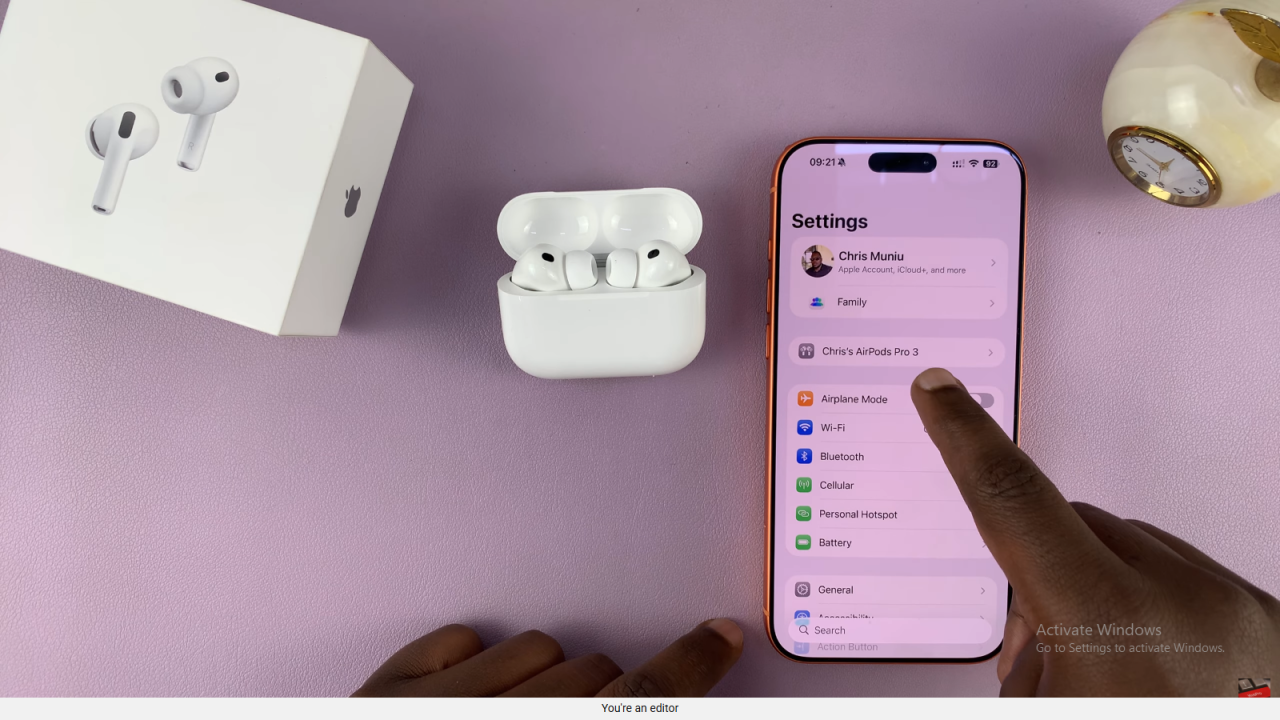
On your iPhone, open the Settings app and make sure your AirPods Pro 3 are connected. You should see them listed at the top of the Settings page.

Select Your AirPods
Tap on your AirPods Pro 3 name to open their settings page. This is where you can view and adjust device details.

Find the Name Option
Scroll to the section labeled “Name.” Tap on it to open the text field where the current AirPods name appears.
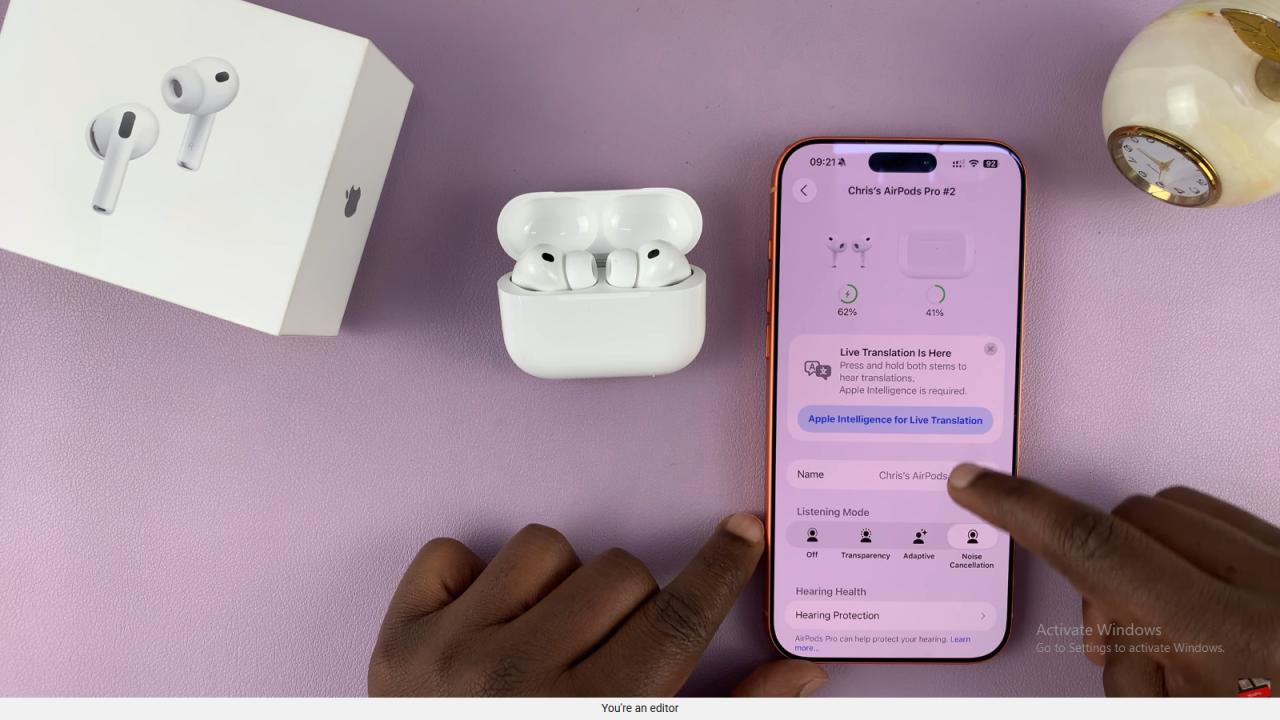
Edit the Name
Erase the existing name and type in your preferred new name, such as “AirPods Pro 3.”

Save and Confirm
After typing the new name, tap the back button to save your changes. Your AirPods will now appear with the new name across all connected devices.
