
Video:Airpods Pro 3: How To Enable Heart Rate Sensor
The AirPods Pro 3 now feature advanced sensors designed to enhance both your audio and wellness experience. Among these is the heart rate sensor, a powerful addition that tracks your fitness data while you listen to music or take calls. Knowing how to enable the heart rate sensor on AirPods Pro 3 ensures you get the most out of this innovative feature while maintaining real-time awareness of your health metrics.
Furthermore, understanding how to activate the heart rate sensor on AirPods Pro 3 allows you to take full advantage of Apple’s expanding health ecosystem. With seamless integration, you can enjoy premium sound quality while staying connected to your body’s performance, making every workout or daily routine smarter and more personalized.
Watch:Airpods Pro 3: How To Charge
Enable Heart Rate Sensor On Airpods Pro 3
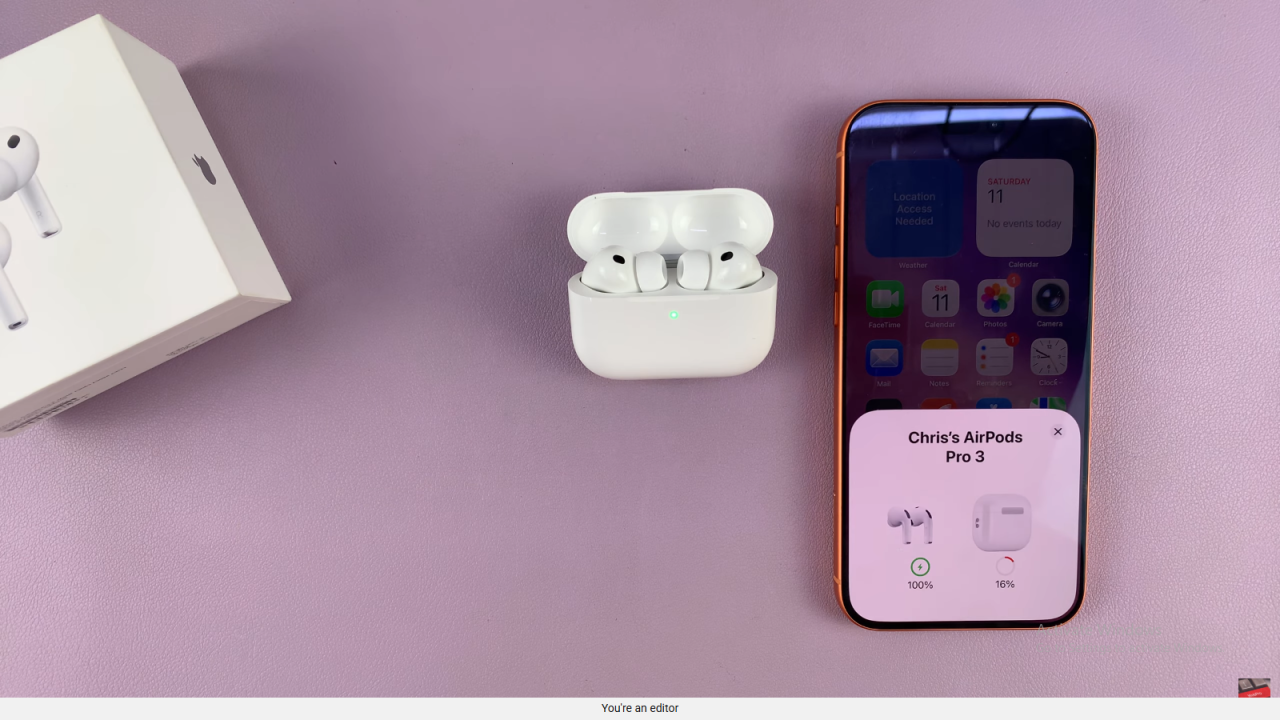
Open the Case
Start by opening the lid of your AirPods Pro 3 case so they automatically connect to your iPhone.
Go to Settings
On your iPhone, open the Settings app and select your AirPods Pro 3 from the connected devices list.
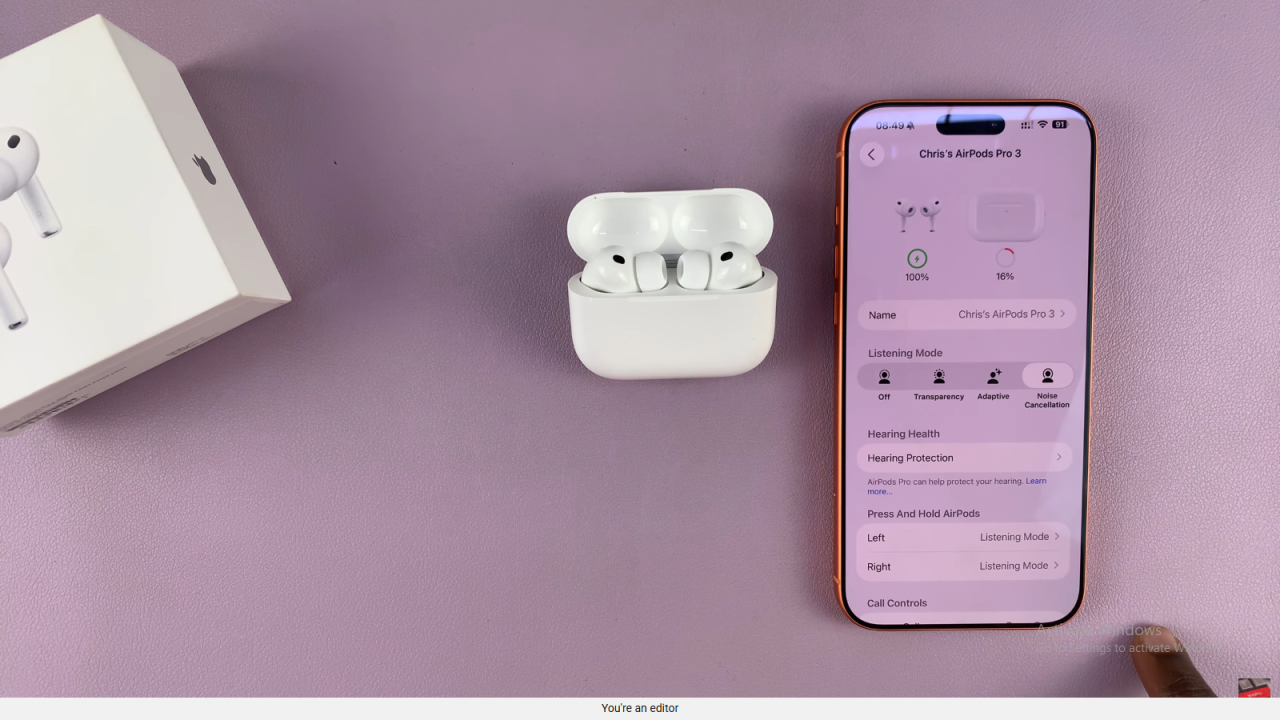
Find the Heart Rate Option
Scroll down the AirPods settings page until you find the Heart Rate option near the bottom of the menu and ensure its on.

Wear Your AirPods
Remove the AirPods from the case and place them in your ears. The sensor only works when the AirPods are being worn.

