If you’ve captured photos or videos on your camera or another device and want to transfer them to your iPhone 17 or iPhone 17 Pro, you might be wondering how to connect an SD card.
Since iPhones don’t include a built-in SD card slot, you’ll need an adapter or reader to make the connection.
Here’s a detailed guide on how to connect an SD Card and a microSD card to your iPhone 17, iPhone 17 pro and iPhone 17 Pro Max, quickly and safely.
Read: How To Open Camera Settings On iPhone 17 / iPhone 17 Pro
Connect SD Card To iPhone 17 Pro
Before you start, make sure you have all the necessary equipment at hand: Your iPhone 17, 17 Pro or 17 Pro Max, a compatible SD Card or microSD card (formatted as FAT32, exFAT, or HFS+) and USB-C to SD Card reader.
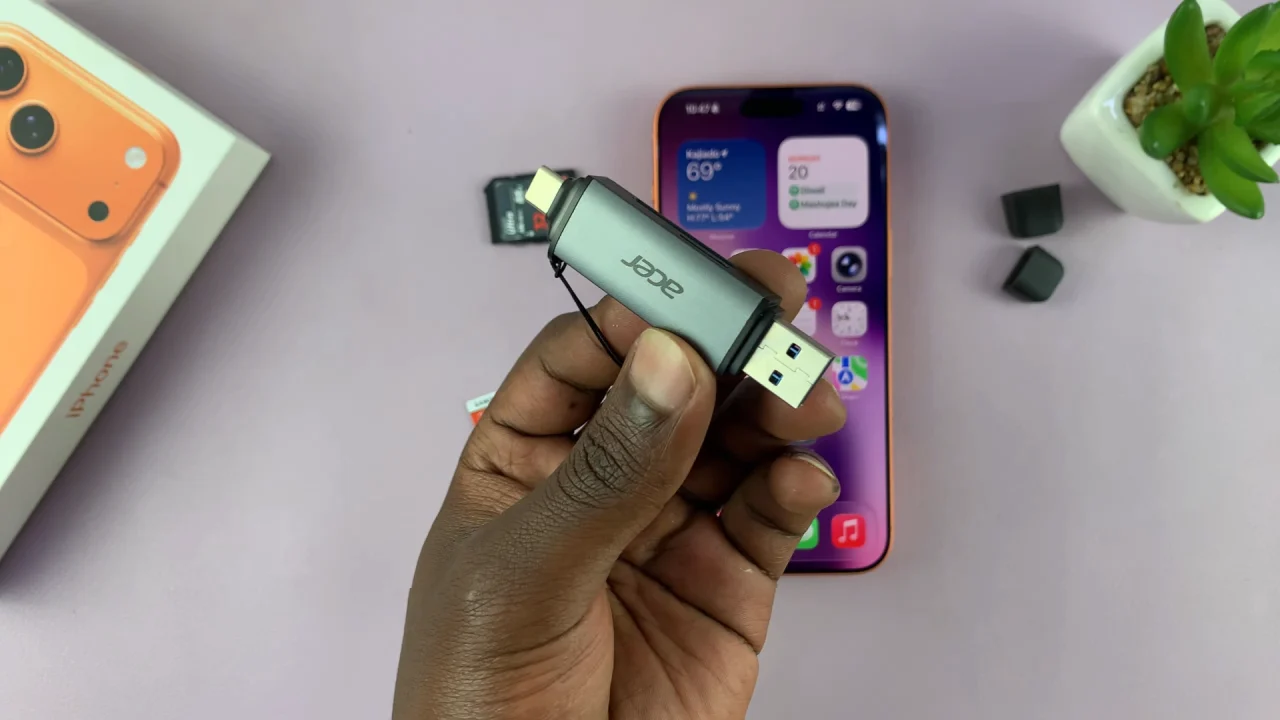
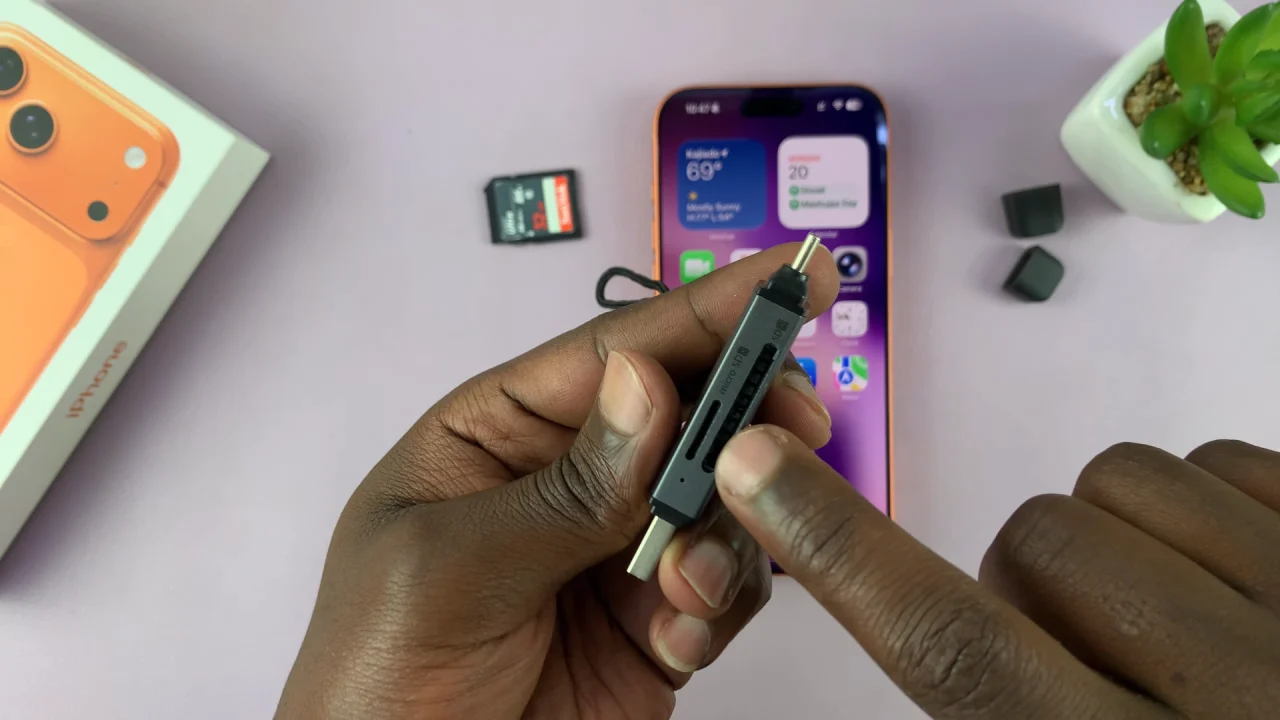
Next, insert the SD card into the SD card adapter or hub with a SD card slot.
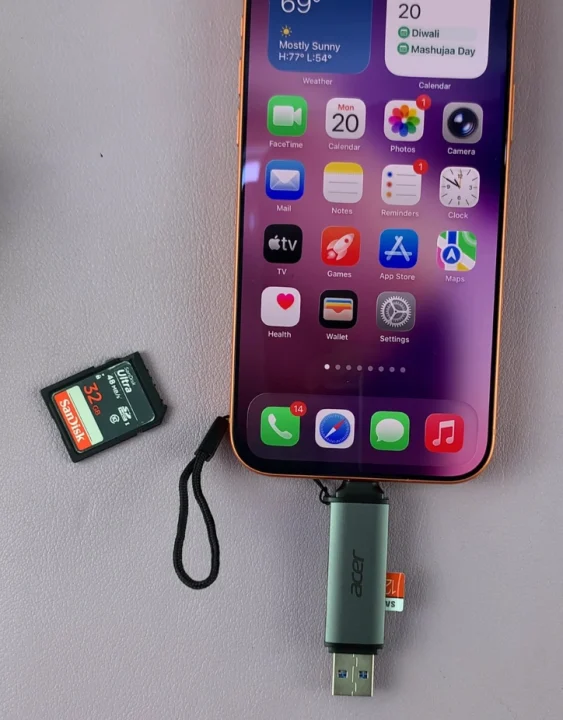
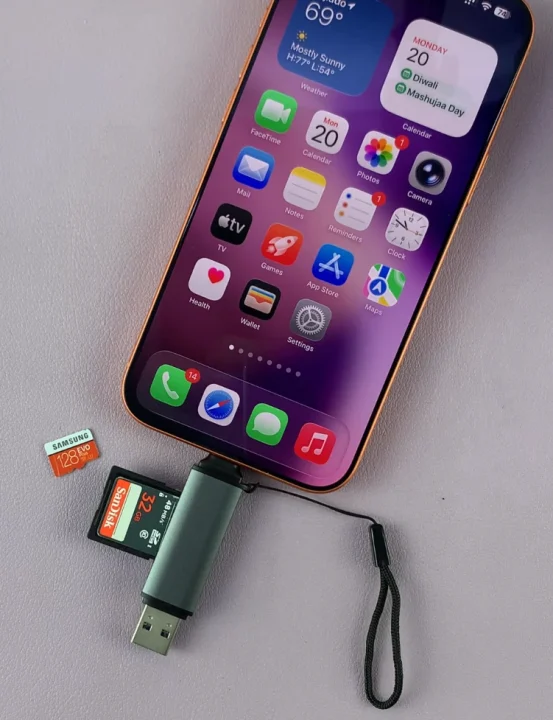
Next, connect the USB-C end of the reader to your iPhone 17’s USB-C port. You will not see any notification that the SD card has been connected successfully. You will need to confirm this physically.
On your iPhone 17, navigate to the Files app. This is where you’ll be able to manage your files. You can find the Files app on the home screen or simply swipe up and use the search function to find it.
In the Files app, find the connected SD card, under the Locations section, in the Browse tab. Tap on it to open the contents.
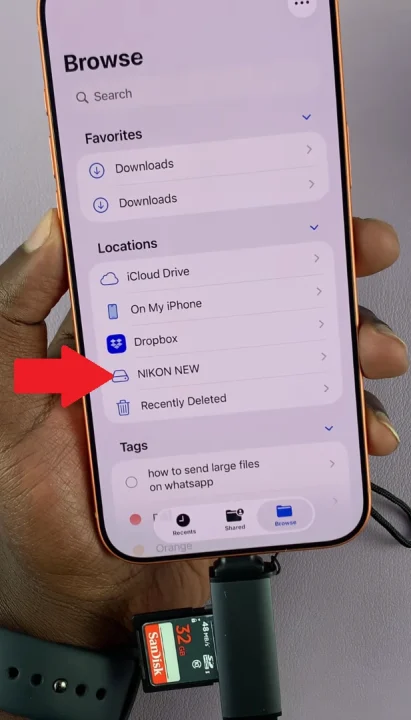
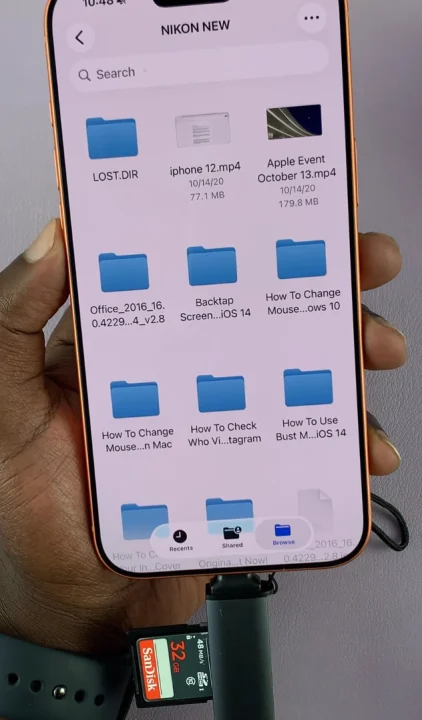
You can now copy files and folders to and from the SD card if it is in FAT32 format. If the SD card is in NTFS format, then you can only copy files and folders from the SD card to the iPhone. However, you cannot copy anything at all from the iPhone to an NTFS SD card.
After you’re done using the SD card, you can now eject it from your iPhone 17. Gently unplug the SD card reader from your iPhone, then remove the SD card from the reader. This prevents data corruption and ensures safe disconnection.

