In this guide, we’ll walk you through everything you need to know about how to capture HDR screenshots on iOS 26. With the release of iOS 26, Apple has refined how screenshots work, including support for High Dynamic Range (HDR).
If you own an iPhone with an HDR-capable display, such as the iPhone 15 Pro or newer, you can now capture and save screenshots in HDR format. This ensures that your screenshots maintain vibrant colors, deep contrast, and realistic highlights—perfect for sharing or viewing on supported displays.
HDR (High Dynamic Range) enhances brightness, shadows, and contrast in images. Normally, screenshots flatten these details into standard dynamic range (SDR), losing some visual richness. But with iOS 26, Apple lets you capture and preserve those HDR details in your screenshots.
Watch: Blur Home Screen Wallpaper On iOS 26
Capture HDR Screenshots On iOS 26
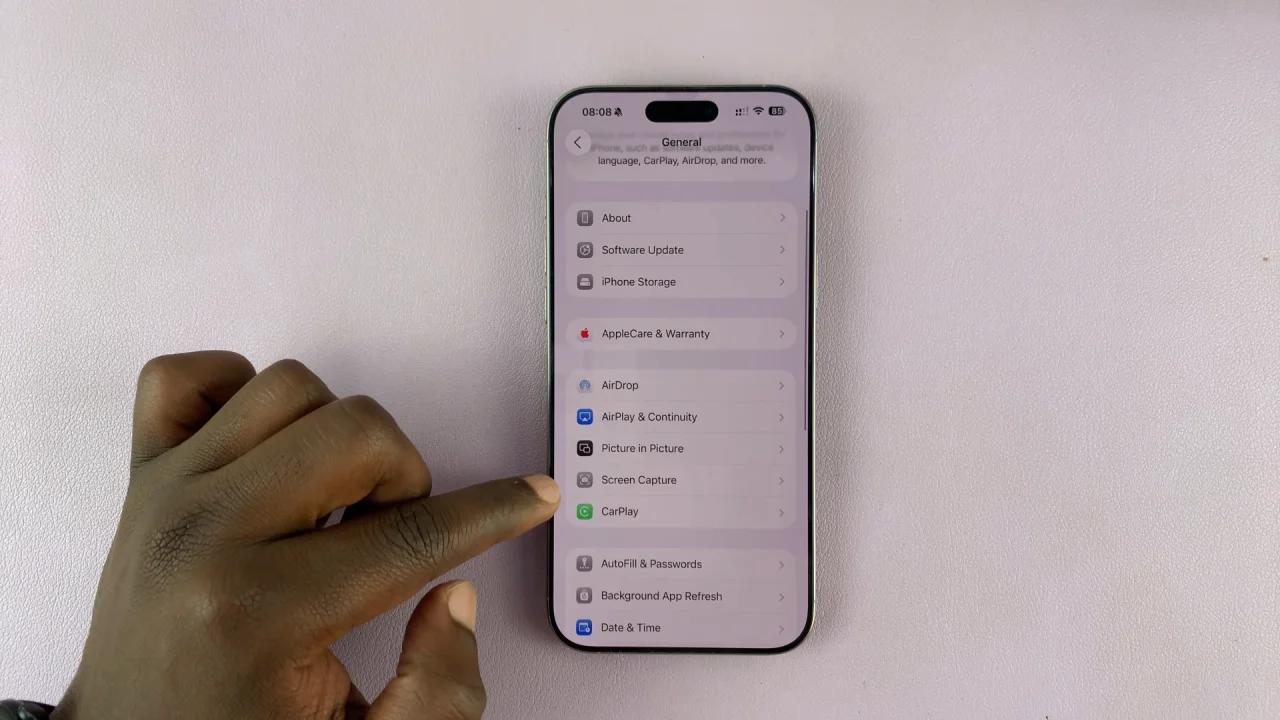
To take HDR screenshots, launch the Settings app and select the General option. Here, select the Screen Capture option.
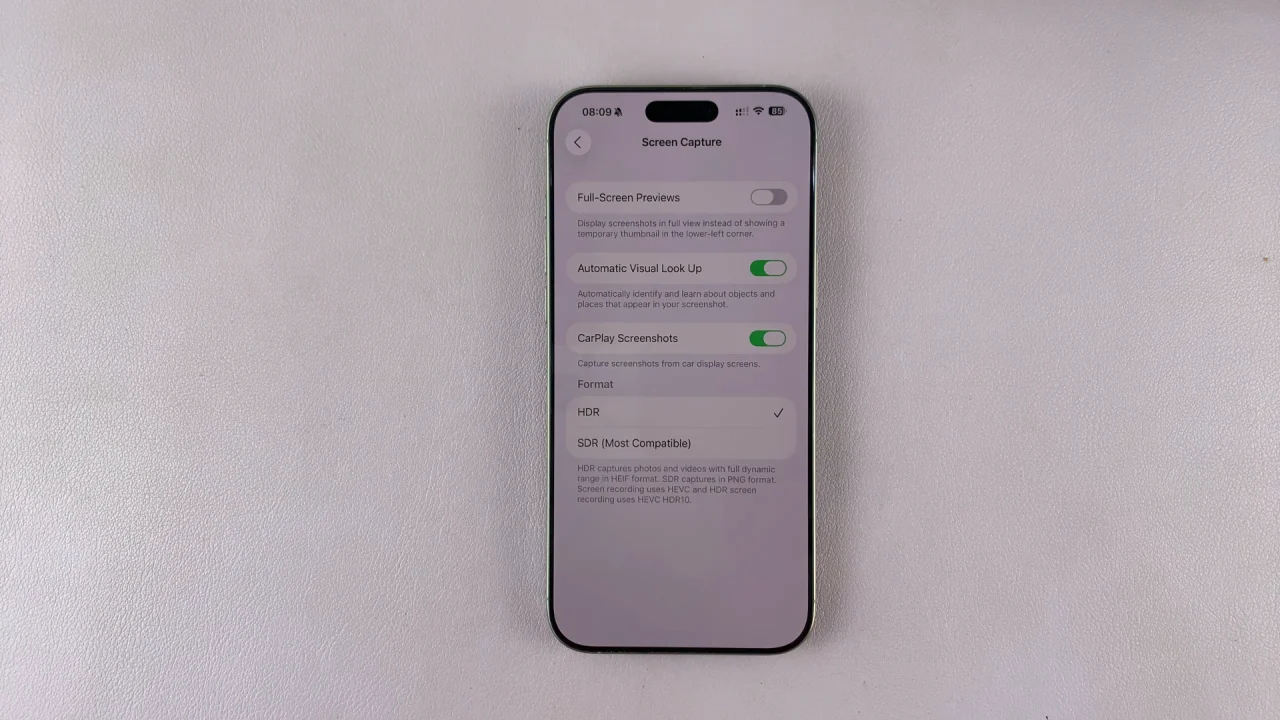
Under the Format category, choose HDR. You can also choose whether you want your screenshots to be in the HDR or SDR (Most Compatible) format. HDR captures photos and videos in full dynamic range in HEIF format, while SDR captures in PNG format. Screen recording uses HVEC and HDR screen recording uses HVEC SDR10.
To verify HDR in your screenshot, open the Photos app and tap your screenshot. If it was captured in HDR, you’ll see the HDR badge at the top corner. On an HDR display, the colors and highlights will look more vivid compared to SDR screenshots.
How To Share HDR Screenshots
While HDR looks amazing, not all platforms support it yet. Here’s what you should know:
iMessage, AirDrop, and iCloud Photos preserve HDR.
Social Media Apps (Instagram, Facebook, etc.) may convert HDR to SDR automatically.
Email or Third-Party Apps: Some may strip HDR data; you can export as SDR if needed.

