Unlock the full potential of your Samsung Galaxy Fit 3 by mastering the art of tile management. As an active individual striving for peak performance, having quick access to essential information is paramount. With the Galaxy Fit 3’s customizable tiles feature, you can tailor your device to suit your unique needs and preferences.
In this comprehensive guide, we’ll walk you through the simple yet powerful process of adding and removing tiles on your Galaxy Fit 3. From tracking your fitness progress to staying connected with notifications, you’ll learn how to optimize your device for maximum efficiency.
Let’s dive in and harness the full potential of your Galaxy Fit 3, empowering you to conquer your fitness goals with ease and confidence.
Watch: How To Rearrange Tiles On Samsung Galaxy Fit 3
Add Tiles On Samsung Galaxy Fit 3
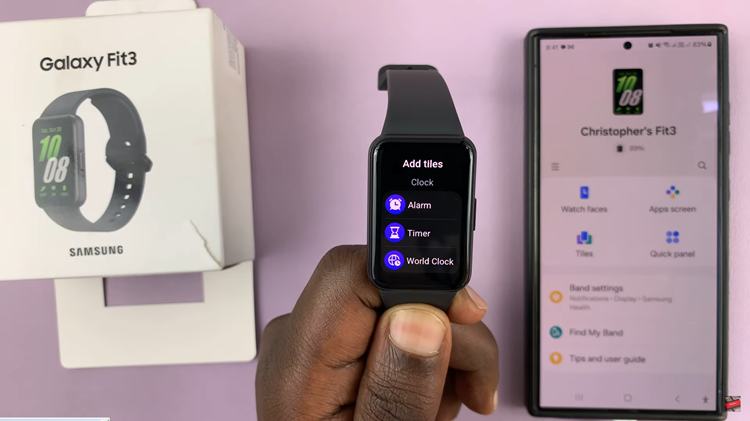
On your Samsung Galaxy Fit 3, navigate to the home screen by pressing the physical button or tapping on the screen. From the home screen, swipe left or right until you find the “Add Tiles” icon. Tap on it.
Following this, you’ll see available tiles that can be added to your Galaxy Fit 3. Find the desired tile(s) you’d like to add and select it. This will add the tile to your Galaxy Fit 3 home screen.
Remove Tiles From Galaxy Fit 3
On your Samsung Galaxy Fit 3, navigate to the home screen by pressing the physical button or tapping on the screen. From the home screen, swipe left or right until you find the tile you’d like to remove.
At this point, long press on the tile, and from here, you’ll see a minus icon appear. Tap on the minus icon and that specific tile will be removed from the list of your tiles.

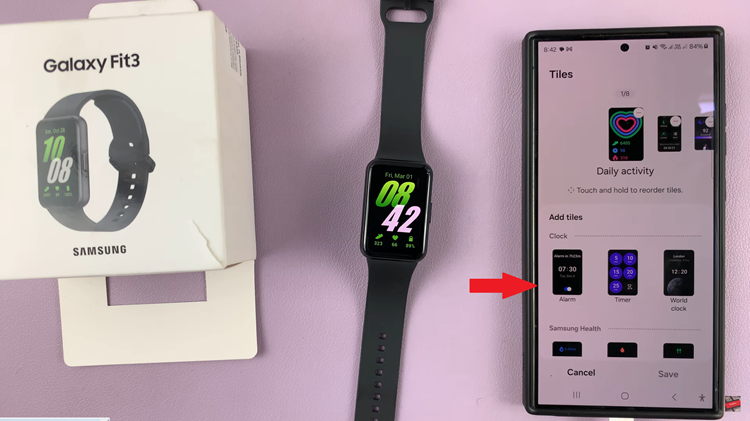
Alternatively, you can add and remove tiles from Galaxy Fit 3 using the Galaxy Wearable app. Simply, launch the application, then select “Tiles” from the home screen. At this point, make the desired changes you’d prefer and select “Save” to confirm the changes.
By following these simple steps, you can easily add or remove tiles on your Samsung Galaxy Fit 3 to tailor the device to your specific needs and preferences. Whether you prioritize fitness tracking, notifications, or quick access to apps, customizing your Galaxy Fit 3’s tiles allows you to make the most out of your wearable device.
Read: How To Enable & Disable Do Not Disturb On Samsung Galaxy Fit 3

