Keeping your files organized is essential for productivity, and one of the easiest ways to do that on your MacBook Neo is by creating folders. Whether you’re managing documents, photos, or projects, folders help you stay neat and efficient.
In this guide, you’ll learn several simple methods to create a folder in your MacBook Neo.
Folders allow you to organize files by category, project, or date and to quickly locate documents when needed. It also keeps your desktop clean and clutter-free, thus improving workflow and productivity.
Watch: Install Windows Games On Mac
Create Folder In MacBook Neo
You can create folders using various methods. We’ll go through them one-by-one.
Using Right-Click
This is the most common and beginner-friendly method. Simply go to your Desktop or open Finder.
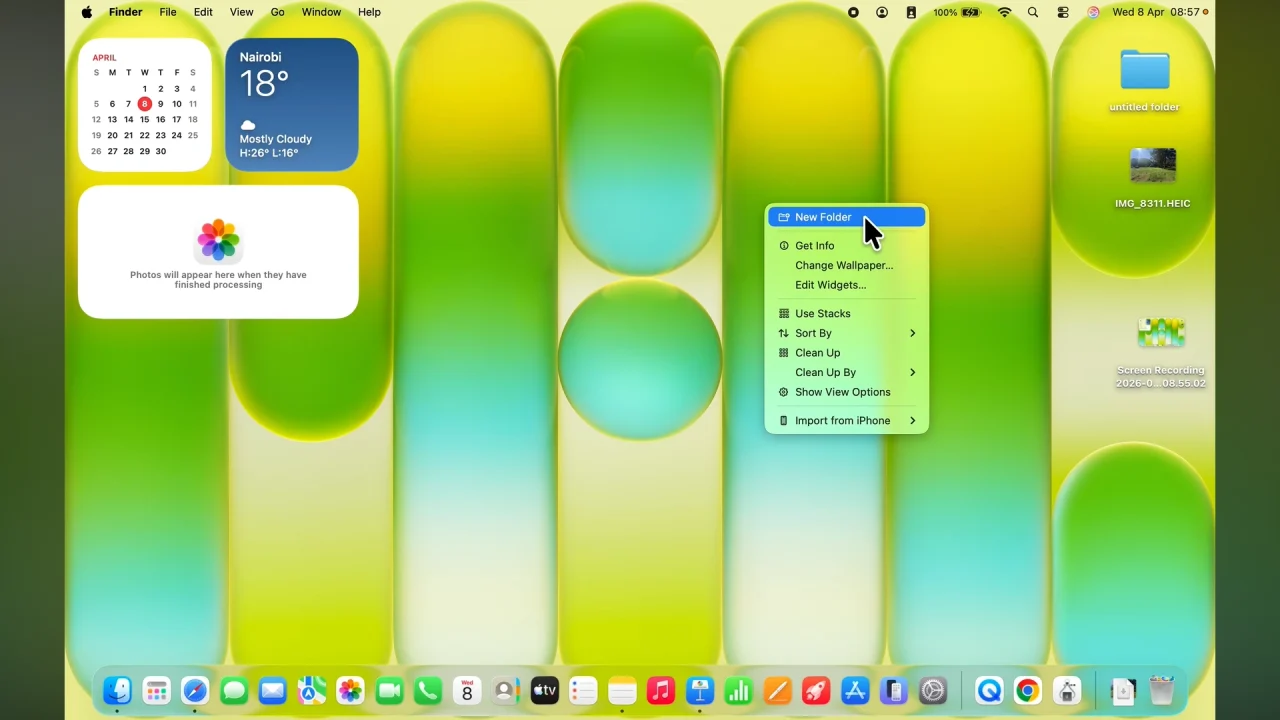
Right-click on an empty space and click New Folder.

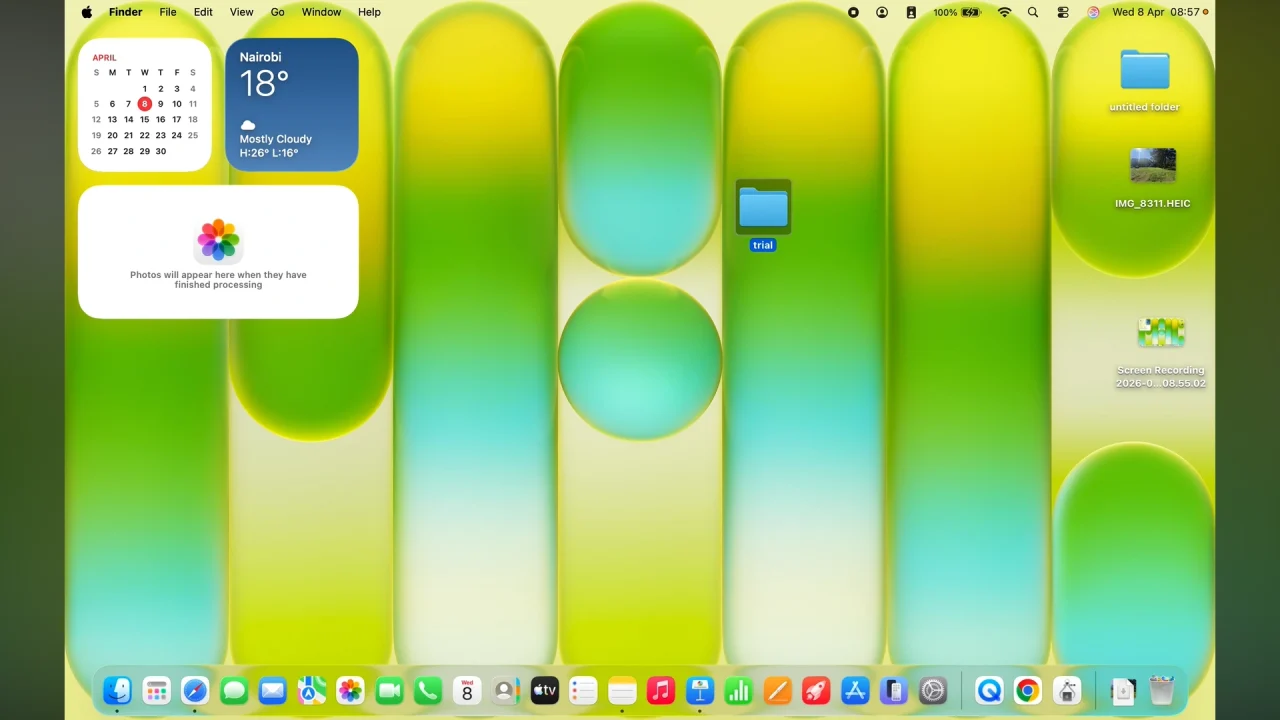
Type a name for your folder and press Enter. Your new folder will be created instantly.
Use Keyboard Shortcut
If you prefer faster navigation, you can use a shortcut. Press Shift + Command (⌘) + N.
A new folder will appear immediately in the current location.
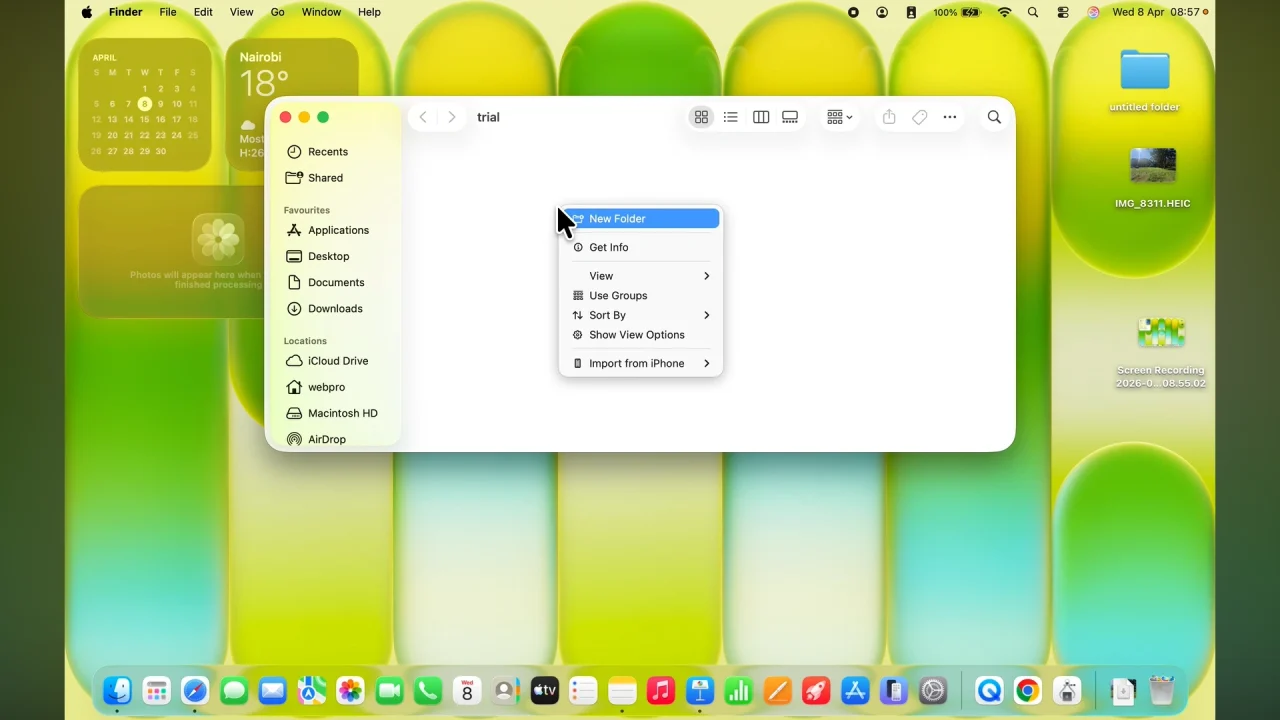
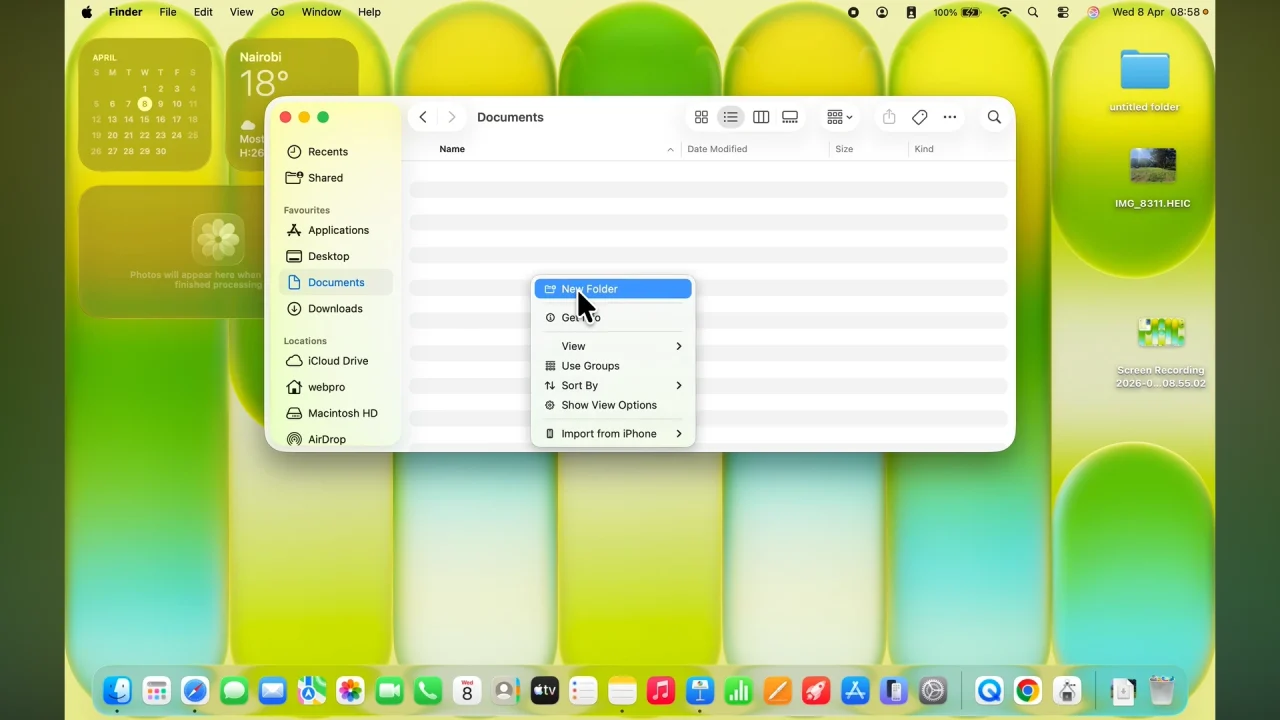
Create a Folder Using Finder Menu
You can also create folders from the menu bar. Simply open Finder and click File in the top menu.
Select New Folder, enter a name and press Enter.
Create a Folder from Selected Files
If you want to quickly organize files into a folder, you can select multiple files (hold Command (⌘) and click each file).
Right-click the selected files and choose New Folder with Selection. A folder will be created containing all selected files
Tips for Better Folder Organization
- Use clear and descriptive names (e.g., Work Documents or Photos 2026).
- Avoid cluttering your desktop with too many folders.
- Group similar files together.
- Use subfolders to break down large categories.
Read: How To Install Windows Games via Crossover On Mac / MacBook

