Screen recording is now a must-have function for all laptop users who want to record video tutorials, gameplay, online conferences, or other crucial activities on their devices. Luckily, if you are a user of MacBook Neo, then you can use the integrated screen recording software present within your device, and thus, there is no need to download any additional application for the same.
In this guide, we will discuss the steps in which you can easily screen record any activity on your MacBook Neo in a few simple steps. Moreover, you can also record your voice along with the screen activity of your MacBook Neo.
Being a content creator or student or businessman, learning how to record screen activities is extremely beneficial for you, and in this article, we will show you how.
Watch: How To Screenshot On MacBook Neo
Screen Record MacBook Neo
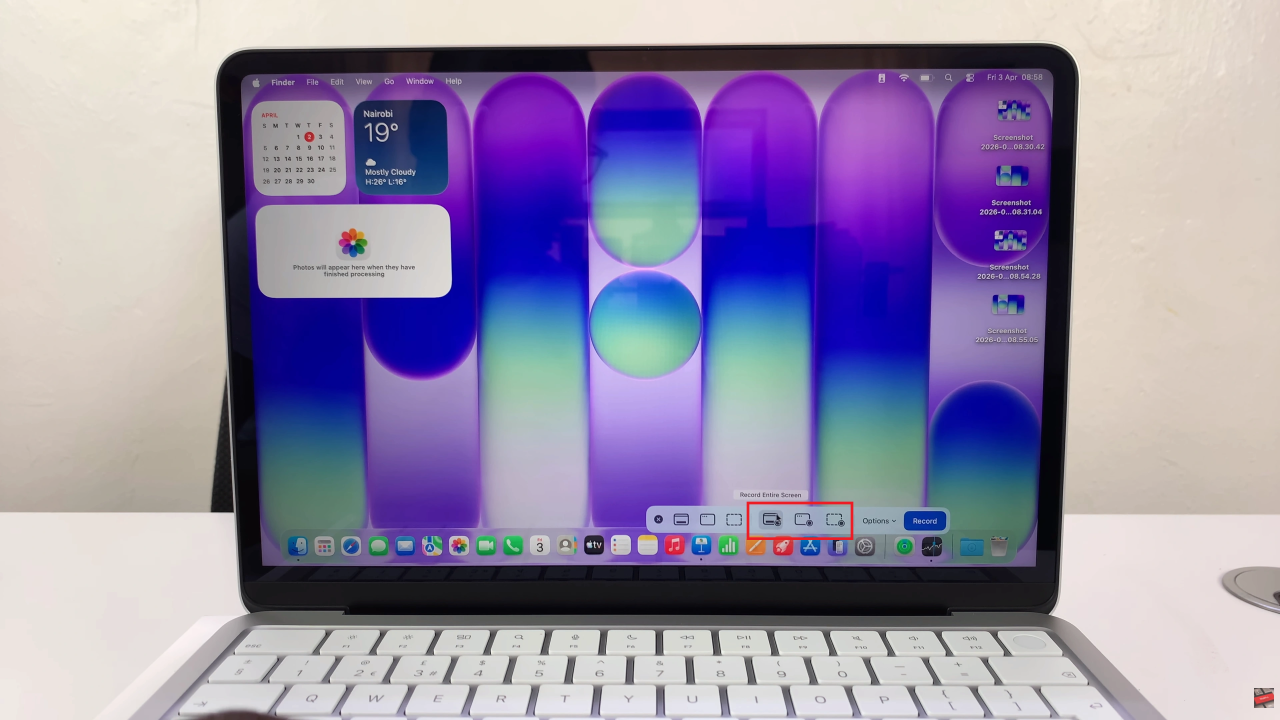
Begin by accessing the screen recorder on your MacBook. To do this, you’ll need to press Command, Shift & 5 on your keyboard to access the recording settings.
Following this, you can choose the section you’d like to record. You can choose either ‘Record Entire screen‘, ‘Record selected portion‘, or ‘Record Selected Window‘.
Once you’ve selected the desired section, click on ‘Options‘ to customize the screen recorder settings. These settings include Timer, Microphone, and save location for the screen recording.
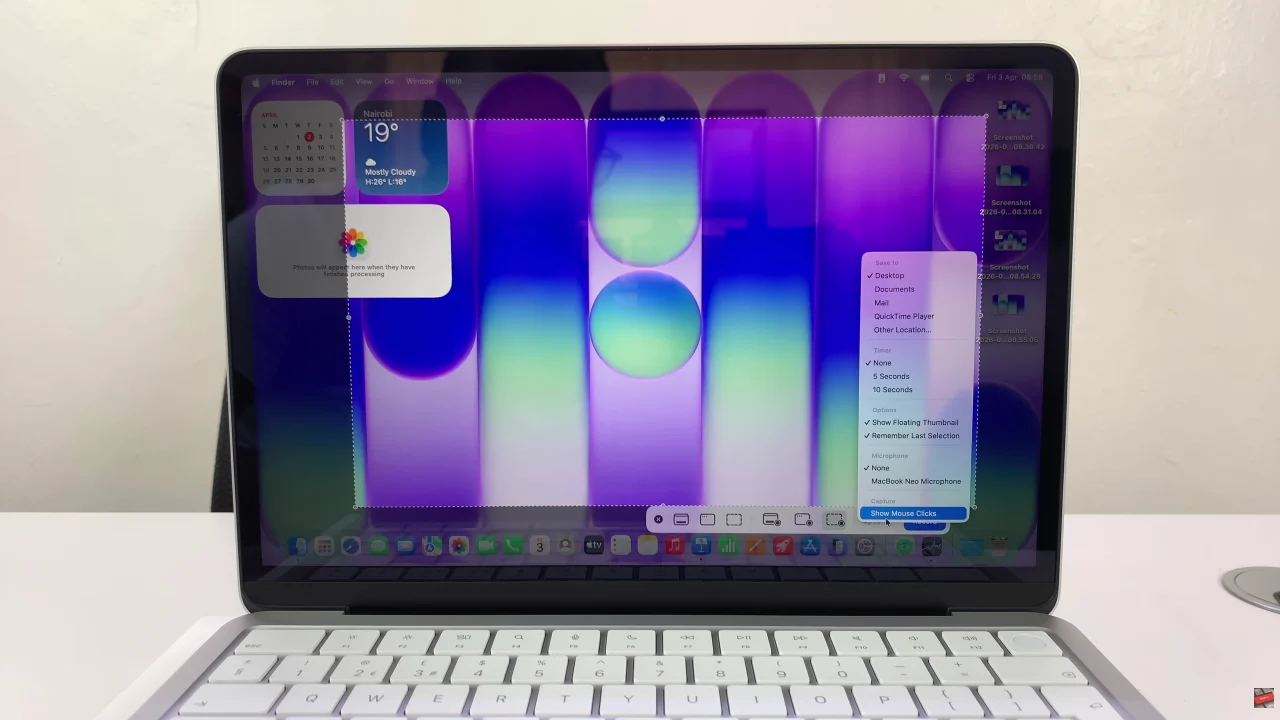
Afterwards, you can now select ‘Record‘ to begin the recording on your MacBook Neo. Once done, click on the ‘Stop‘ icon located in the top right menu (next to the battery icon) and your recording will be saved.

By following the steps outlined in this guide, you can easily record your entire screen or just a selected portion, include audio when needed, and save your recordings for later use. Once you get familiar with these tools and shortcuts, screen recording will become a seamless part of your daily workflow.
Read: How To Enable & Disable Speak-To-Chat On Sony WF-1000XM6

