Have you ever found yourself unable to locate your mouse pointer on your computer display, especially when multitasking, doing video editing, or presenting? Then you have most likely found that your mouse cursor is too tiny on your MacBook Neo. This article shows you how to change the mouse pointer size for macOS devices, such as MacBooks and iMacs, making it easy and quick to resize the cursor.
There are various reasons why resizing the mouse pointer can be beneficial to users. It makes it easier for people who spend a lot of time working or playing games on their computers to track their mouse pointer. It is important to know that MacBooks have an easily customizable system, where you can modify almost anything you want. So, resizing the mouse pointer will not be challenging.
This guide will explain how to change the mouse pointer size on your MacBook Neo, and we will also provide useful suggestions regarding the matter.
Watch: How To Change Serial Number On MacBook Neo
Change Mouse Pointer Size On MacBook Neo
Begin by accessing the system settings on your MacBook Neo. Click on the Apple logo located in the top right corner and select ‘System Settings‘ from the menu that appears.

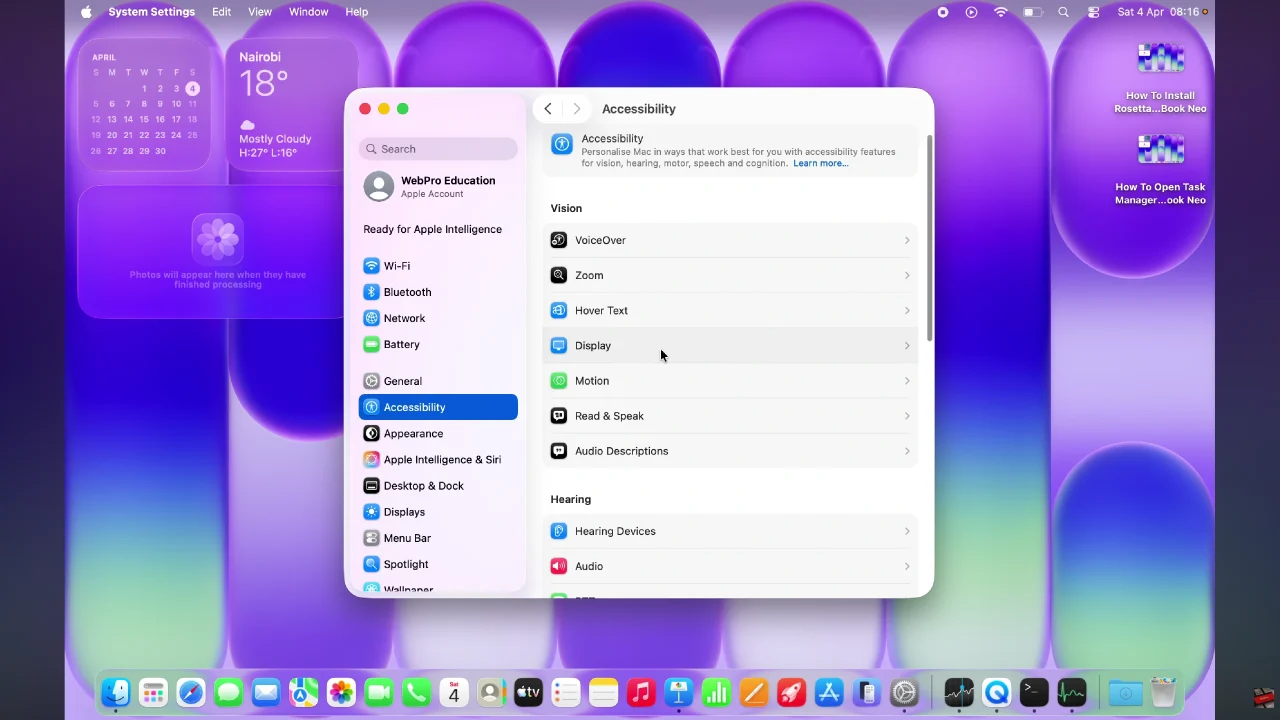
Following this, scroll through the settings and select ‘Accessibility‘. From here, click on ‘Display‘ to proceed to the next step.
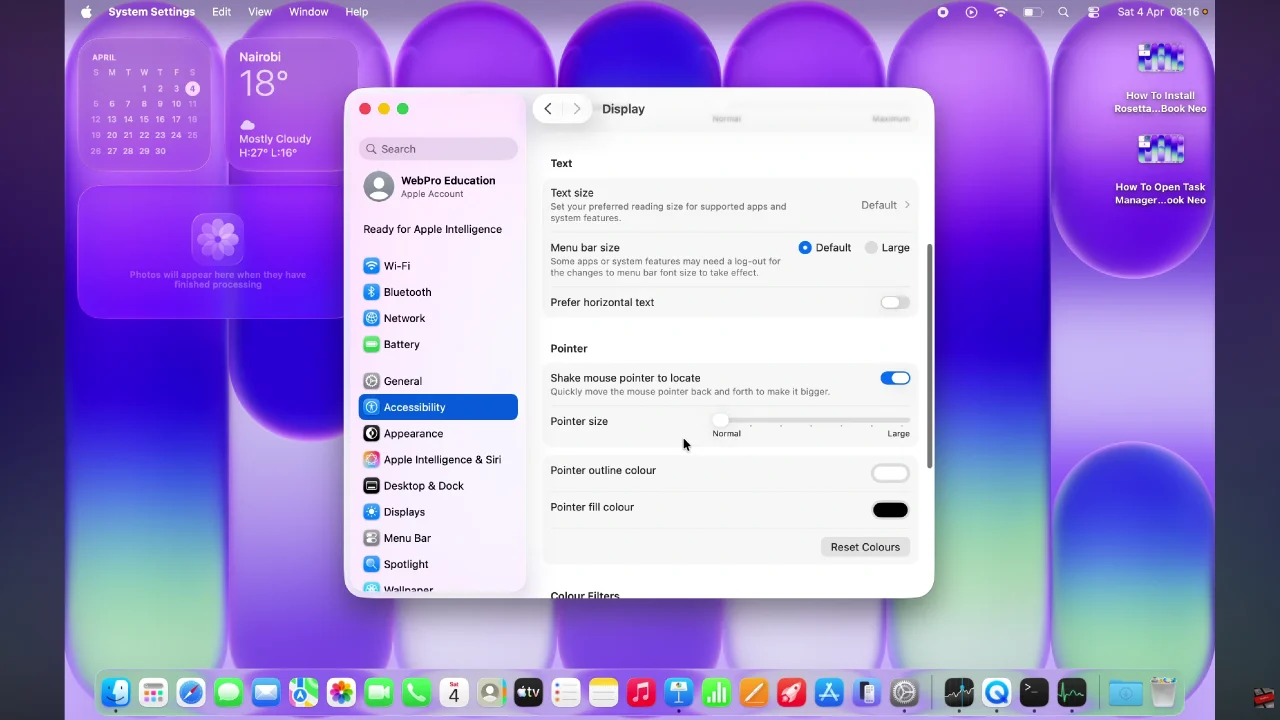
Now, scroll down and locate the ‘Pointer Size‘ option within the Display settings. You’ll see a slider icon that you can use to adjust the mouse pointer size. Slide the slider to the left to reduce the size or the right to increase the mouse pointer size.
By taking a few moments to fine-tune your pointer size, you can reduce eye strain, navigate more efficiently, and work with greater confidence—especially on high-resolution displays. Small changes like this can make a big difference in your daily productivity and comfort.
Read: How To Mute & Unmute Microphone During Calls On Sony WF-1000XM6

