The Xiaomi Smart Camera C701 is a versatile home security camera that allows you to capture clear photos and videos. One feature that many users find essential is the ability to add timestamps to photos.
Timestamps help you keep track of when each photo was taken, which is especially useful for security monitoring, pet tracking, or event recording.
In this guide, we’ll walk you through the steps to enable or add timestamps to photos on your Xiaomi Smart Camera C701.
Read: How To Turn ON Status Light Of Xiaomi Smart Camera C701
Add Timestamps To Photos On Xiaomi Smart Camera C701
Before you can enable timestamps, make sure your Xiaomi Smart Camera C701 is connected to your phone via the Xiaomi Home app. Download and install the Mi Home app from the Google Play Store or Apple App Store if you haven’t already.
Open the app and log in with your Xiaomi account. Add your camera by tapping the “+” icon and following the on-screen instructions to connect it to your Wi-Fi network.
Once your camera is connected, open the Mi Home app. Tap on your Xiaomi Smart Camera C701 device. Select the three dots in the top-right corner.
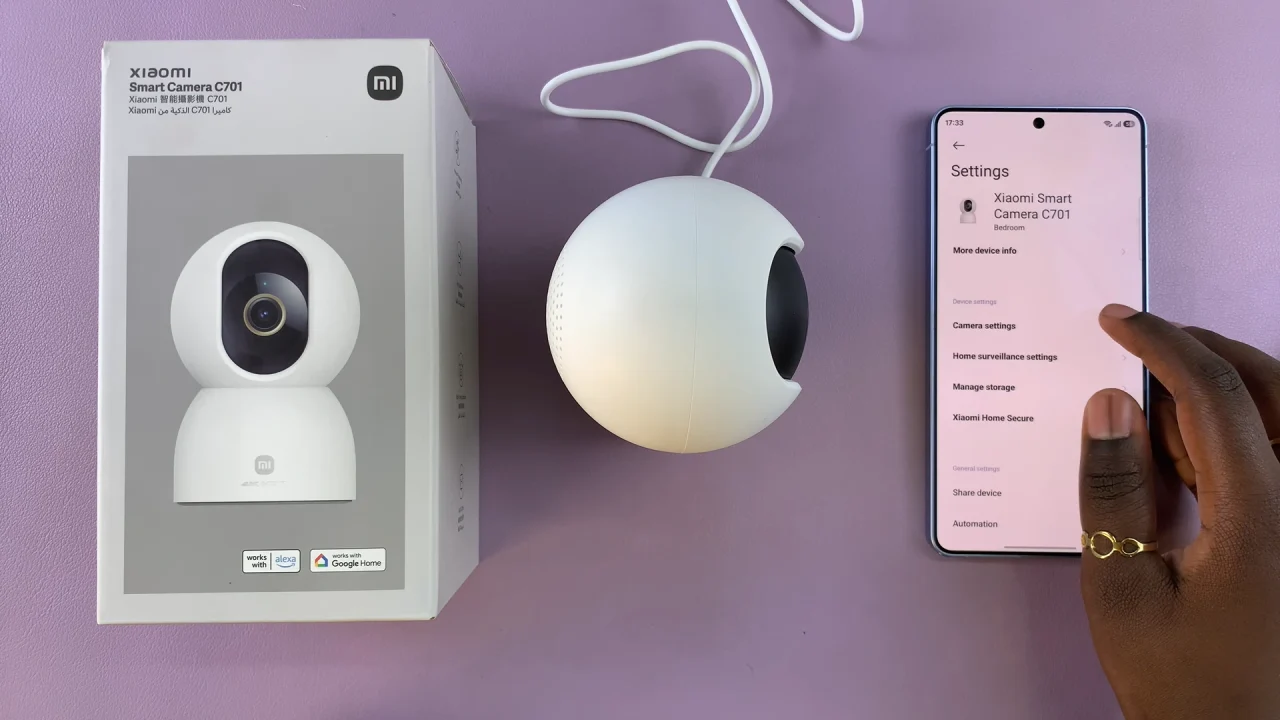
Choose Camera Settings, then scroll down to find Image Settings.
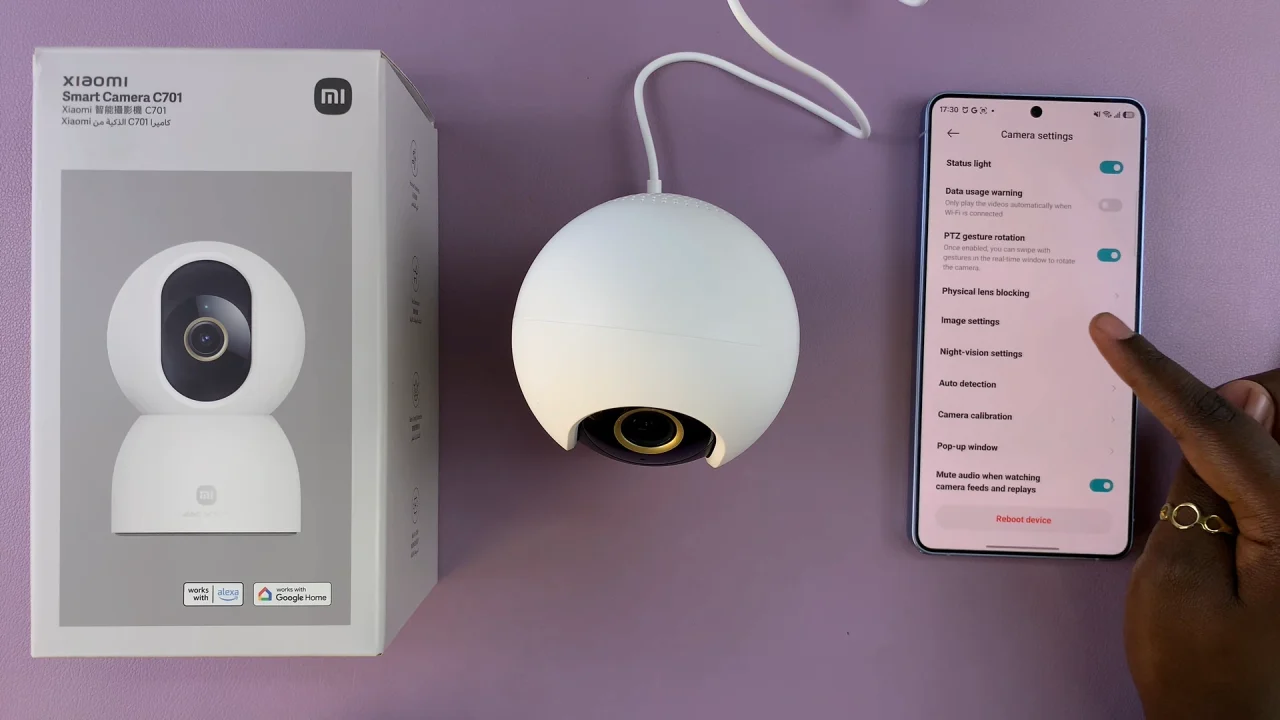
Look for the Timestamp option. Toggle the switch to ON.

This will automatically add the current date and time to any photo or video your camera captures.
Verify Your Time Settings
For accurate timestamps, make sure your camera is synced with the correct time zone. Check that the date and time on the Xiaomi Home app match your local time.
Accurate time settings are important to ensure that your timestamps are correct, especially for security purposes.
Test the Timestamp
Take a test photo or record a short video. Tap the Capture Photo button in the app.
Check the photo in your gallery or the Xiaomi Home app. You should see the date and time displayed on the bottom corner of the image.

