Video:AirPods Pro 3: How To Pair To Mac / MacBook
Pair AirPods Pro 3 to a Mac or MacBook to experience smooth wireless audio across all your Apple devices. This connection allows you to enjoy crystal-clear sound, fast switching, and a truly seamless ecosystem designed for productivity and entertainment. Whether you’re setting up for the first time or reconnecting after using another device, establishing this link ensures top-notch sound quality and effortless control.
This guide on how to pair AirPods Pro 3 to Mac or MacBook offers a simple introduction to the process and what you can expect before getting started. Additionally, it emphasizes how Apple’s advanced Bluetooth integration creates a reliable and responsive connection. Before diving into your next meeting, video, or playlist, it’s helpful to understand how this setup enhances both performance and convenience.
Watch:AirPods Pro 3: How To Unpair From Windows PC / Laptop
Pair Airpods Pro 3 To Mac / MacBook
Open Control Center
On your Mac, click the Control Center icon at the top-right corner of the screen.
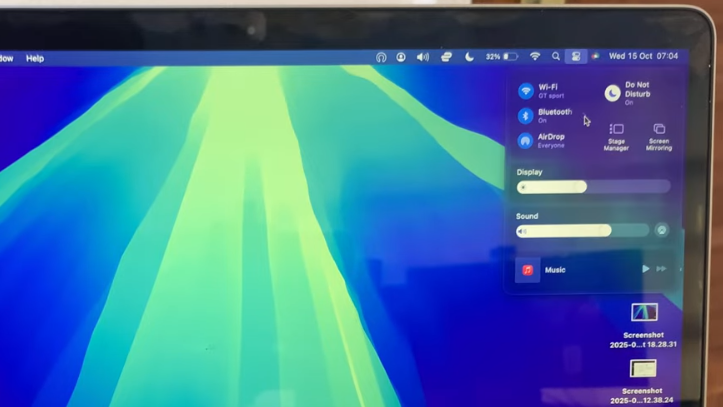
Access Bluetooth Settings
Select Bluetooth and then click on Bluetooth Settings to open the full Bluetooth preferences window.
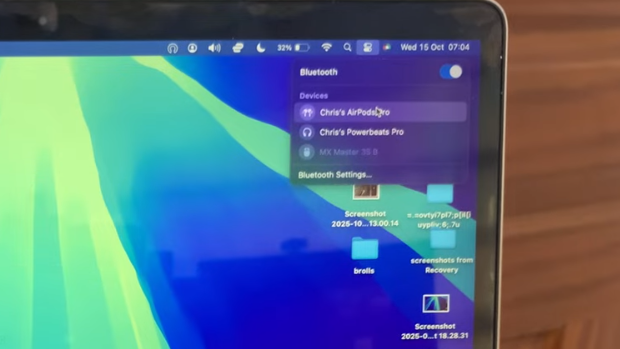
Enable Bluetooth Scanning
Ensure Bluetooth is turned on. Your Mac will begin searching for nearby Bluetooth devices automatically.

Put AirPods Pro 3 in Pairing Mode
Open your AirPods case and double-tap the green light until it starts blinking white.
This indicates your AirPods are now in pairing mode.
Select AirPods on Mac
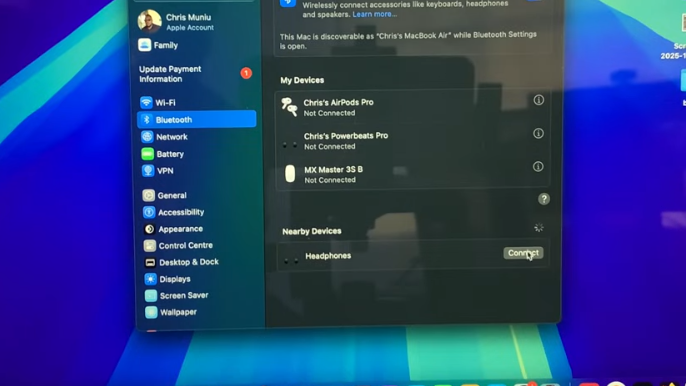
Look for your AirPods Pro 3 (may appear as “Headphones” initially) in the list of available devices.
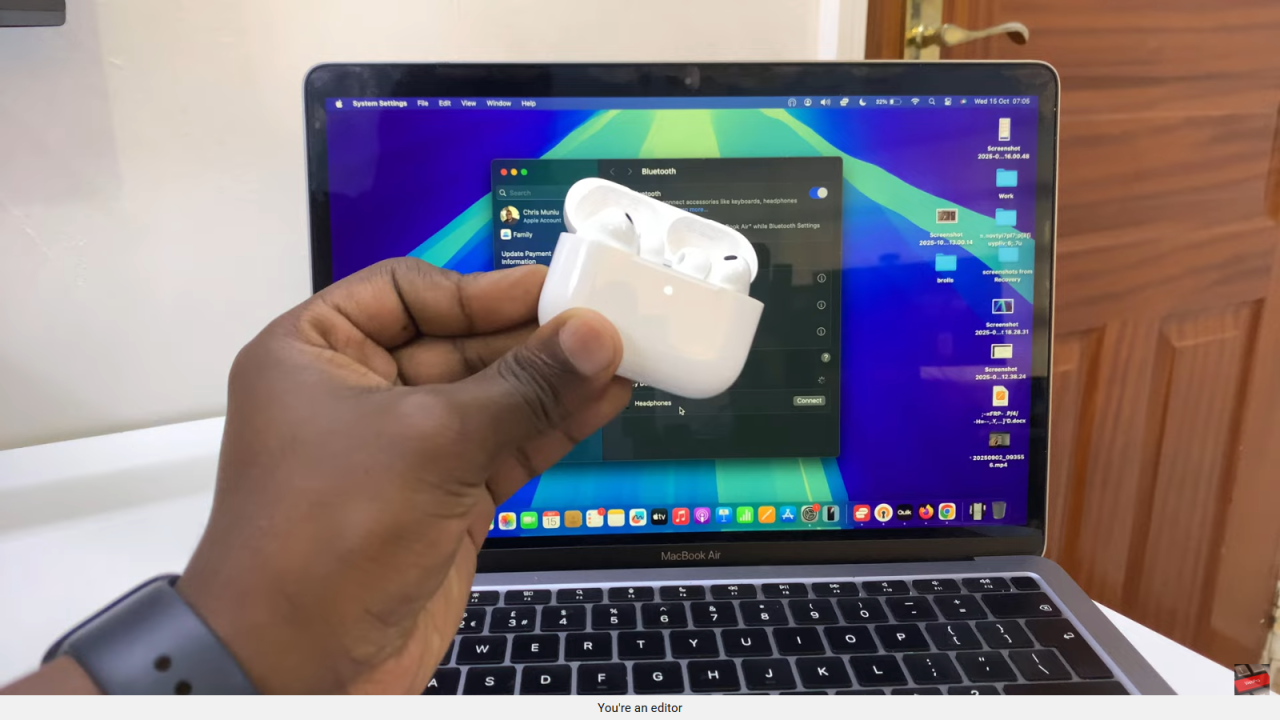
Connect the AirPods
Click Connect next to the AirPods name to establish the connection.
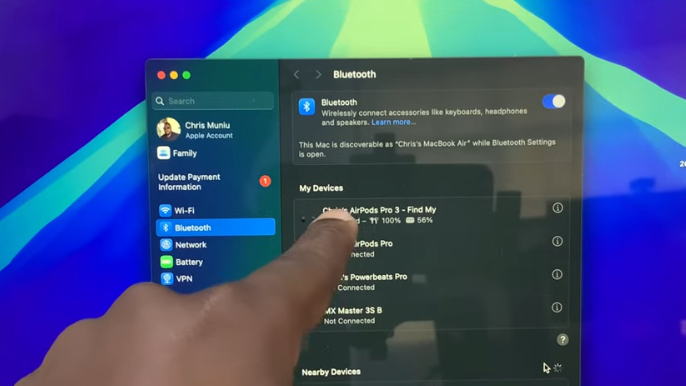
Once paired, your Mac will recognize them as AirPods Pro 3 and display the battery status.

