
Video:Airpods Pro 3: How To Turn Loud Sound Reduction ON / OFF
Audio comfort plays a big role in how enjoyable your listening experience feels, especially when using advanced earbuds like the AirPods Pro 3. With features designed to protect your hearing and maintain clarity, managing loud sound reduction can make a noticeable difference in everyday use. It helps balance audio levels, prevent sudden volume spikes, and ensure smooth transitions between quiet and loud moments.
As you personalize your AirPods Pro 3 settings, understanding this option can help you adapt to different environment,whether you’re commuting, working out, or simply relaxing. With just a few adjustments, you can create a safer, more consistent sound profile that matches your preferences while keeping your ears comfortable during extended listening sessions.
Watch:Airpods Pro 3: How To Turn Automatic Ear Detection ON / OFF
Turn Loud Sound Reduction ON / OFF On Airpods Pro 3
Opening the AirPods Case
Start by opening the AirPods Pro 3 case. You can also take the earbuds out to ensure they connect properly to your iPhone.
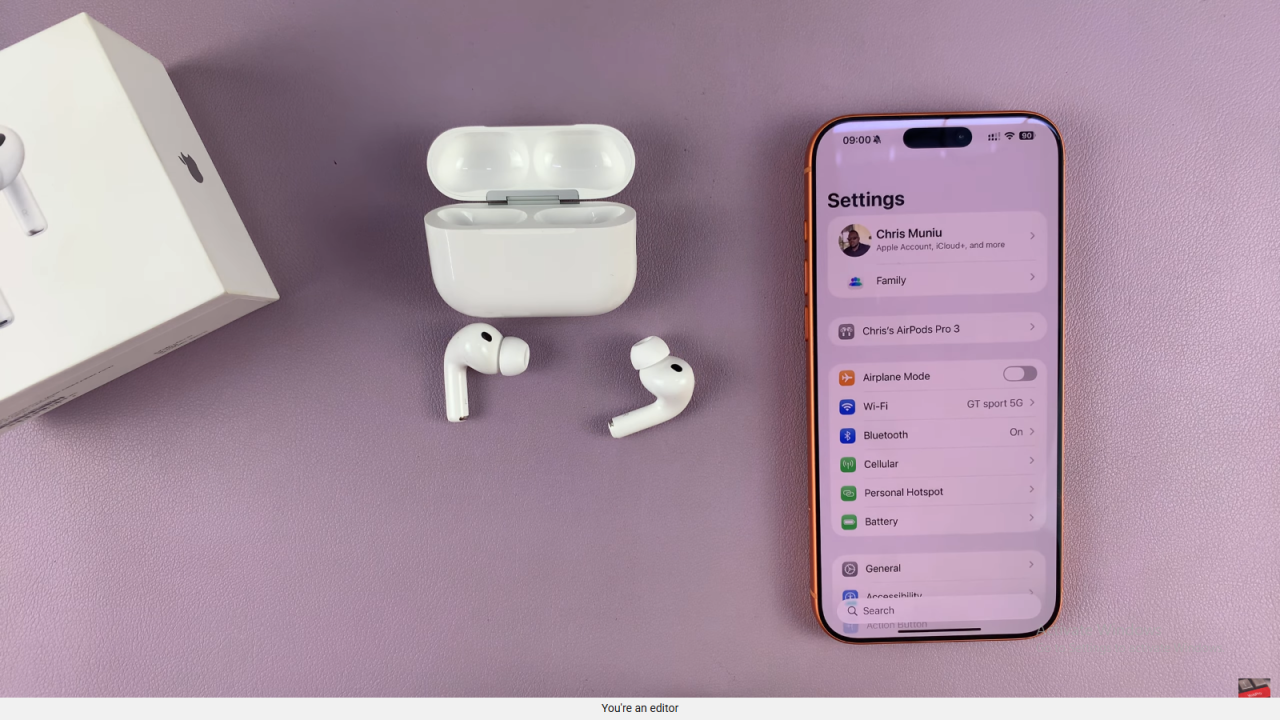
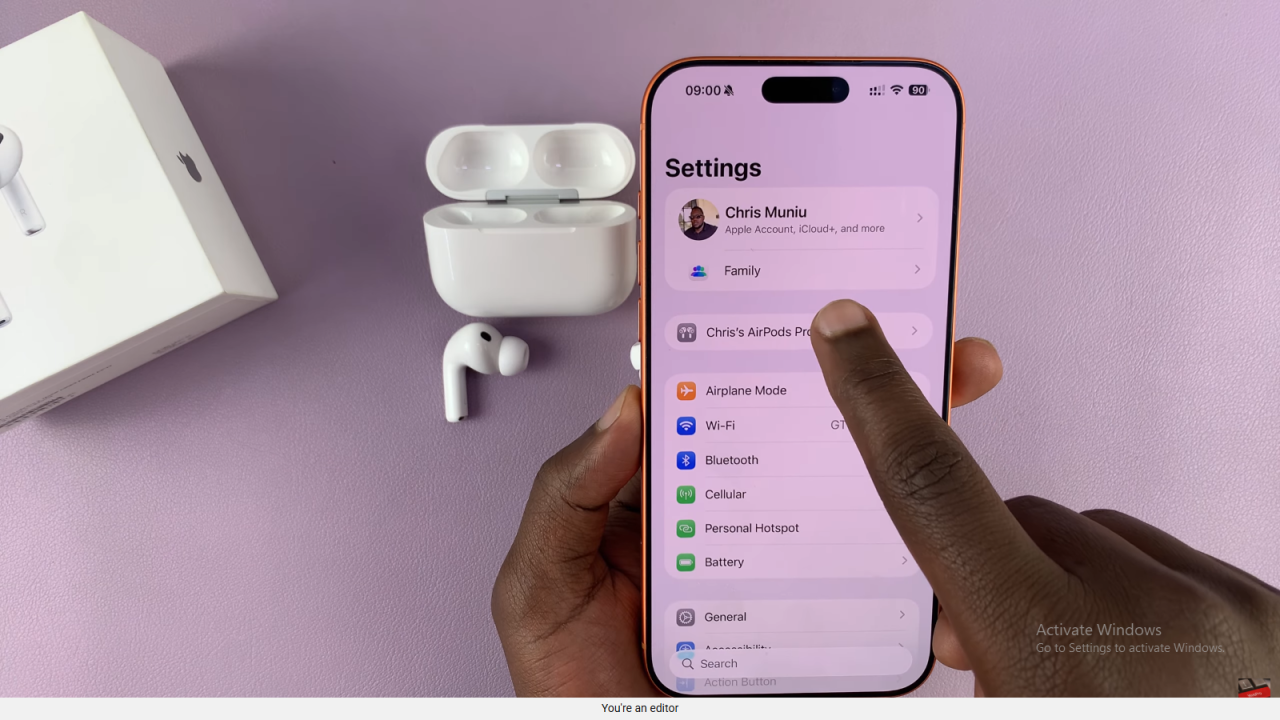
Accessing Settings
On your iPhone, open the Settings app and tap on your AirPods Pro 3 from the list of connected devices.
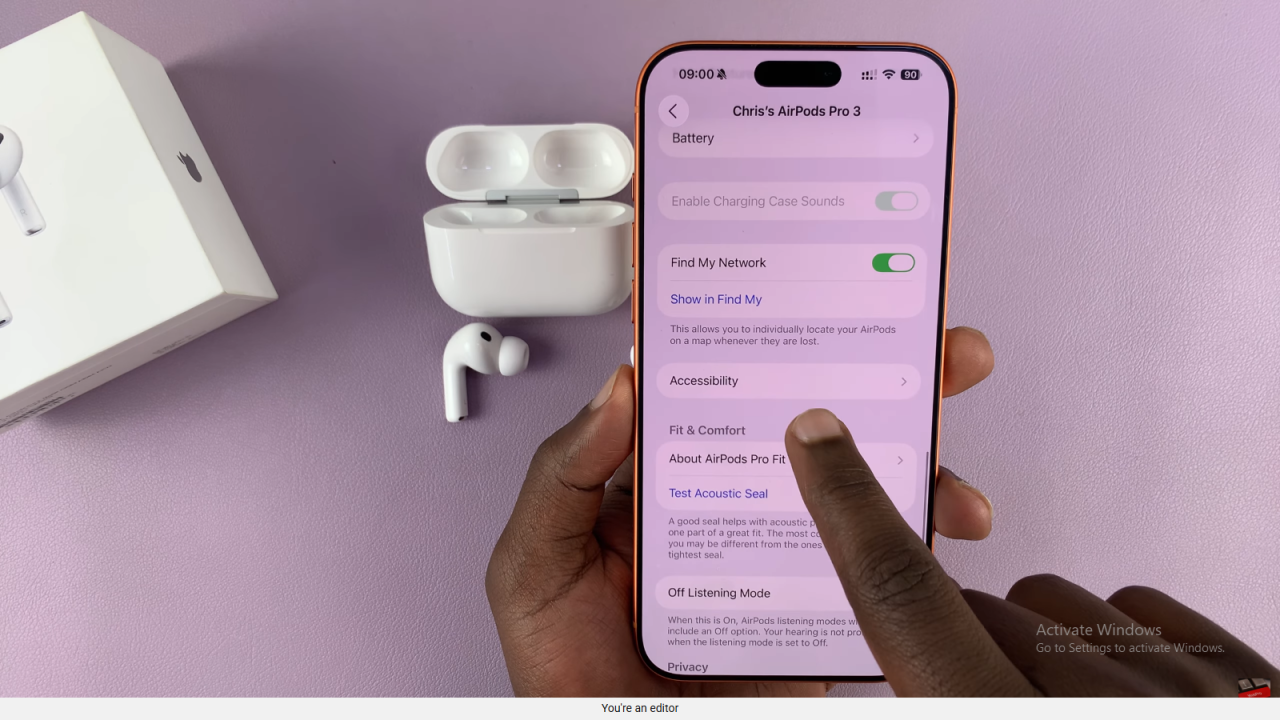
Navigating to Accessibility
Once inside the AirPods settings page, scroll down until you reach the Accessibility section and tap on it.
Finding Loud Sound Reduction
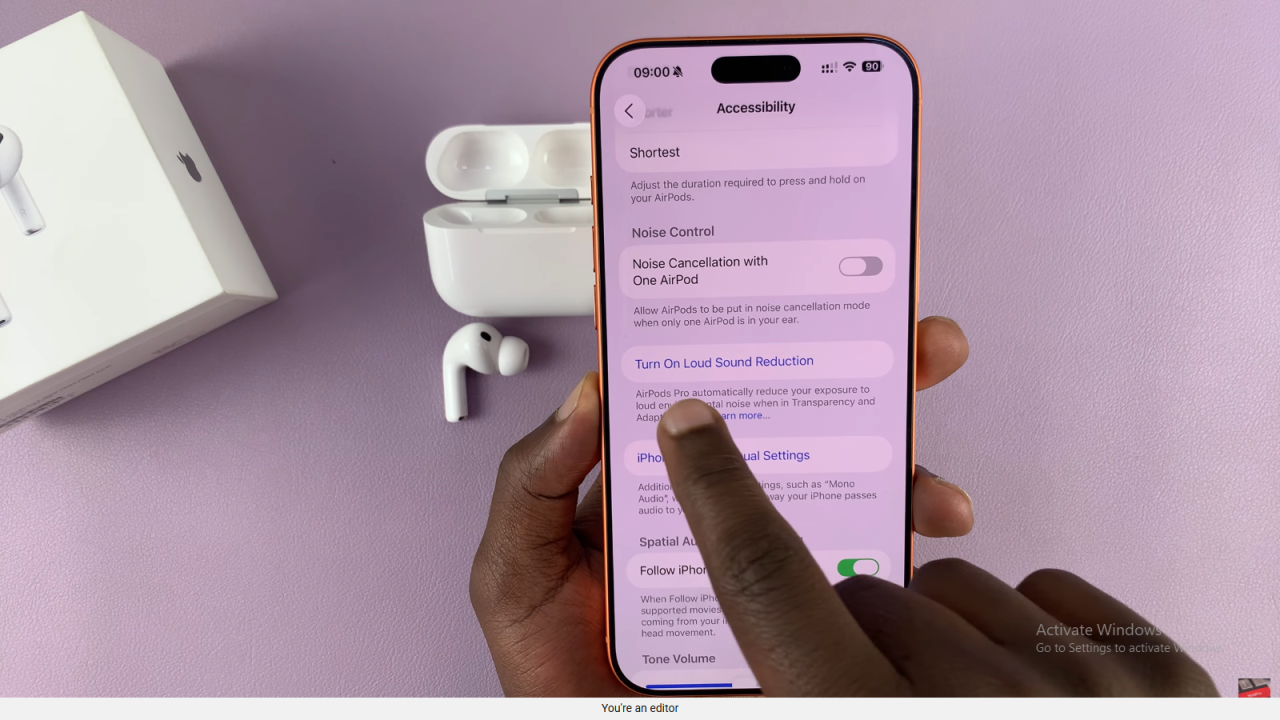
Under Accessibility, locate the option labeled Loud Sound Reduction. Tap on it to access the toggle settings.
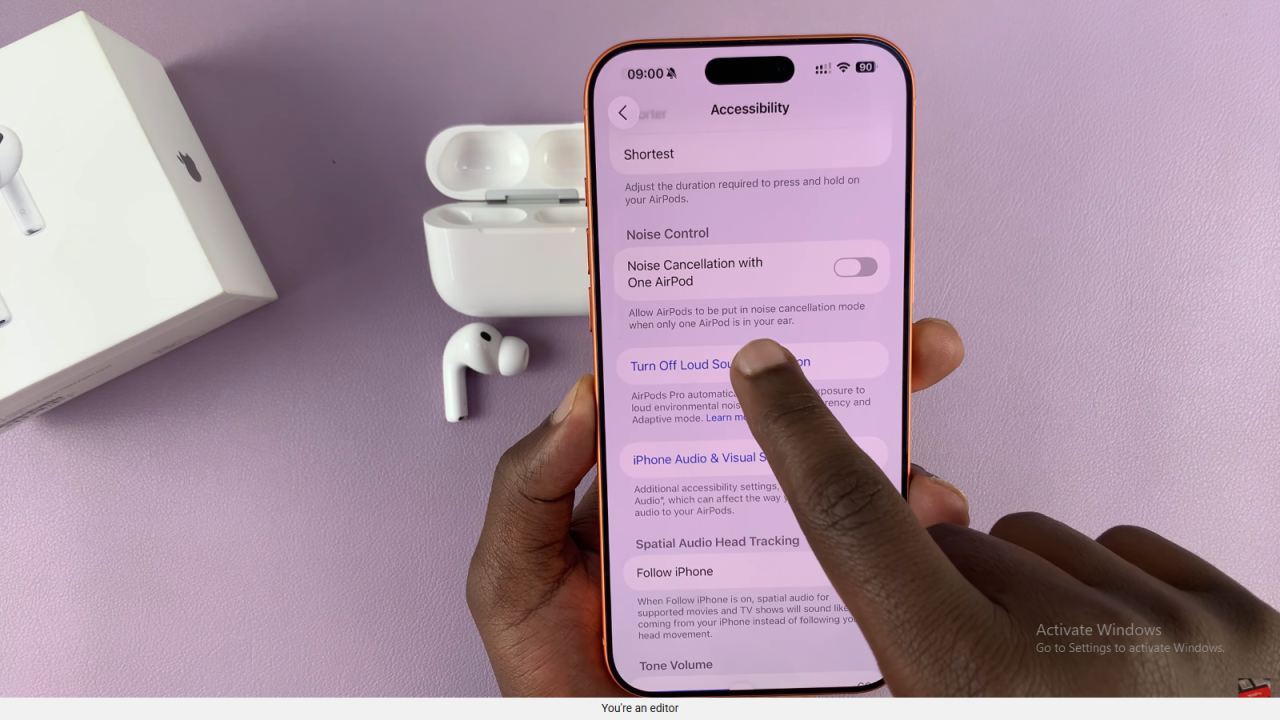
Turning It On or Off
If the feature is off, tap to turn it on. You’ll notice the prompt will now read “Turn Off Loud Sound Reduction,” which means it’s active. Tap again anytime to disable it.
Finishing Up
That’s all you need to do. Your AirPods Pro 3 will now either reduce or allow louder sounds depending on your selected setting.
Read:How To Turn Automatic Ear Detection ON / OFF On Airpods Pro 3

